
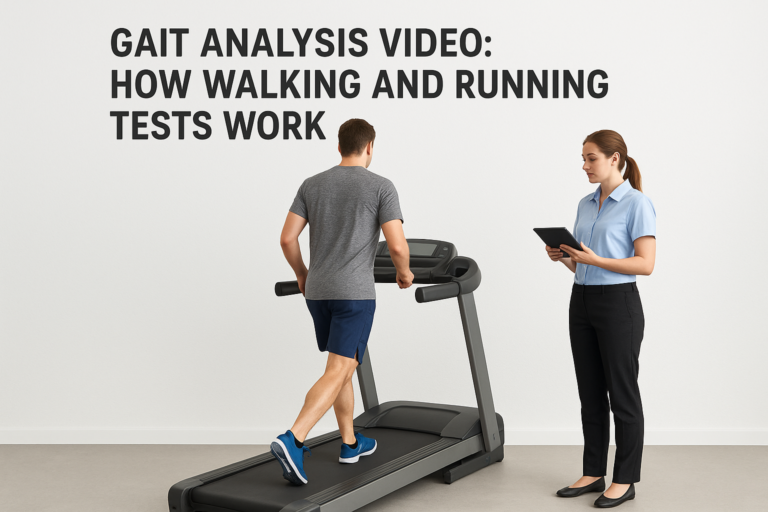
If you have searched for a gait analysis video, you probably want to see what actually happens when someone films you walking or running and picks apart how you move. It can be hard to picture. Most clips online show a treadmill, a slow-motion replay and a lot of arrows, with little explanation of what the clinician is looking for.
Here is the short answer. A video gait assessment records your walking or running from the back, side and sometimes front, then slows the footage down frame by frame to check how your foot lands, how your hips and knees line up, and where you lose control. In a good clinic, it is paired with a physical exam so the video leads to a clear treatment plan, not just a set of pictures.
Below, we explain the gait cycle in plain terms, what a running gait analysis video shows, and what to expect at a session. Our podiatrists at ModPod Podiatry run these assessments across Sydney, so we also cover what to look for in a clinic.
Why video gait analysis matters
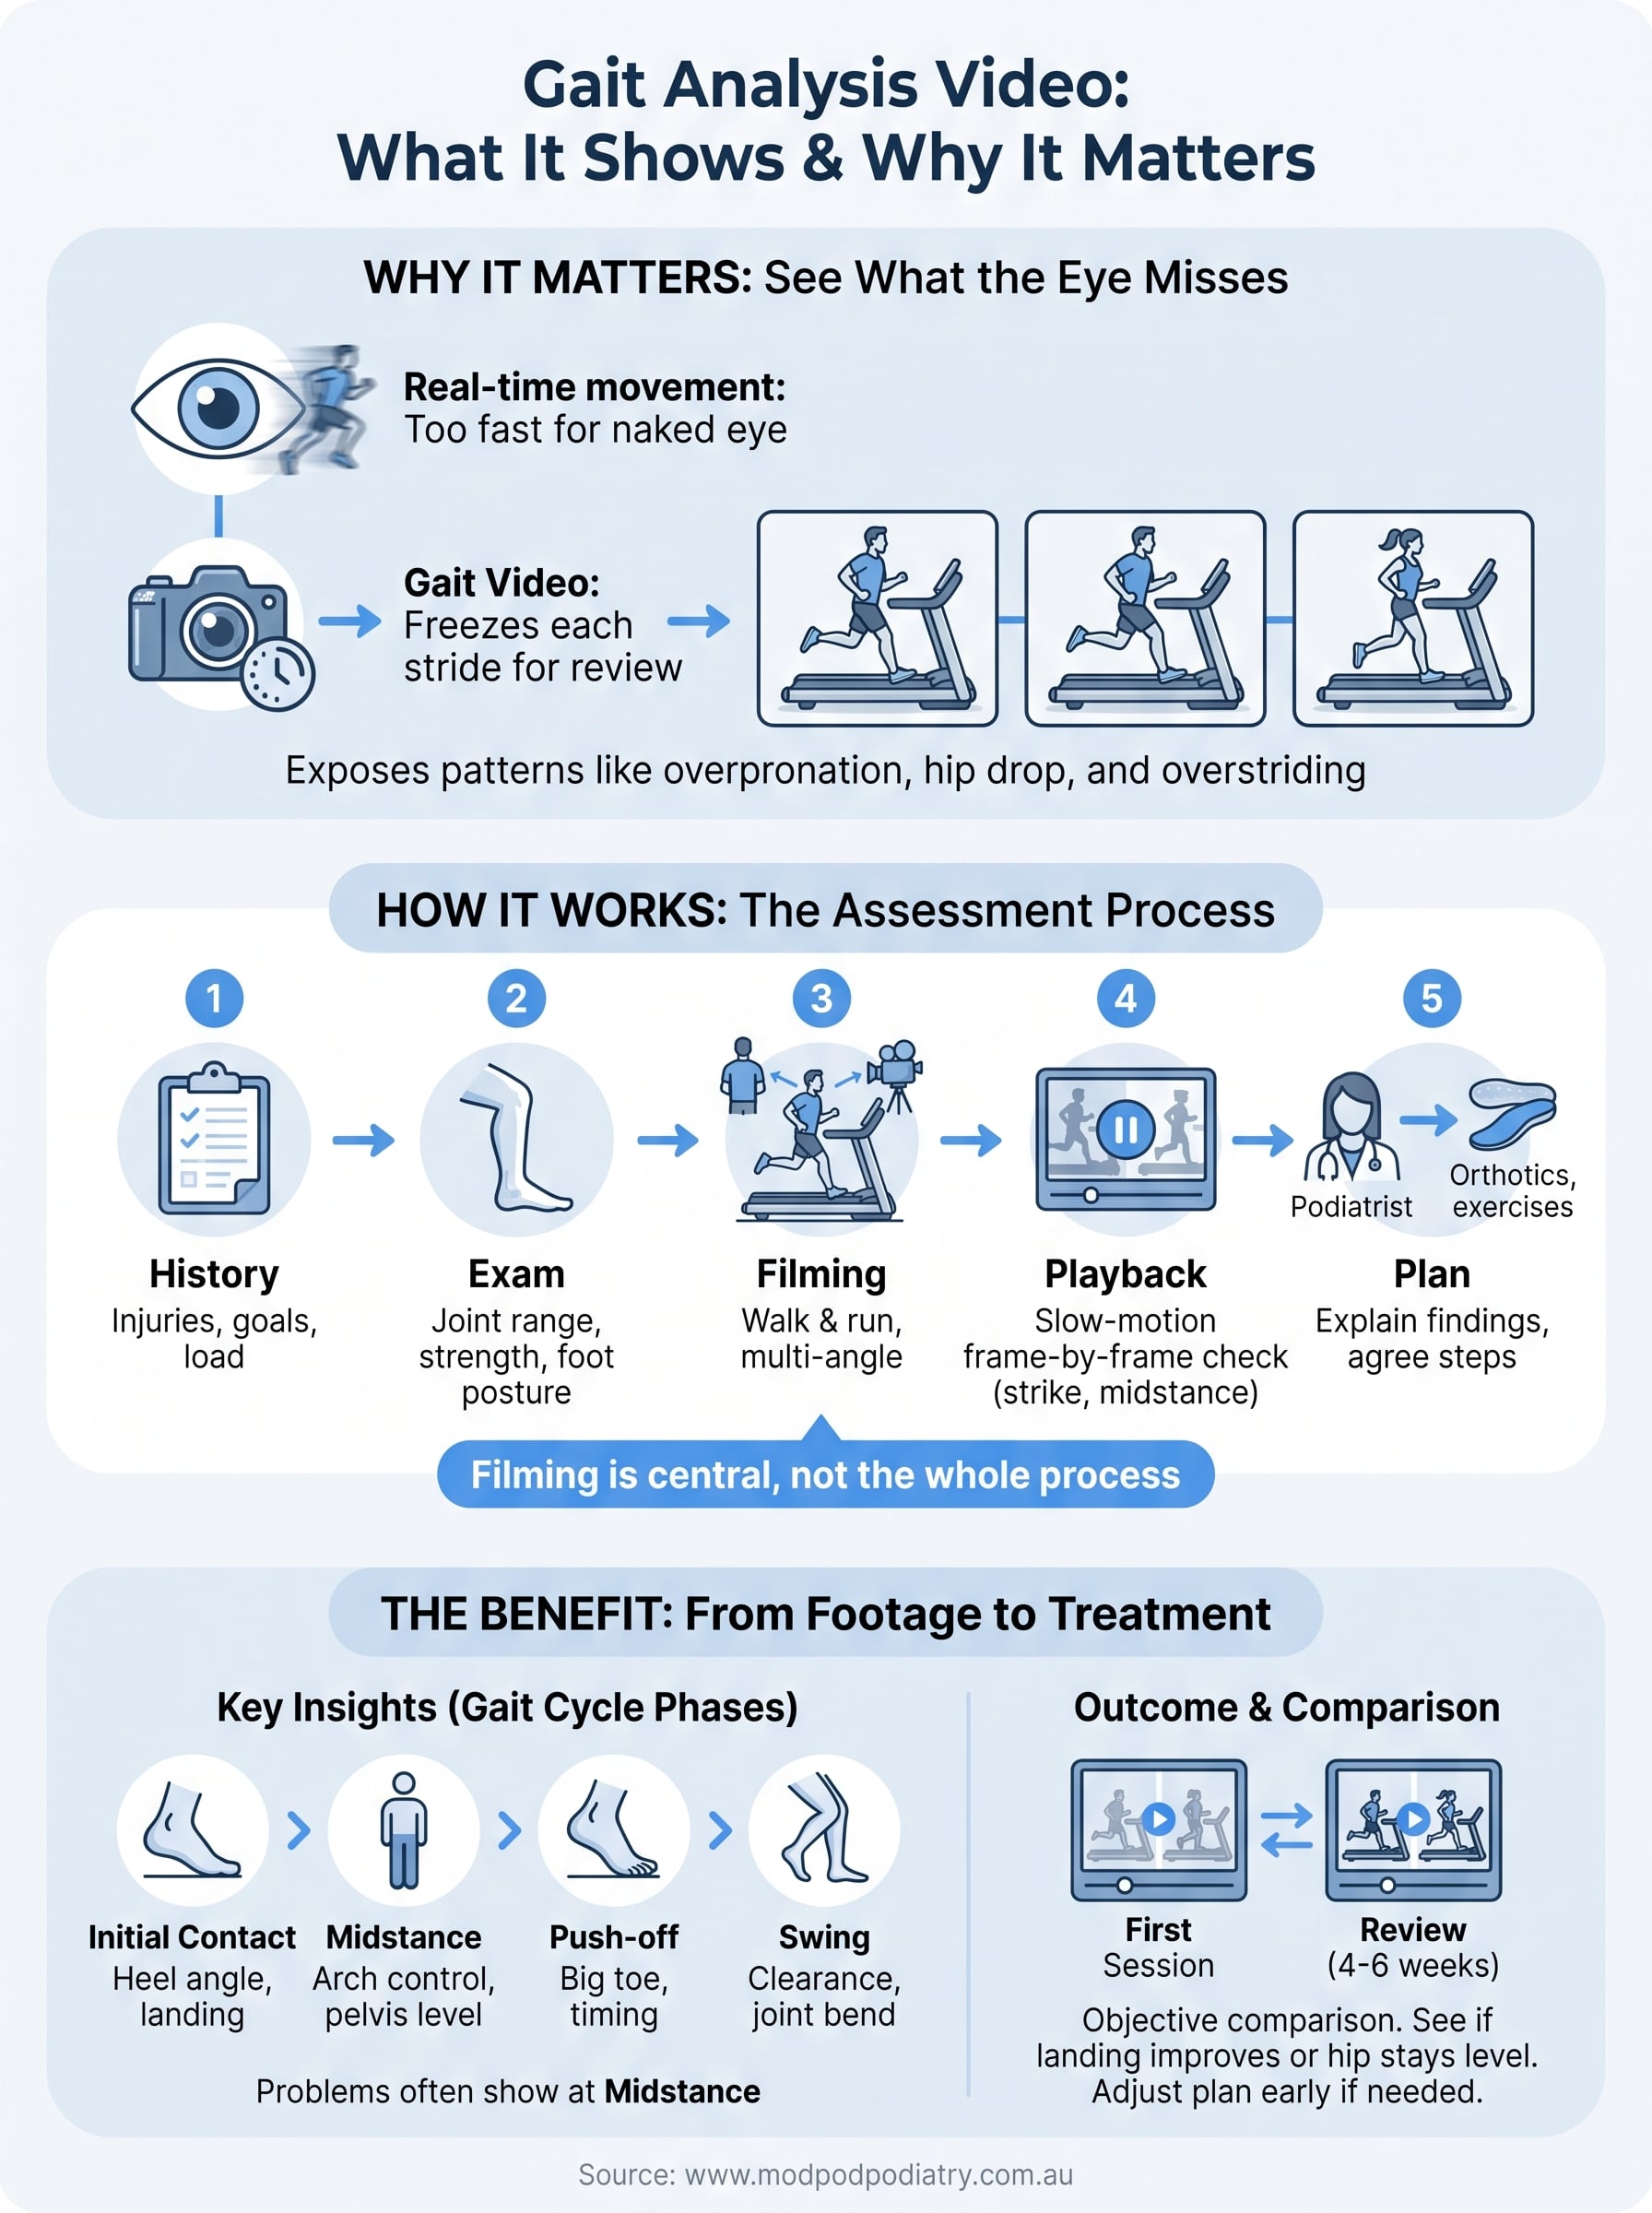
Your foot spends around a quarter of a second on the ground in each running stride. The human eye cannot track that much movement in real time, so a clinician watching you jog down a hallway will miss detail. A gait analysis video freezes each moment of the stride so it can be reviewed properly.
What the footage shows that observation cannot
Slow motion and frame-by-frame playback expose patterns linked to common injuries. Typical findings include:
- Overpronation or supination at midstance, seen as the arch collapsing or the heel rolling outwards
- Hip drop on the swing side, which often goes with knee and outer thigh pain
- Overstriding, where your foot lands well ahead of your body
- Left-to-right asymmetry, such as one shorter stride or a stiffer ankle
Why it changes your treatment
Seeing is believing. When you watch your own knee drift inward on screen, the case for strengthening work or custom orthotics is far easier to understand than a verbal explanation. You and your podiatrist are looking at the same evidence, so the plan feels less like guesswork.
Video turns "it feels a bit better" into something you can actually measure.
Filming again after four to six weeks gives you an objective comparison with your first session. If your landing has improved or your hip stays level for longer, you can see it. If nothing has changed, you can adjust the plan early instead of persisting with something that is not working.
How a video gait analysis works step by step
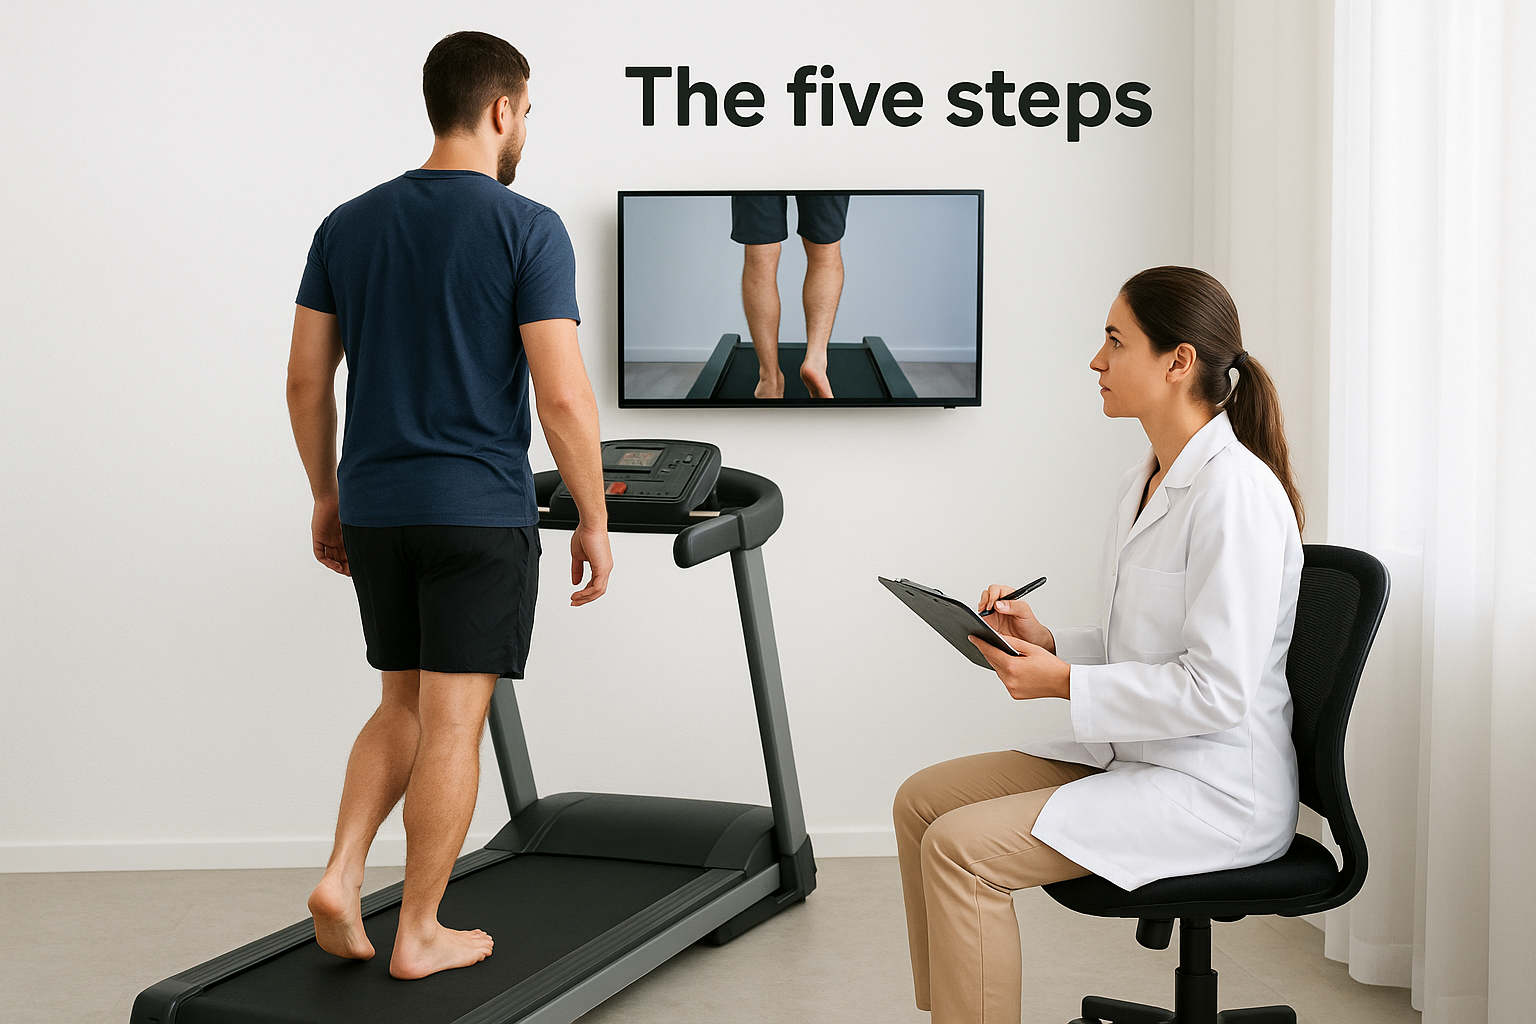
Most sessions run 45 to 60 minutes. A gait analysis video is one part of the appointment, and a physical exam comes first so the footage has context.
The five steps
Every clinic differs a little, but a thorough assessment follows this order, with the filming in the middle rather than at the start:
- History: your injuries, footwear, training load and goals.
- Exam: joint range, strength and foot posture, tested on the table.
- Filming: you walk, then run on a treadmill, filmed from behind, the side and the front.
- Playback: the footage is slowed down and paused at foot strike and midstance.
- Plan: your podiatrist explains the findings and agrees next steps with you.
What you take away
Your podiatrist may save the clips so you can compare them at your review. Many clinics also pair video with pressure plate data, which shows where load travels through each foot. We use both at ModPod.
Filming is the middle of the assessment, not the whole of it.
The gait cycle and what clinicians look for
The gait cycle runs from one heel strike to the next heel strike of the same foot. In walking, stance takes up about 60% of the cycle and swing the other 40%. A gait analysis video lets us inspect each phase separately.
The phases and what we watch
| Phase | What we check |
|---|---|
| Initial contact | Where the foot lands, and heel angle |
| Midstance | Arch control, knee alignment, pelvis level |
| Push-off | Big toe movement, heel lift timing |
| Swing | Foot clearance, hip and knee bend |
Most problems show up at midstance, when your body weight sits over one foot. A foot that rolls in too far, or a pelvis that drops, is easy to spot here. We also compare left against right, because a small difference between sides often explains one-sided pain.
Each phase of the gait cycle answers a different question about how you move.
Why timing matters
Position is only half the story. Heel lift that comes too early or a weak push-off can overload the Achilles tendon or forefoot. Slowed footage lets us measure those fractions of a second instead of guessing.
Running gait analysis video: what is different
Walking versus running
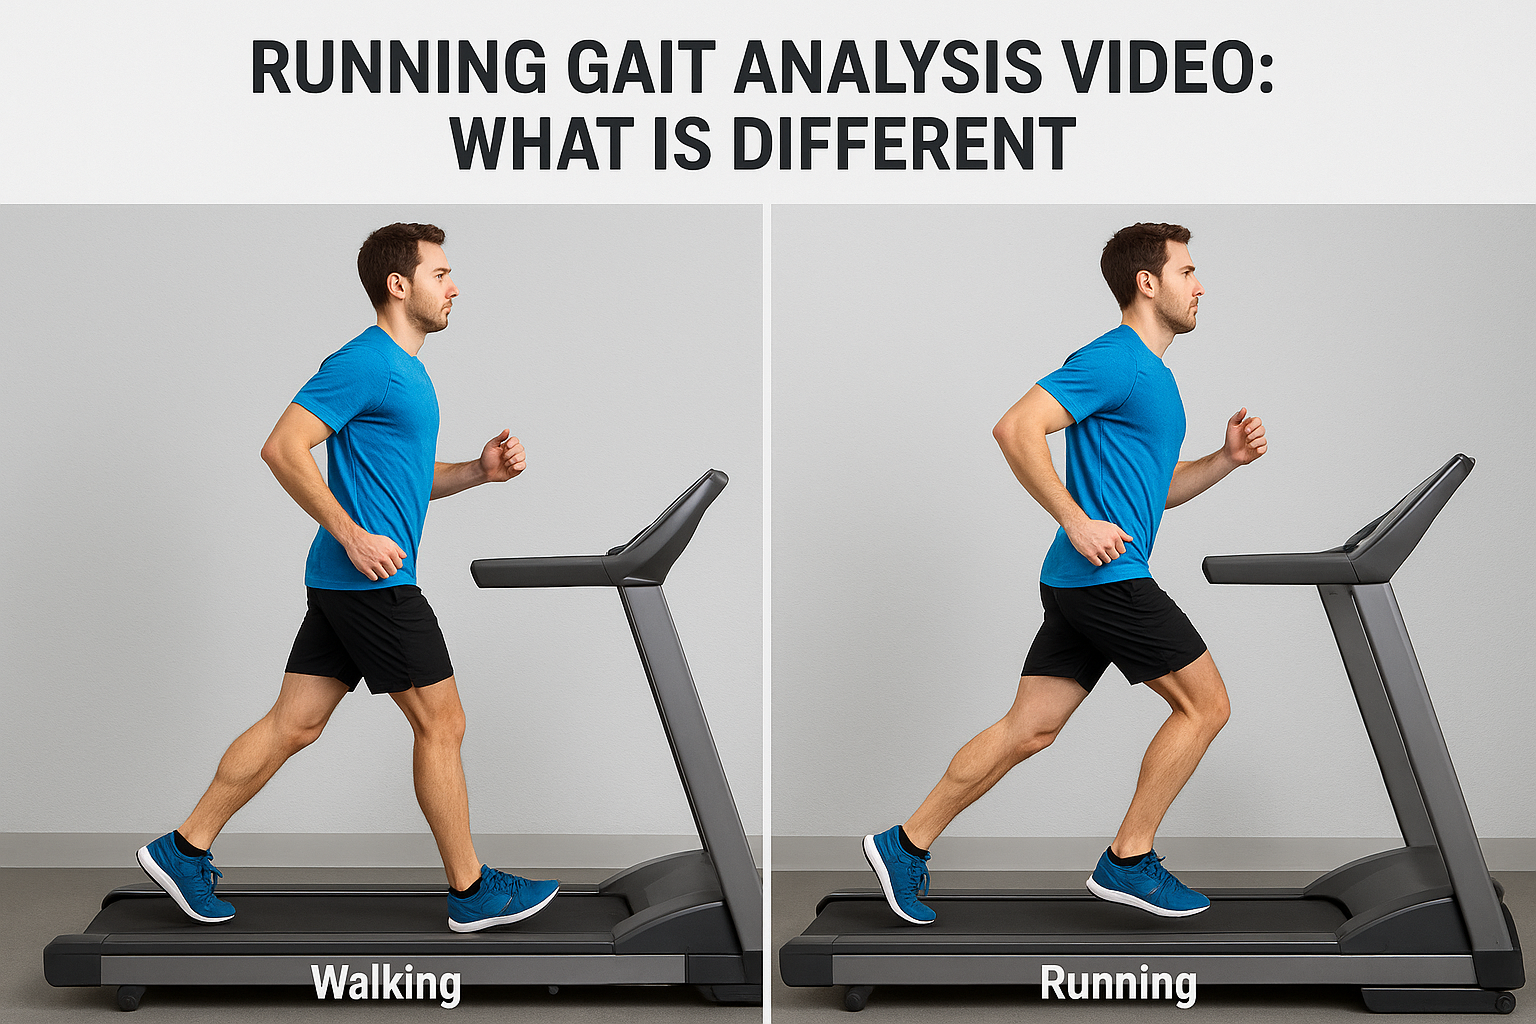
A running gait analysis video shows more than a walking one because running has a flight phase, when both feet leave the ground. Stance drops to roughly 30 to 40% of the cycle, and each landing carries two to three times your body weight. Faults that hide at a walk often appear here.
Running multiplies every small fault in your stride, which is why it shows up on camera first.
| Walking | Running | |
|---|---|---|
| Stance share of cycle | About 60% | About 30 to 40% |
| Both feet on ground | Yes | Never |
| Landing load | About body weight | 2 to 3 times body weight |
What we check on the treadmill
You run at your usual training pace, after a few minutes of warm-up so your pattern settles. Wear the shoes you train in, because they affect what the camera sees. We then check:
- Foot strike: heel, midfoot or forefoot
- Cadence, since a low step rate often goes with overstriding
- Knee angle at landing
- Trunk lean and arm swing
One to two minutes of clean footage from each angle is usually enough to spot a consistent pattern.
How to get the most from your assessment
A little preparation makes your gait analysis video far more useful. Most of it takes five minutes and costs nothing.
Before you arrive
Wear fitted shorts or leggings so the camera can see your knees and hips, and bring your usual training shoes. Also pack:
- Any orthotics, braces or old scans
- A worn-out pair of shoes, if you have one
- A note of when your pain starts, such as after 5 km
After the session
Ask for copies of your clips and a short written summary. During playback, ask your podiatrist to pause on any moment you cannot read, because the footage only helps if you understand it.
Book your review in four to six weeks and repeat the test with the same shoes, pace and camera angles. A fair comparison needs matching conditions.
Repeat the test under the same conditions, or the comparison tells you nothing.
Then put the plan into practice. Footage alone fixes nothing, so do the exercises and wear the orthotics as agreed.
Putting it all together
A gait analysis video is a simple idea done carefully. It slows your walking or running down so a podiatrist can see what the naked eye misses, from how your foot lands to how your pelvis holds at midstance. The footage matters most inside a full assessment, because the exam gives the video context and the plan gives it purpose.
Walking and running show different things, so the test should match how you move. Prepare well, wear your usual shoes, and repeat the test under the same conditions at your review. That is how a few clips become proof that your treatment is working.
If you are in Sydney and want this done properly, you can book a gait assessment online at any of our five ModPod Podiatry clinics. Same-week appointments are usually available.