

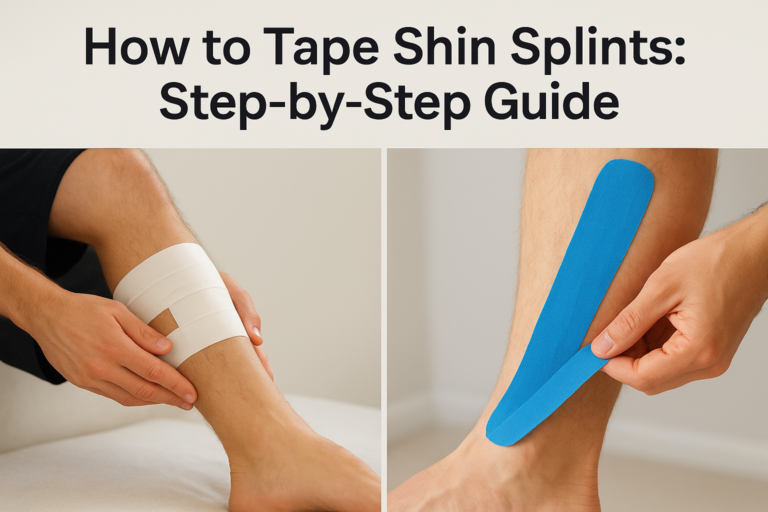
That deep, aching pain along your shin after a run doesn’t just disappear because you’ve strapped it up. But learning to tape shin splints properly can take enough load off the muscle and bone to let you train through mild cases, or at least get you through the day without wincing on every step.
If you’ve searched for shin splints taping, you’re probably after a clear, practical method rather than another vague explanation of what shin splints are. This guide gives you exactly that: a step-by-step technique using kinesiology tape for shin splints, plus notes on when rigid athletic tape works better for extra support during activity.
We treat this injury constantly across our Sydney clinics, from weekend runners to junior athletes building up training volume too quickly. Below, you’ll find the taping steps we actually use with patients, common mistakes that stop tape from working, and a straightforward note on when taping alone won’t cut it and you need a proper biomechanical assessment instead.
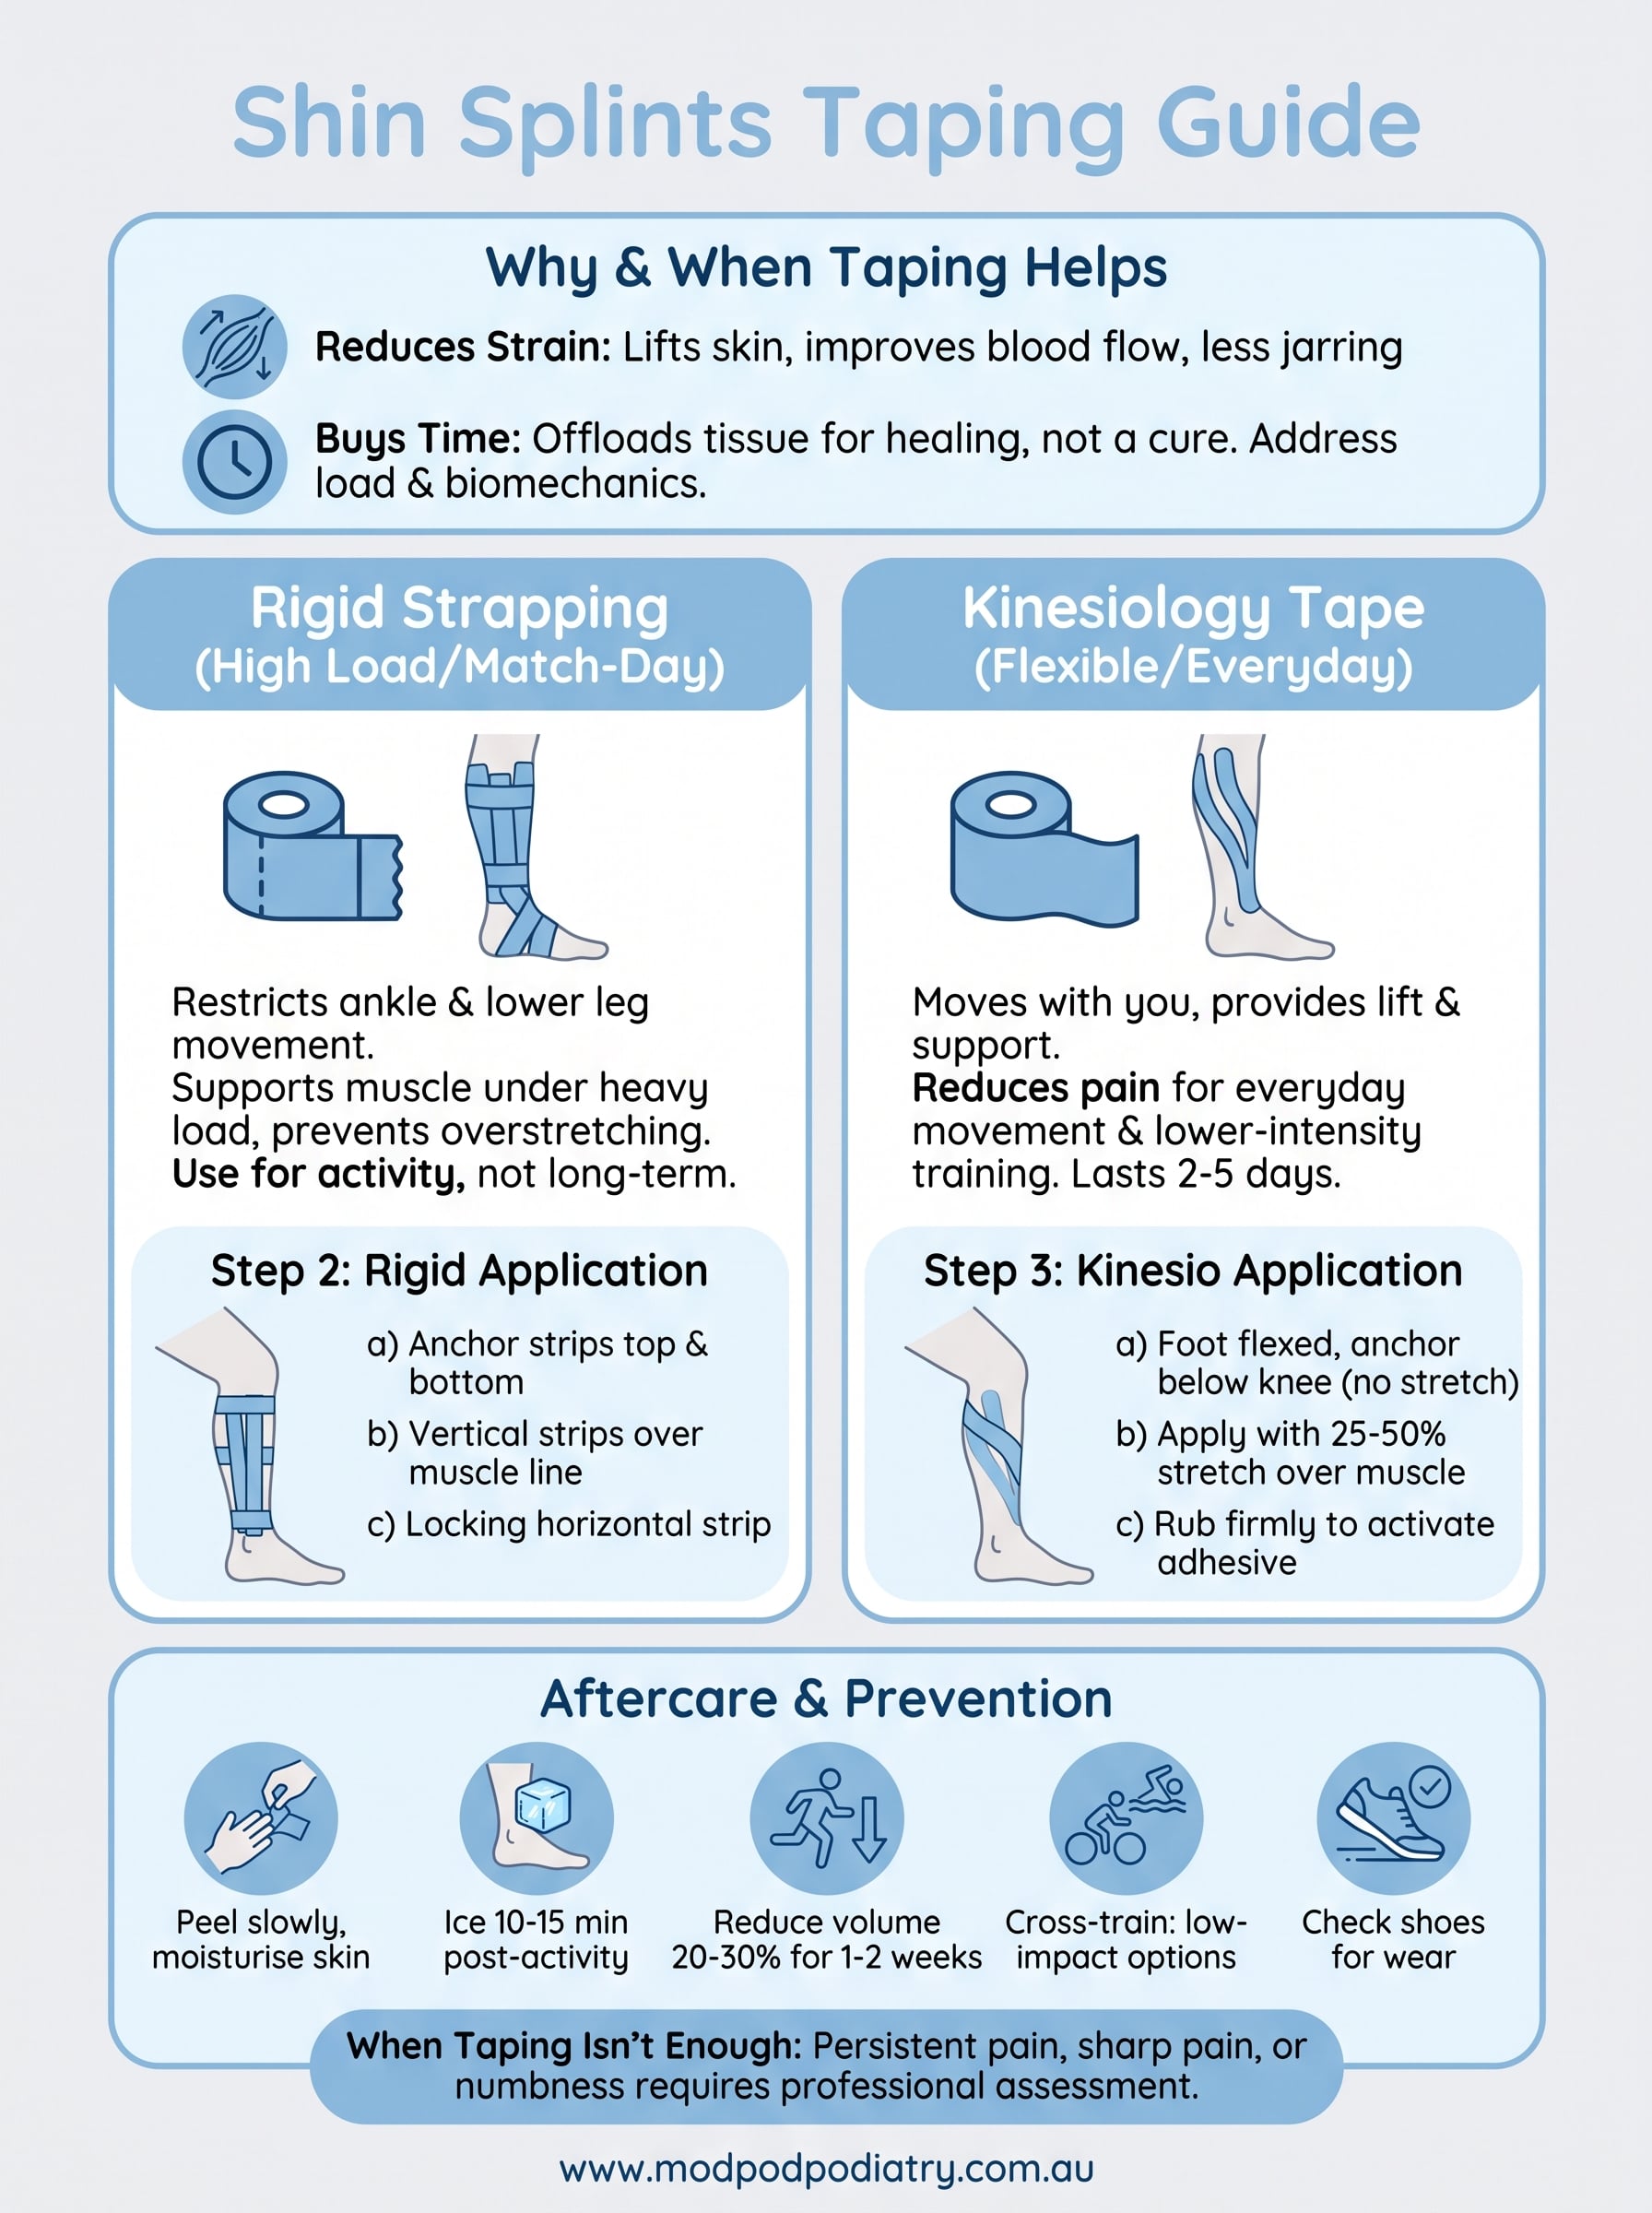
Why and when taping helps with shin splints
Shin splints, or medial tibial stress syndrome, happen when the muscles and connective tissue pulling on your shin bone get overloaded faster than they can recover. Sports tape for shin splints works by reducing the strain on that tissue. It lifts the skin slightly, which improves blood flow and lymphatic drainage, and it gives your brain extra feedback about where your leg is in space, so you land and push off with less of the jarring movement that aggravates the injury.
How taping reduces shin splint pain
Rigid athletic tape for shin splints works differently to kinesio tape. It restricts movement at the ankle and lower leg, which limits the muscle from overstretching under load, useful if you’re playing a match or running a race and need mechanical support to get through it. Kinesio taping for shin splints, on the other hand, is more about offloading tension and reducing pain during everyday movement and lower-intensity training, without restricting your range of motion much at all.
Taping doesn’t fix the cause of shin splints, it buys your tissue time to heal while you address the actual load and biomechanics behind the injury.
When taping isn’t enough
Taping helps most with mild to moderate cases, where you feel a dull ache along the inner shin during or after activity. It’s less useful, and sometimes risky, if you’re dealing with:
- Sharp, localised pain that gets worse with each step (possible stress fracture symptoms)
- Swelling that doesn’t settle with rest
- Numbness, tingling, or a tight, bursting feeling in the lower leg (possible compartment syndrome)
- Pain that persists despite weeks of taping and reduced training
If any of these apply, you need imaging and a proper assessment before you keep training on it.
Step 1. Gather your tape and prepare your skin
Getting the tape to stick and stay put for a full training session starts before you even touch your shin. Preparation matters more than most people think, and rushing this step is the main reason shin splints tape peels off within an hour.
Here’s what to have ready:
- Rigid athletic strapping tape (for match-day or high-load support) or kinesiology tape (for everyday offloading and pain relief)
- Underwrap or pre-tape spray if you have sensitive skin
- Scissors
- A razor if you’ve got noticeable leg hair
- Alcohol wipes or soap and water
Wash and dry your lower leg thoroughly, then shave the area if needed. Oil, sweat, and body hair are the biggest culprits behind tape that lifts halfway through a run. If you’re using kinesiology tape for shin splints, round off the corners of each strip with scissors before applying it. Rounded edges resist catching on socks and shoes, which extends how long the tape lasts.
Sit with your foot relaxed and your ankle at roughly a right angle. This neutral position gives you an accurate baseline to stretch the tape from once you start applying it in the next steps.
Step 2. Apply athletic strapping tape for rigid support
Rigid strapping shin splints technique works best when you need mechanical support for a game, race, or heavy training session, and our step-by-step shin splint strapping guide covers it in more detail. This method restricts excessive ankle and lower leg movement, which stops the shin muscles from overstretching under repeated impact.
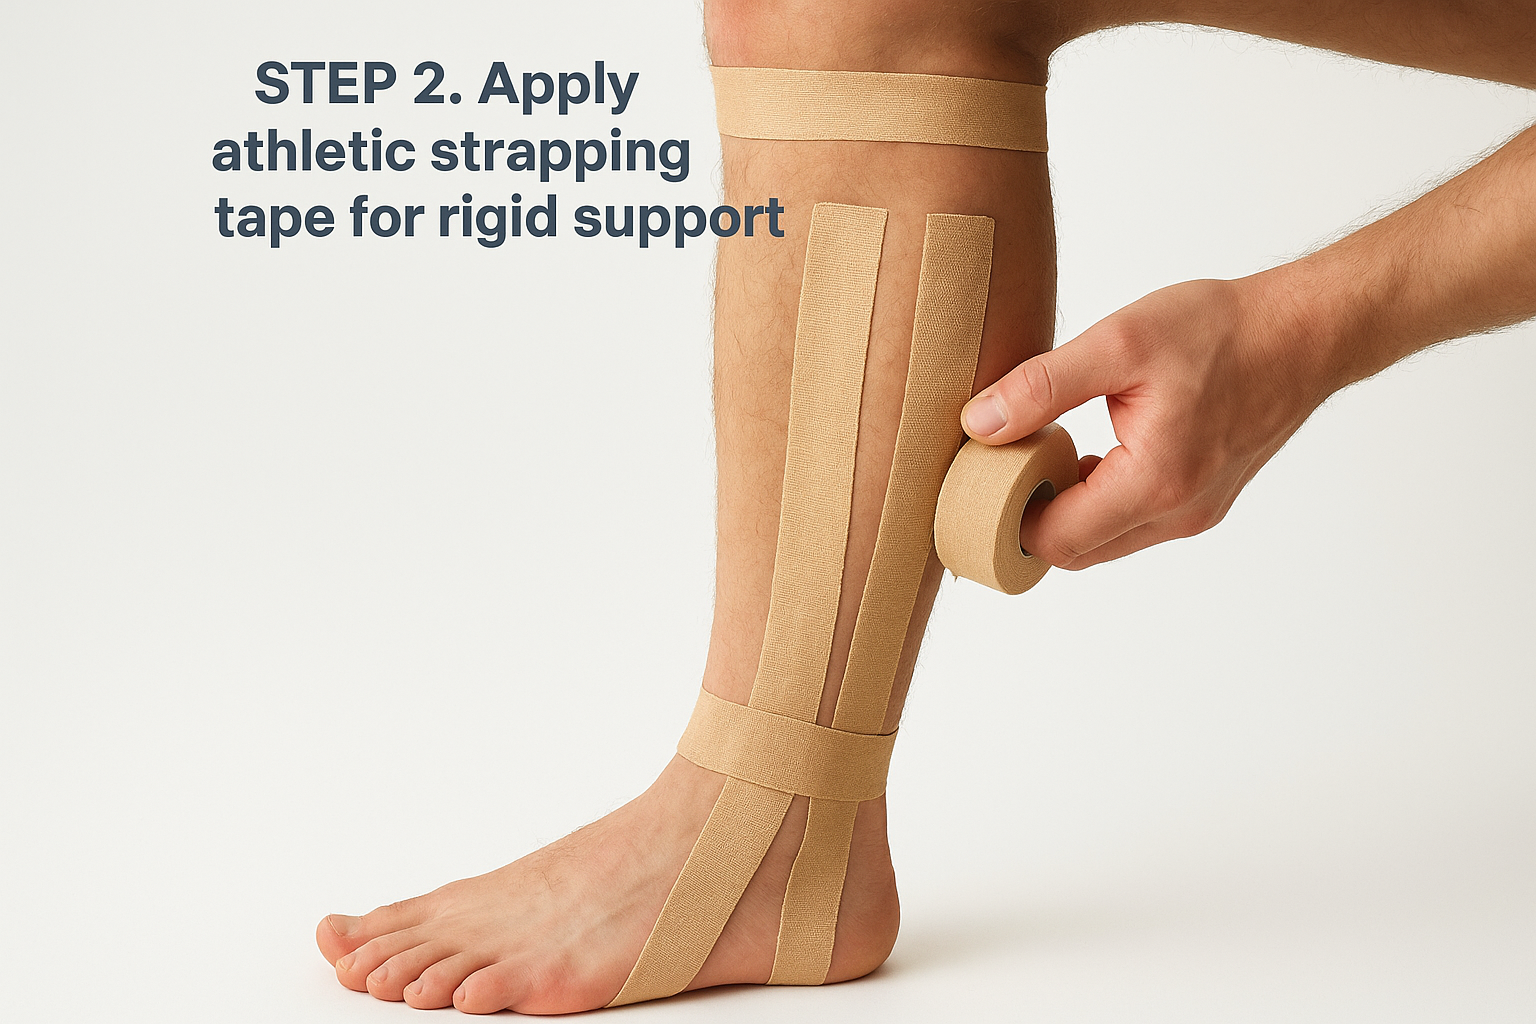
Follow these steps:
- Anchor a strip of underwrap or tape around the top of your calf, just below the knee, without pulling it tight.
- Run a second anchor strip around your foot, just above the arch.
- Starting from the top anchor, lay strips of rigid tape down either side of the shin bone, following the line of the muscle rather than the bone itself.
- Overlap each strip by about half its width as you work down towards the ankle.
- Finish with a horizontal strip locking the vertical strips into the bottom anchor near the arch.
Pull the tape firm enough to feel supportive, not so tight it cuts off circulation or leaves your toes tingling. Check that you can still flex your ankle without sharp restriction before you start moving on it.
Rigid tape supports the muscle for one session, it isn’t a long-term fix for training too hard, too fast.
Step 3. Apply kinesiology tape for flexible support
Unlike rigid strapping, kinesiology tape for shin splints is designed to move with you. It’s the better choice for everyday training, walking around the office, or lower-impact sessions where you want pain relief without limiting your range of motion. Because it stretches with the skin, it also lasts longer, often two to five days, which suits ongoing management rather than a single event.
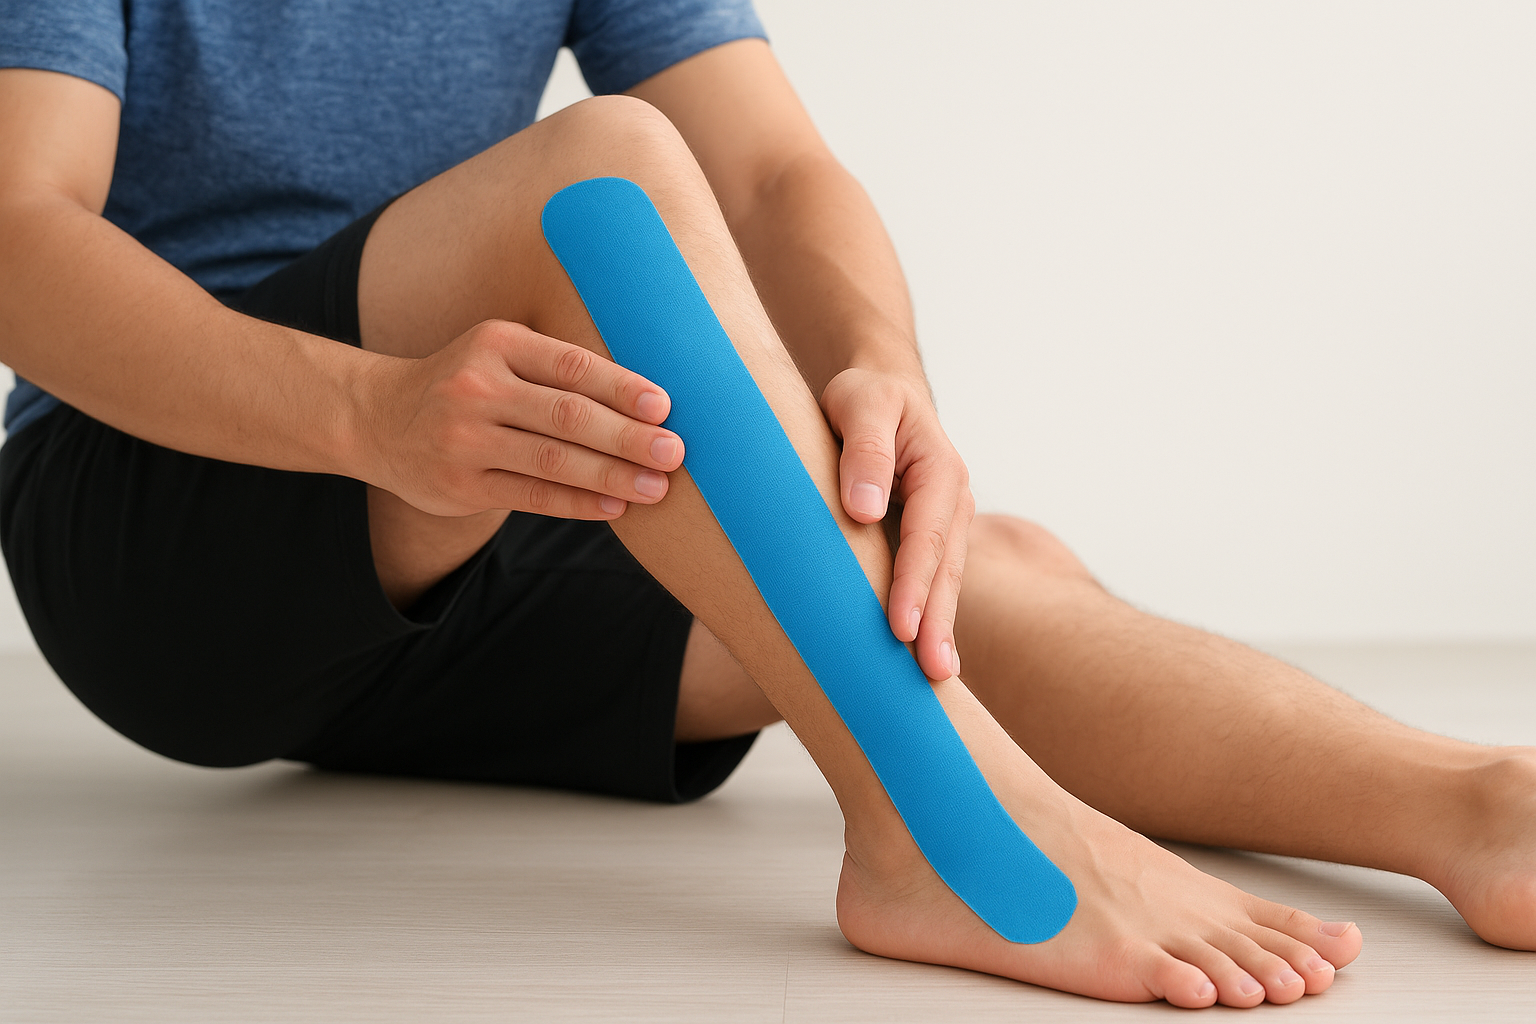
Apply it this way:
- Sit with your ankle flexed upward (toes pointing towards your shin) to put the muscle on stretch.
- Cut two strips long enough to run from just below the knee to just above the ankle.
- Anchor the first strip below the knee with no stretch, then apply the rest of the strip down either side of the shin with 25 to 50 percent stretch, following the muscle line rather than the bone.
- Rub the tape firmly to activate the adhesive with body heat.
- Repeat with the second strip on the opposite side of the shin if pain runs along both edges.
The goal with shin splints kinesiology tape is gentle lift and support, not compression, so avoid pulling it drum-tight.
Step 4. Aftercare, prevention and when to see a podiatrist
Once you’ve finished training, peel the tape off slowly in the direction of hair growth rather than yanking it, and moisturise the skin afterwards to stop irritation building up over repeated applications. Taping for shin splints works best as part of a routine, not a one-off fix, so plan to reapply fresh tape each session rather than reusing old strips that have lost their stretch.
Alongside taping and the other proven at-home shin splint remedies, a few habits make a real difference to recovery:
- Ice the shin for 10 to 15 minutes after activity if it’s sore
- Drop your running volume back by 20 to 30 percent for a week or two
- Swap high-impact sessions for cycling or swimming while symptoms settle
- Check your running shoes aren’t worn down on one edge, and know when to replace your running shoes
If taping and reduced load haven’t eased your pain within two to three weeks, that’s your sign to get a proper assessment rather than keep strapping over the problem.
Seeing a podiatrist becomes worthwhile once pain returns despite rest, or if you notice it shifting from a dull ache to something sharper. A biomechanical assessment can pick up the training or gait issues tape alone can’t fix, and it helps to know what a gait analysis involves before you go.
Supporting your recovery beyond taping
Tape gives you breathing room, but it won’t correct the training load, footwear, or biomechanics that caused your shin splints in the first place. Think of it as a bridge, not a destination. If you’ve been strapping up for weeks and still feel that familiar ache creeping back once the tape comes off, your shins are telling you something taping can’t fix on its own.
Getting a proper gait assessment often reveals the real driver behind repeated shin splints, whether that’s overpronation, worn-out shoes, or a training spike your body hasn’t adapted to yet. Sometimes the long-term answer isn’t more tape but custom orthotics built around how your foot actually moves. Our podiatrists across Sydney see this pattern constantly, and a same-week appointment usually beats another month of guessing. If you’re ready for a real diagnosis instead of a temporary fix, book a same-week shin assessment at one of our Sydney clinics and let’s sort out the cause, not just the symptom.

