

That dull, aching pain along your shinbone after a run isn’t something to push through. Whether it shows up halfway through a jog or lingers the next morning, shin splints from running are one of the most common complaints we see at ModPod Podiatry clinics across Sydney, and they tend to come back if you don’t address the root cause. Learning how to avoid shin splints starts with understanding why they happen in the first place, not just icing the pain and hoping it settles.
If you’re dealing with shin pain when running, the good news is that most cases are preventable with a few targeted changes to your training and footwear. Sudden increases in mileage, worn-out shoes, and poor running mechanics are usually the real culprits behind pain along the inner shin, and once you know what to look for, prevention becomes far more manageable than treatment.
In this article, we walk through five practical, podiatrist-backed strategies to keep shin splints away for good, from smarter training load to proper gait analysis and supportive orthotics. If you’re already struggling with shin splints during running and nothing seems to help, our team can assess your biomechanics and build a shin splints treatment plan suited to your feet and your goals.
1. Get a podiatry assessment and gait analysis
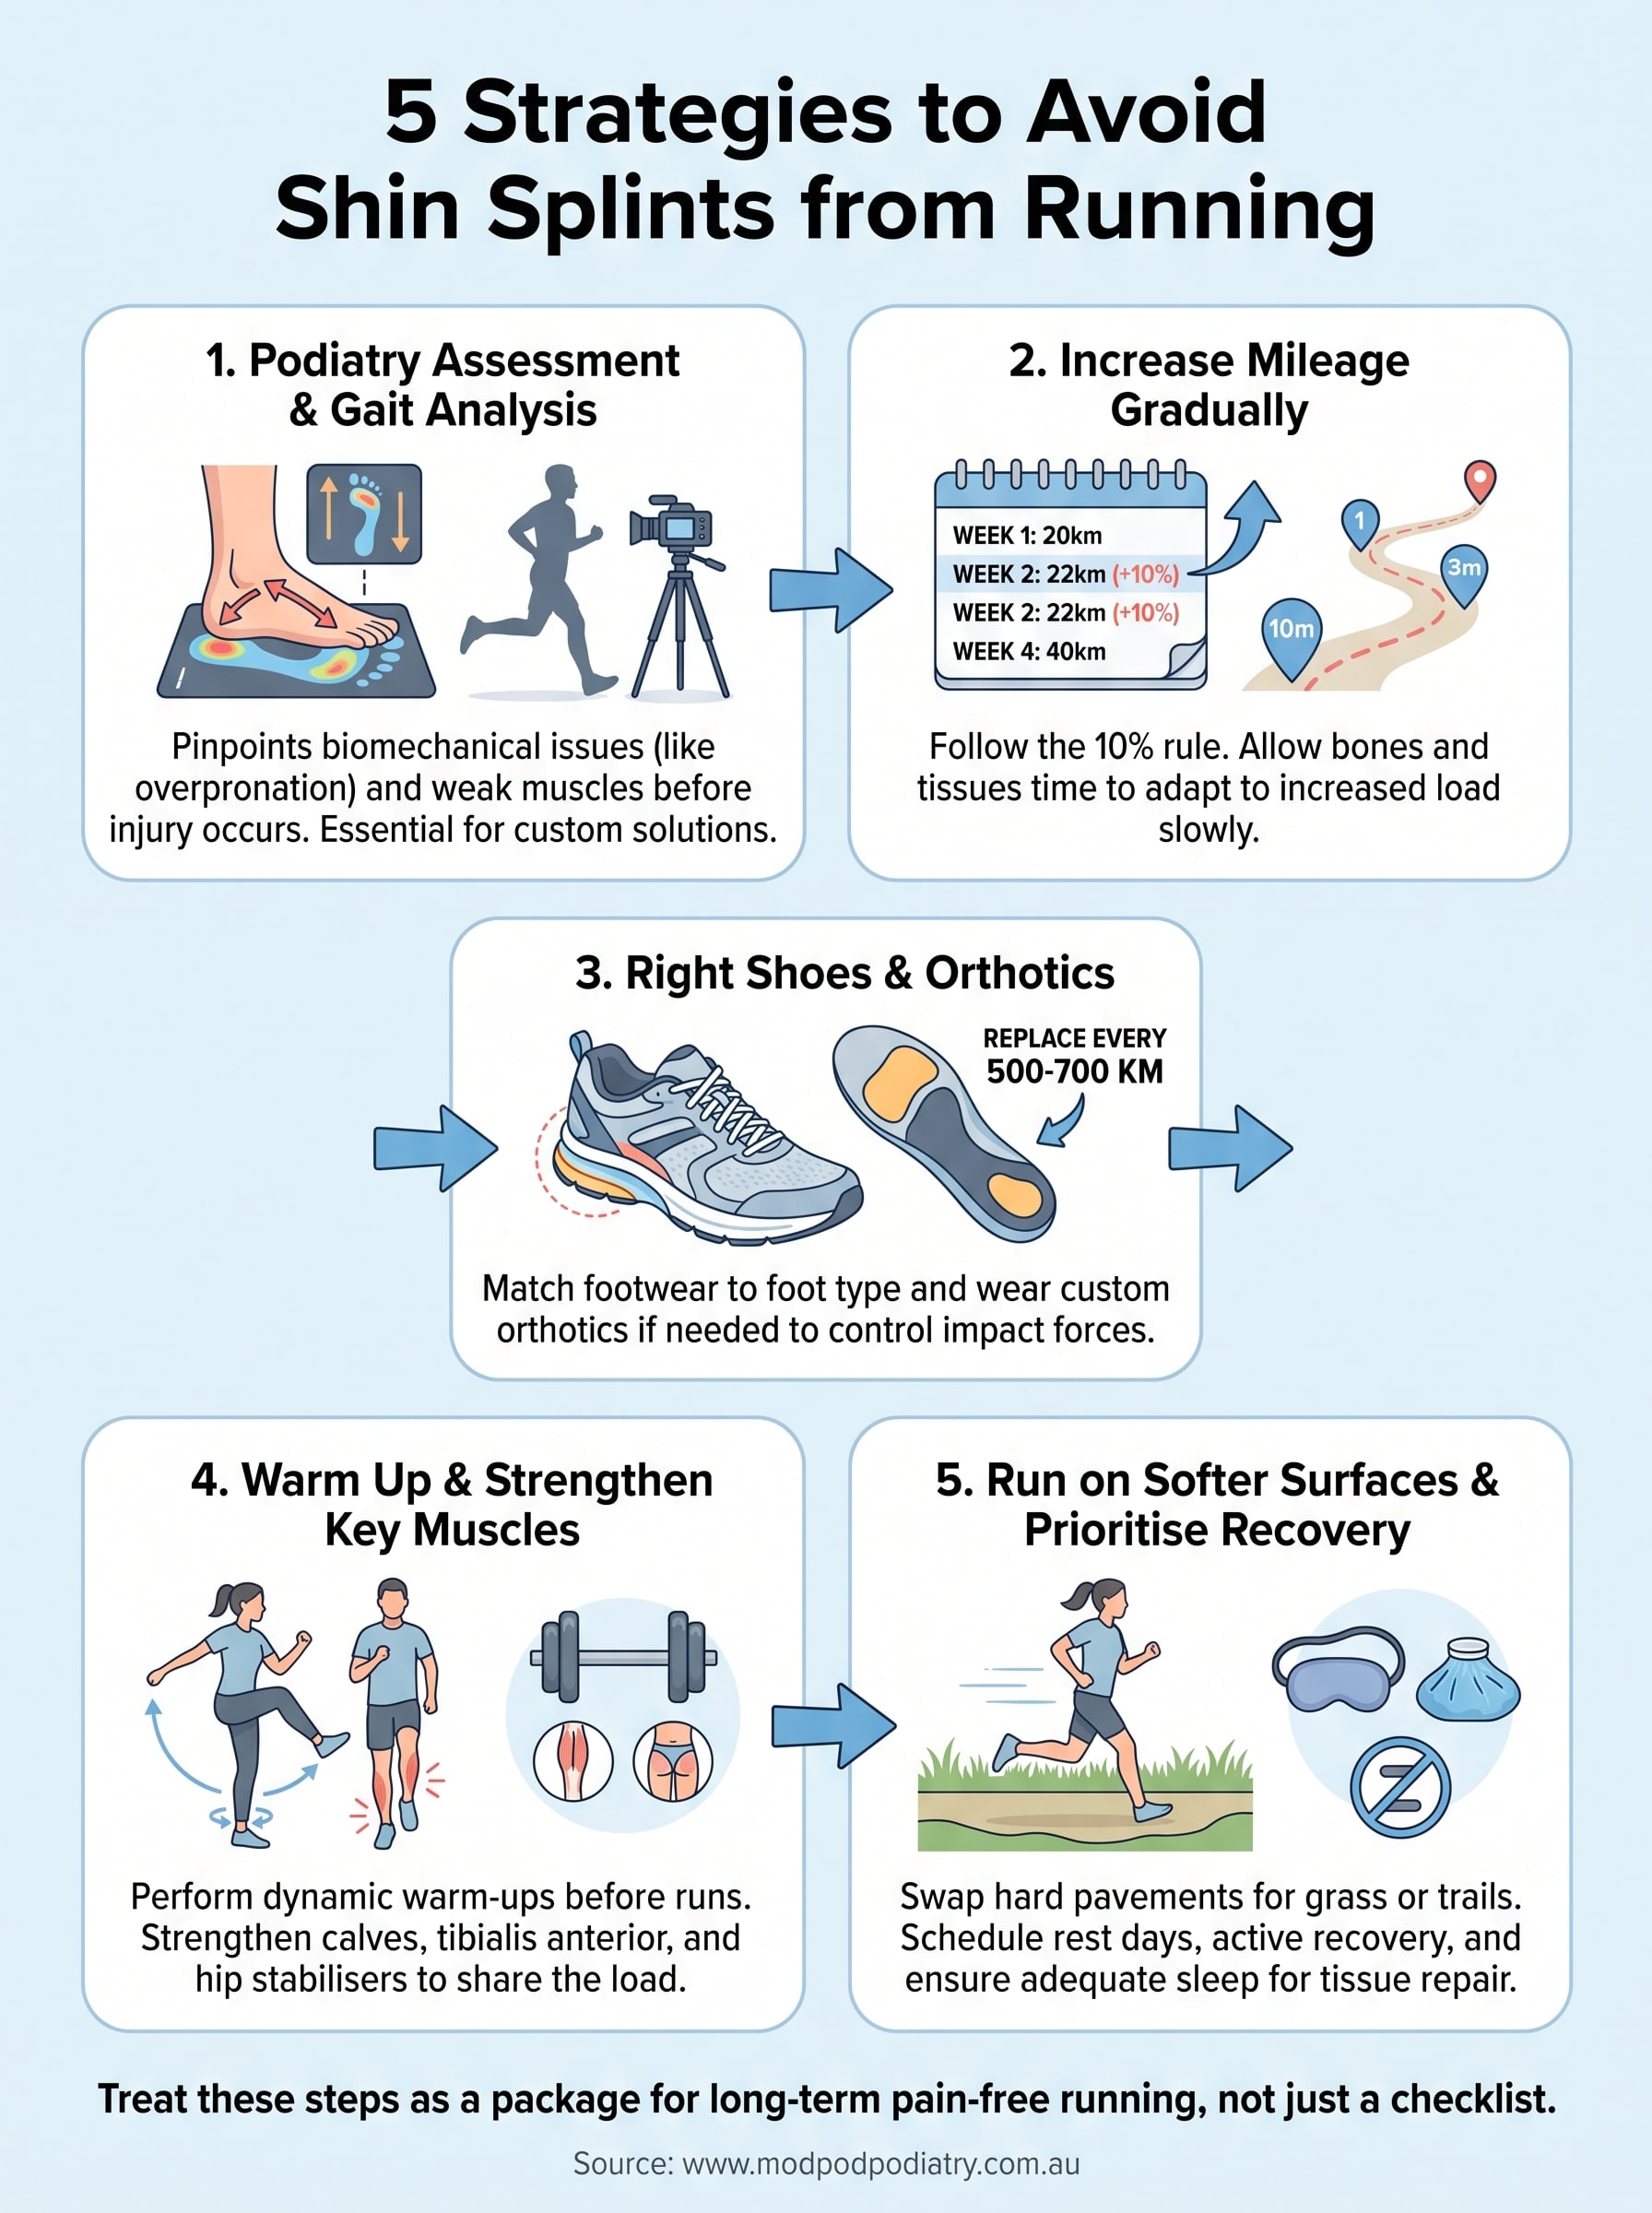
Before you change a single thing about your training, get your feet and running mechanics properly assessed. A podiatry assessment looks at how your foot strikes the ground, how your ankles and knees track through each stride, and whether your arches are collapsing or over-supinating under load. This is the starting point for anyone serious about how to avoid shin splints, because guessing at the cause usually means treating the wrong problem.
What it involves
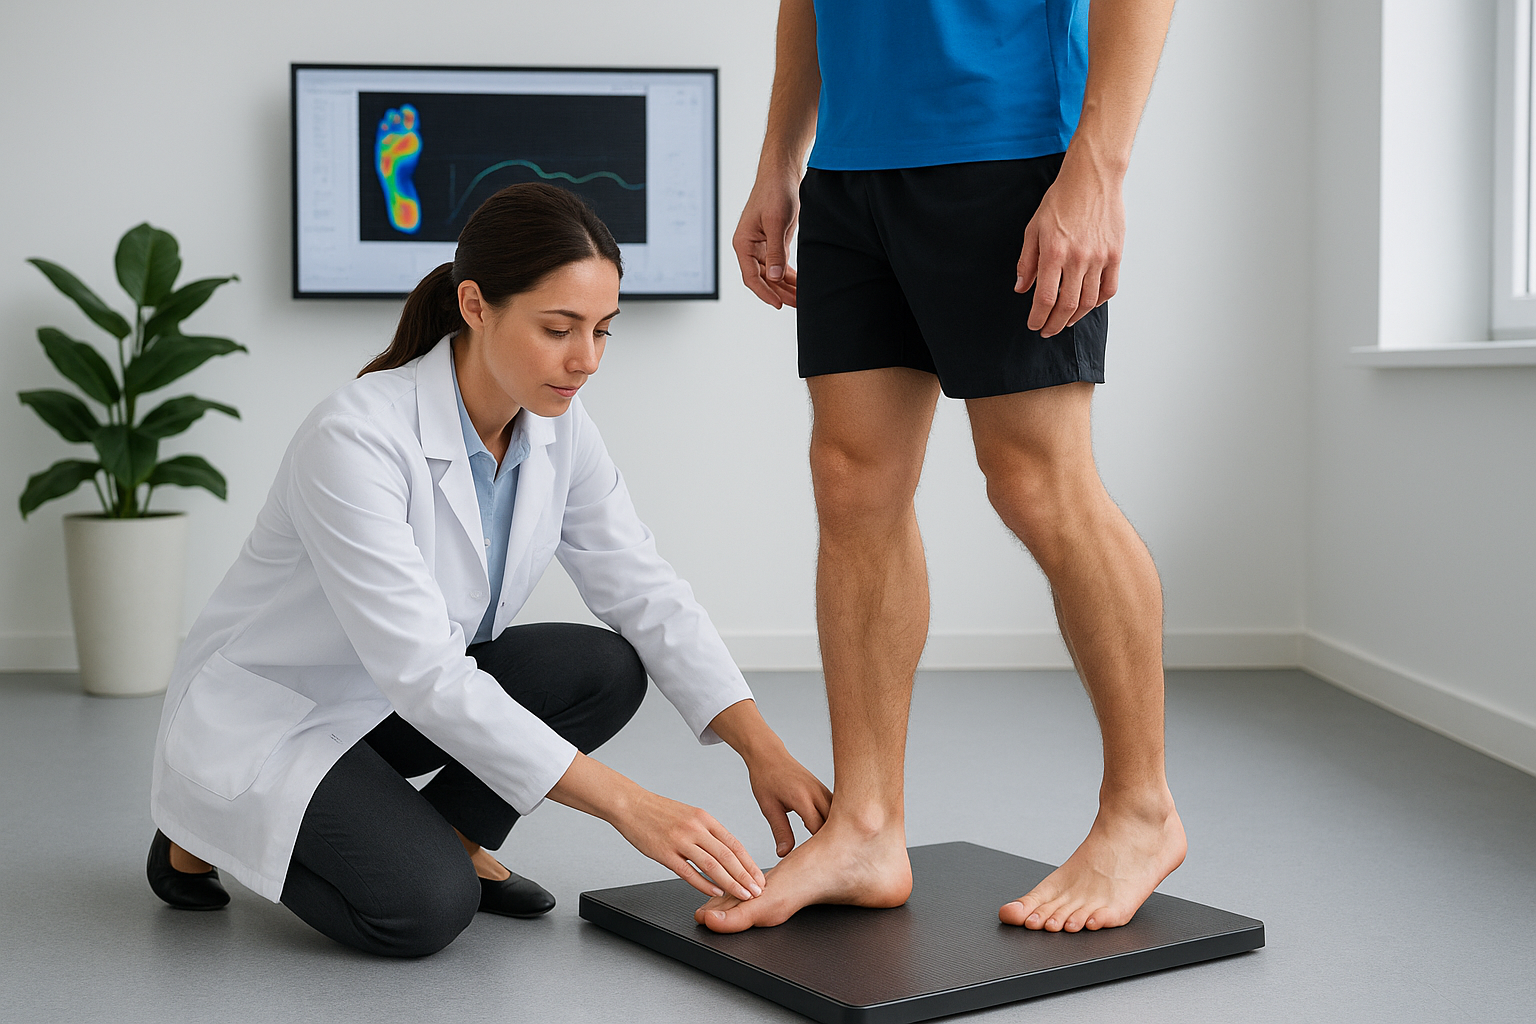
At ModPod Podiatry, a full running gait analysis and biomechanical assessment uses a pressure plate to map how weight moves through your foot, alongside video analysis of your running form. Your podiatrist checks muscle strength, joint range of motion, and any asymmetries between your left and right leg. This isn’t a five-minute look at your shoes; it’s a proper diagnostic session that usually takes 30 to 45 minutes.
Why it helps prevent shin splints
Overonation, tight calves, and weak hip stabilisers are common drivers behind posterior shin splints cause patterns, and none of these show up until someone watches you actually run. Excess pronation forces your tibialis posterior tendon to work overtime absorbing shock, which is exactly the tissue that becomes inflamed and painful along the inner shin. A gait analysis pinpoints this early, before it turns into a recurring injury.
Shin splints rarely come from bad luck; they come from mechanics nobody has looked at properly.
How to put it into practice
Book an assessment before ramping up your training, not after the pain starts. Bring your current running shoes to the appointment, along with a note of your typical weekly distance and any past injuries. Ask your podiatrist for a written summary of findings, including any specific muscle weaknesses to work on. If you’re eligible for a Medicare EPC plan or have private health cover, check whether your assessment is claimable, since most patients get some rebate through HICAPS on the day.
2. Increase your running mileage gradually
Ramping up your weekly distance too fast is one of the fastest ways to trigger shin splints from running. Your bones, tendons and muscles adapt to load slowly, and if your training plan asks for more than they can handle, the shinbone takes the hit first.
What it involves
Gradual mileage increases mean tracking your weekly distance and applying a sensible cap on how much you add. The widely used guide is the 10% rule: don’t increase your total weekly running volume by more than 10% from one week to the next. This applies whether you’re building up for a first 5km or adding speed sessions to marathon training.
Why it helps prevent shin splints
Bone and connective tissue need time to remodel and strengthen under repeated load. Jump too quickly and you get microtrauma faster than your body can repair it, which is a well-documented pathway for posterior shin splints and tibial stress injuries. This applies just as much to shin splints jogging casually as it does to structured training blocks.
Shin splints usually punish impatience, not effort.
How to put it into practice
Keep a simple running log with weekly totals, and resist the urge to chase big jumps after a good week. Build in a lighter recovery week every third or fourth week, and reassess if shin discomfort appears during shin splints and running sessions.
3. Wear the right running shoes and orthotics
Worn-out or wrong-fit shoes are a quiet cause of shin pain that many runners overlook. If your shoes have lost their cushioning or don’t match your foot type, every stride sends more shock straight up your shin instead of absorbing it where it should.
What it involves
Choosing the right shoe means matching your footwear to your foot shape, arch height and running gait, not just picking whatever’s on sale. For some runners, this also means adding custom orthotics designed from a 3D scan or pressure plate reading, which correct the exact pronation pattern picked up during your assessment. ModPod Podiatry builds orthotics made from a scan of your own feet specifically for this purpose, tailored to your foot rather than a generic insert.
Why it helps prevent shin splints
Shoes past their prime, generally over 600 to 800 kilometres, lose the midsole cushioning that controls impact forces. Combined with unaddressed overpronation, this overloads the tibialis posterior tendon and surrounding muscles, a common trigger for posterior shin splints cause patterns.
The right shoe won’t fix bad mechanics, but the wrong shoe will make good mechanics fail.
How to put it into practice
Replace running shoes every 500 to 700 kilometres, and get the fit checked properly at a specialist store rather than guessing your size online. If your podiatrist recommends orthotics, wear them consistently for the first two weeks to let your feet adjust before increasing your running load again.
4. Warm up properly and strengthen key muscles
Skipping your warm-up is one of the easiest ways to invite shin pain when running, especially on cold mornings or after a long day at a desk. Cold, tight calves and a weak lower leg simply can’t absorb impact the way properly prepared muscles can, and the shin ends up taking the strain instead.

What it involves
A proper warm-up means five to ten minutes of dynamic movement, such as leg swings, ankle circles and walking lunges, before you pick up pace. Alongside this, build a weekly strength routine targeting your calves, tibialis anterior and hip stabilisers, since weakness in any of these muscles shifts extra load onto the shin.
Why it helps prevent shin splints
Weak or fatigued calf muscles and a poorly conditioned tibialis anterior are frequently behind posterior shin splints cause patterns, because these muscles normally share the shock-absorbing work with your shin. Strengthening them gives your lower leg more capacity to handle repeated impact without inflaming the tissue along the bone.
Strong calves and hips protect your shins more reliably than any stretch ever will.
How to put it into practice
Add calf raises, toe raises and single-leg balance work two to three times a week, building up reps gradually. Pair this with a consistent dynamic warm-up before every run, and never launch straight into intervals or hill sessions from a cold start.
5. Run on softer surfaces and prioritise recovery
Surface choice matters more than most runners realise when working out how to avoid shin splints for good. Concrete pavements and treadmills set to a hard incline send far more shock up through your legs than a grass verge or a rubberised track, and that repeated jolt lands squarely on your shin.
What it involves
Running on softer surfaces means swapping some of your kilometres onto trails, grass, dirt paths or a synthetic athletics track instead of always hitting the footpath. Recovery habits matter just as much here, including rest days, sleep, and active recovery like walking or swimming between harder sessions.
Why it helps prevent shin splints
Harder ground increases the impact force travelling through your tibia with every stride, giving already-stressed tissue less chance to settle. Skipping recovery compounds this, since muscles and bone need downtime to repair the microdamage that builds up during shin splints during running episodes.
Softer ground and proper rest do the healing your training plan can’t.
How to put it into practice
- Rotate one or two weekly runs onto grass, trail or track
- Schedule at least one full rest day and one active recovery day weekly
- Sleep seven to nine hours to support tissue repair
- Ice and elevate shins after harder sessions if soreness appears
Keeping your shins pain-free for the long run
Shin splints from running rarely come from bad luck. They come from mechanics, mileage and footwear choices that quietly stack up until your shin can’t absorb any more load. Getting a proper gait assessment, building your kilometres gradually, wearing shoes suited to your foot, strengthening your lower leg, and giving your body real recovery time all work together, not in isolation. Skip one and the others end up compensating, which is usually when pain creeps back in.
Treat these five steps as a package rather than a checklist you tick off once. Revisit your training load every few weeks, replace your shoes on schedule, and keep strength work in rotation even once your shins feel fine. If shin pain has already settled in, or you want a proper biomechanical assessment before your next training block, book a shin splints assessment at one of our Sydney clinics and get a plan built around your feet, not a generic guess.