
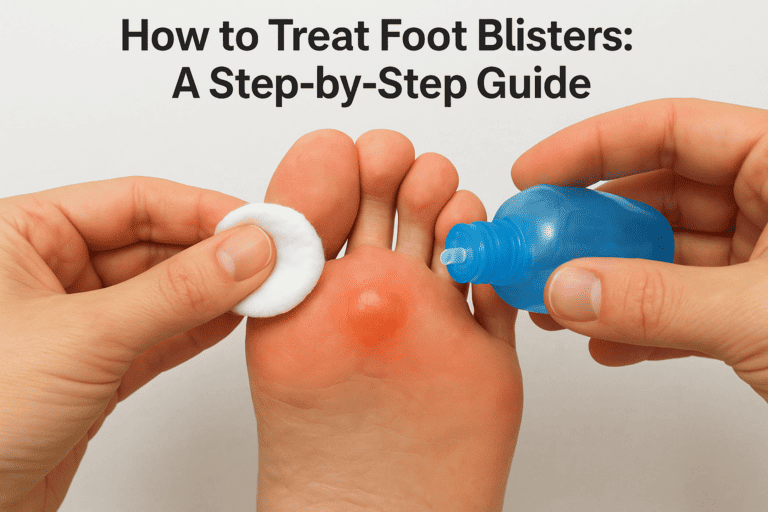
That hot spot on your heel after a long walk, or the fluid-filled bump on your toe after a run, is your skin’s way of telling you something rubbed the wrong way. Knowing how to treat foot blisters properly makes the difference between a minor annoyance that heals in a few days and an infected wound that puts you on the sidelines for weeks.
The short answer is this: clean it, protect it, and only drain it if it’s large and painful, using the right technique. Popping every blister isn’t the right call, and neither is ignoring one that’s already showing signs of infection. Proper wound care at each stage, from the first sting to the final peel of dead skin, keeps you moving without unnecessary downtime.
In this guide, we’ll walk you through the exact steps for treating a blister at home, when it’s safe to drain one yourself, and the warning signs that mean it’s time to see a podiatrist instead of reaching for another bandaid. We’ll also cover practical prevention tips so you’re not back here after your next run, hike, or long day in new shoes.
What causes foot blisters and when to treat them yourself
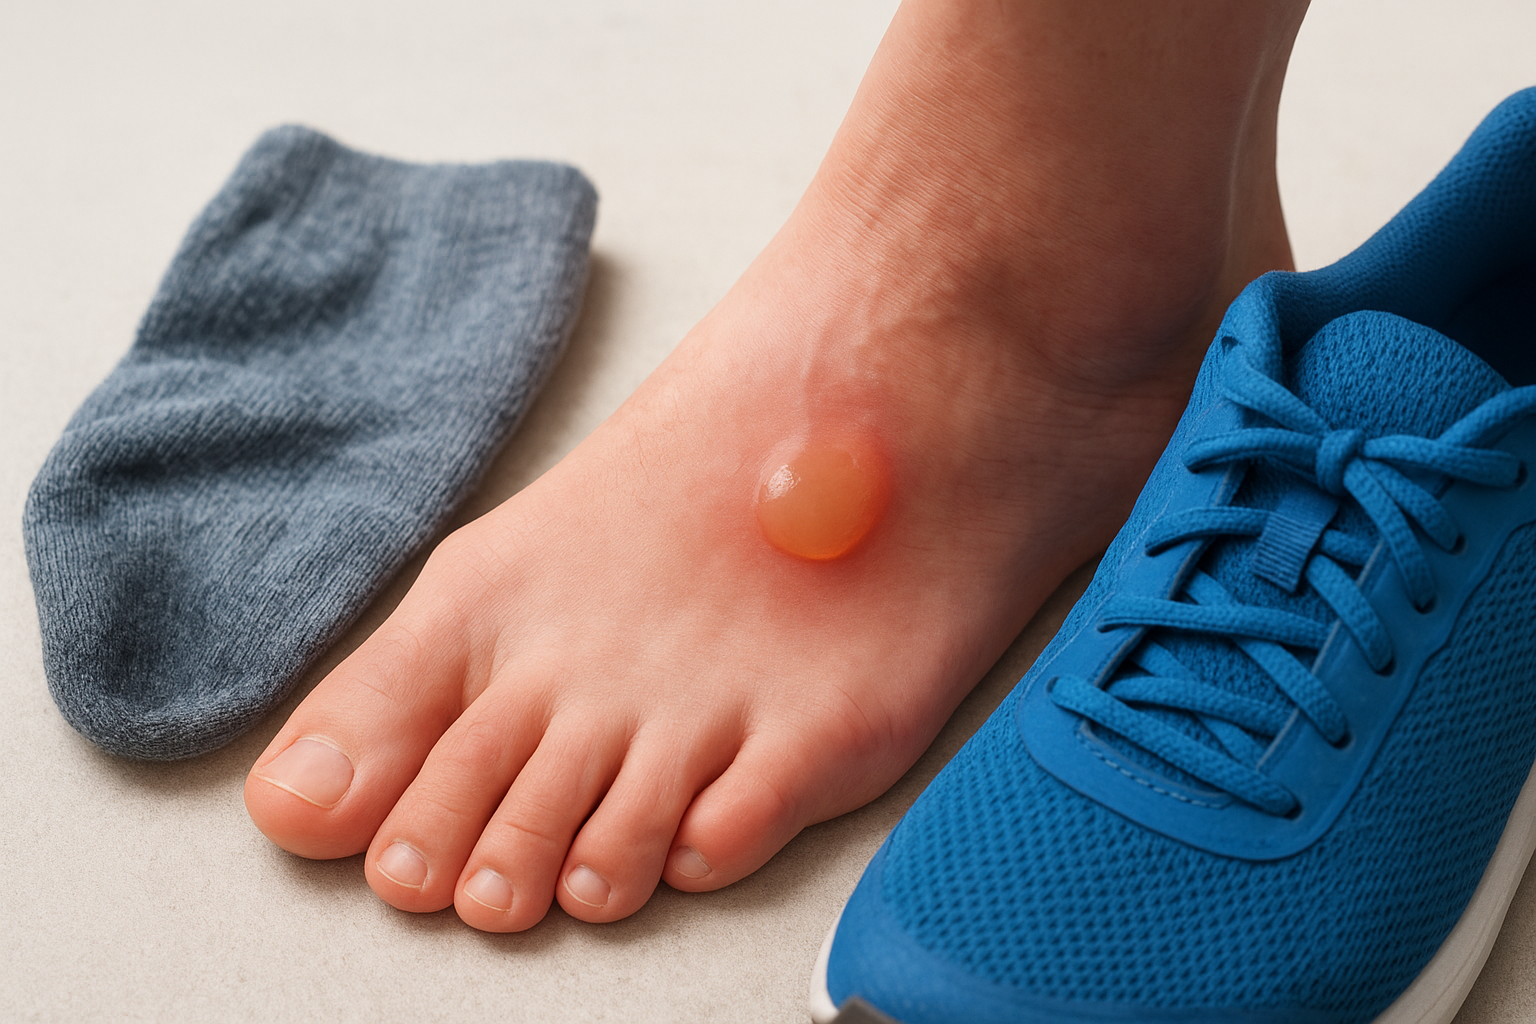
A blister forms when repeated friction and moisture cause the top layers of your skin to separate, and your body fills that gap with fluid to cushion the damaged tissue underneath. Heat and humidity make it worse, which is why blisters show up so often on hot runs, long hikes, or in brand-new shoes that haven’t moulded to your foot yet. Understanding the cause matters, because the right foot blister treatment depends partly on why it formed in the first place.
How friction and moisture create a blister
Most blisters come down to a mismatch between your foot and your footwear, or a change in activity your skin isn’t used to. Common triggers include:
- Ill-fitting shoes that are too tight, too loose, or not broken in
- Sweaty or damp socks, especially cotton ones that hold moisture against the skin
- Sudden increases in activity, like a new running program or an unplanned long walk
- Seams, stitching, or orthotic edges rubbing against a specific spot repeatedly
- Sunburnt or already-irritated skin, which blisters more easily under pressure
Runners and hikers tend to see blisters on the heel, ball of the foot, and between toes, while new school shoes are notorious for rubbing the back of a child’s heel.
When to treat it yourself and when to seek help
Small, unbroken blisters caused by friction are almost always safe to manage at home with basic blister care. Larger blisters, ones that keep refilling, or blisters on someone with diabetes, poor circulation, or a compromised immune system need a different approach.
If you have diabetes or numbness in your feet, don’t self-treat a blister, book a podiatrist instead.
Watch for these warning signs that mean home treatment isn’t enough:
- Spreading redness, warmth, or swelling around the blister
- Pus or cloudy fluid instead of clear
- A fever or feeling generally unwell
- A blister that hasn’t started healing after a week
- Any blister on a foot affected by diabetes or nerve damage
If any of these apply, skip the home remedies and get it checked by a podiatrist rather than risking an infection that spreads further up the foot.
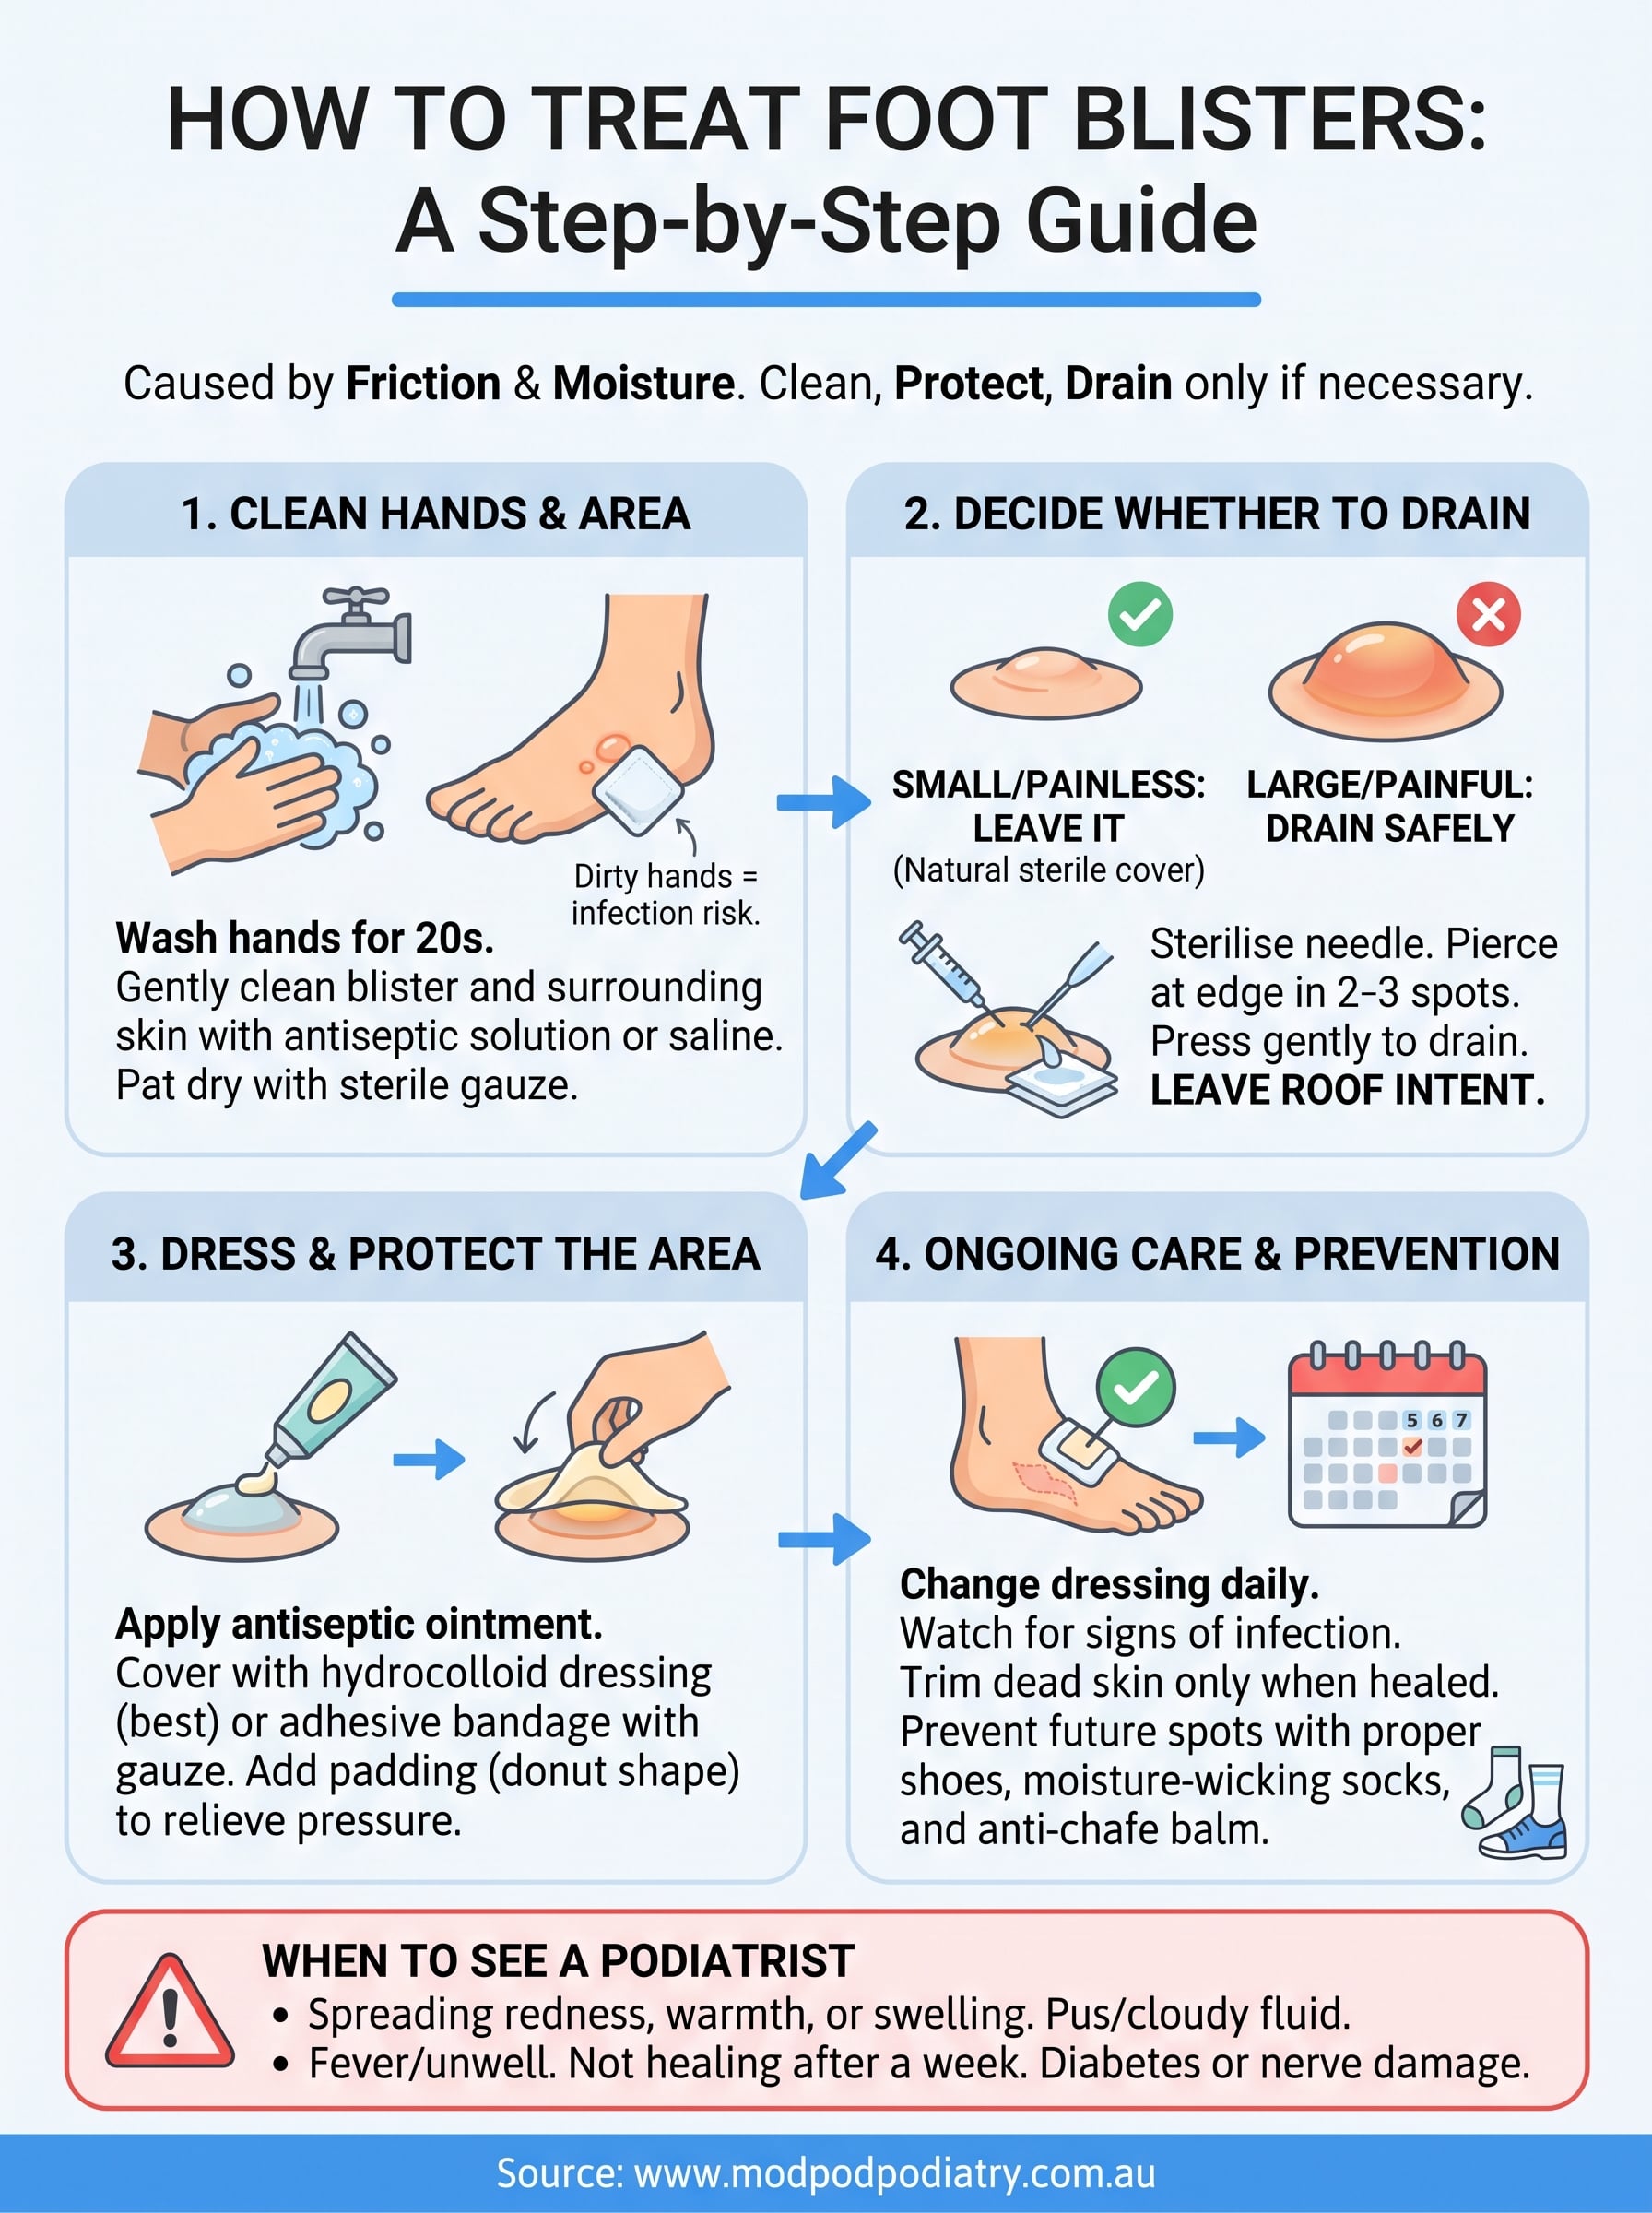
Step 1. Clean the blister and your hands
Before you touch anything, wash your hands with soap and water for at least twenty seconds. Blisters are an open door for bacteria once the skin breaks, so dirty hands undo every careful step that follows. If you’re out on a trail without soap, an alcohol-based hand sanitiser is a reasonable stand-in until you get home.
Cleaning the blister itself
Rinse the blister gently with clean water, then wipe the surrounding skin with an antiseptic solution such as diluted povidone-iodine or a saline wound wash. Avoid scrubbing the blister roof, you’re cleaning around it, not trying to remove it. Pat the area dry with a clean paper towel or gauze rather than a reused cloth, since fabric that’s touched other surfaces can reintroduce bacteria you just washed away.
Clean hands and a clean blister are your best defence against infection, before you even think about draining or dressing it.
What to have on hand
A small kit makes this whole process faster next time:
- Mild soap and clean running water
- Antiseptic solution or wipes
- Sterile gauze or clean paper towel
- A sharp, sterilised needle (kept for step two)
Don’t reach for hydrogen peroxide on broken skin. It’s harsh on healing tissue and can slow wound recovery rather than speed it up, despite the old-school reputation it has in first-aid kits.
Step 2. Decide whether to drain the blister
Small blisters, anything under about a centimetre that isn’t causing much pain, heal fastest if you leave the roof intact. The skin over the top acts as a natural, sterile dressing, so draining a blister you don’t need to touches is more risk than reward. Cover it, take the pressure off, and let your body reabsorb the fluid over a few days.
When draining makes sense
A large, tense blister that’s likely to burst on its own from continued rubbing, or one that’s genuinely painful to walk on, is a reasonable candidate for draining. The goal is to relieve pressure while keeping the roof mostly intact so it can protect the raw skin underneath as it heals.
Only drain a blister that’s large, tense, and painful, and always leave the roof in place.
How to drain it safely
If you decide to go ahead, follow these steps:
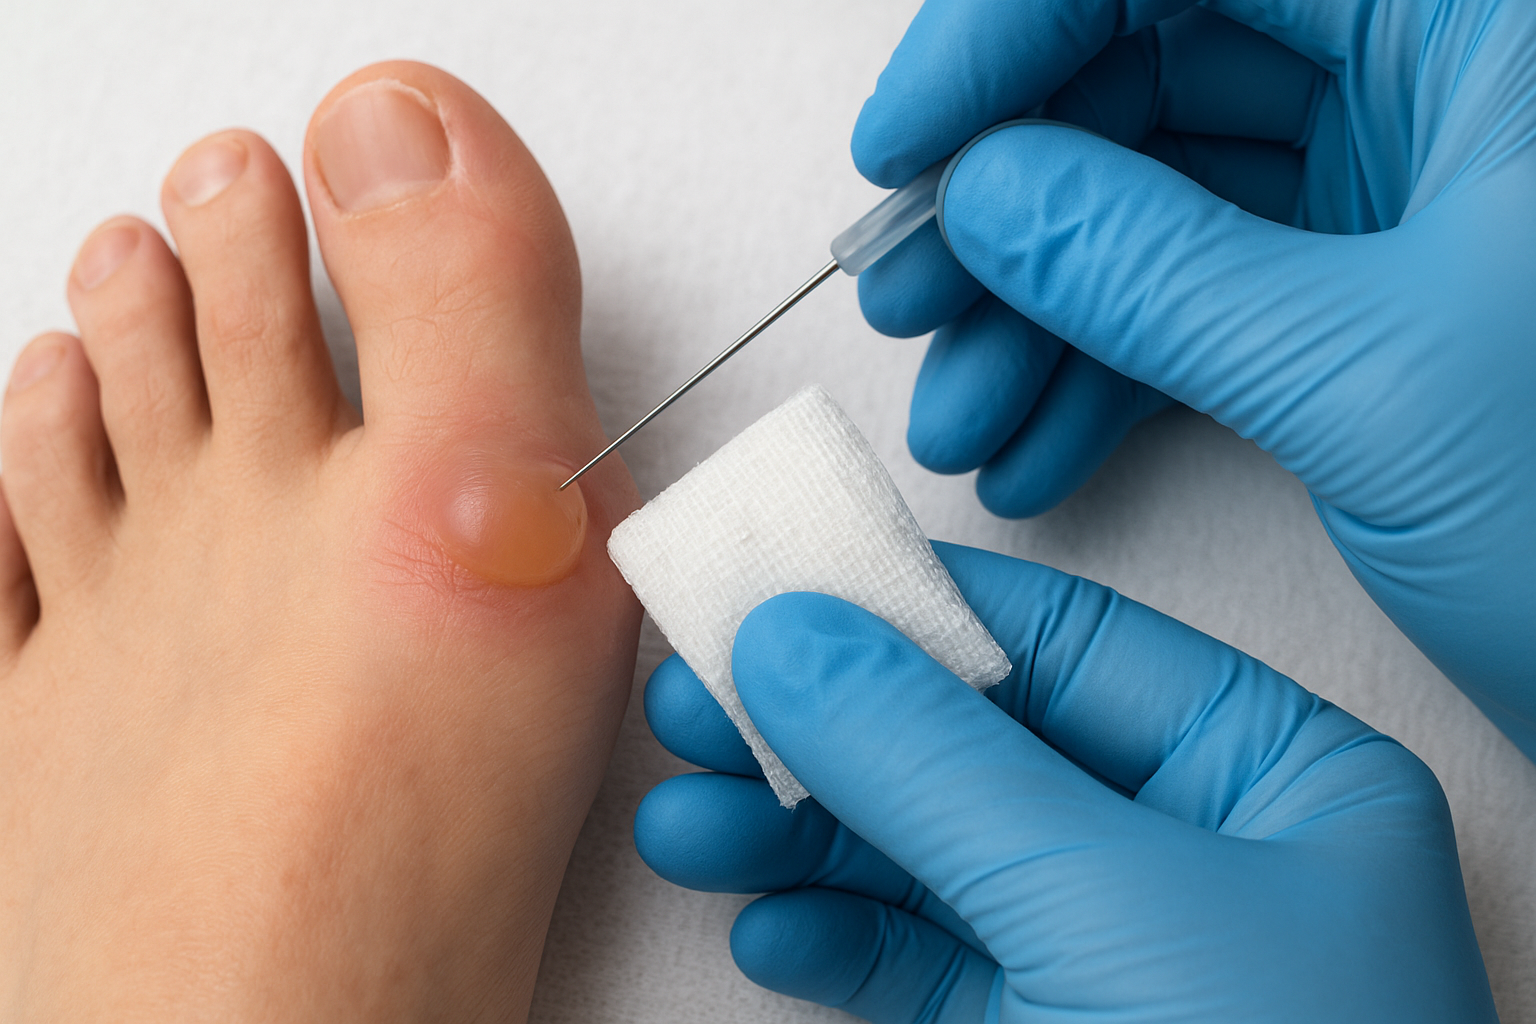
- Sterilise a needle by wiping it with alcohol or holding it in a flame, then let it cool.
- Pierce the blister at its edge, low down, in two or three spots rather than one large hole.
- Press gently with clean gauze to encourage the fluid out.
- Leave the loose skin flap in place over the wound.
- Apply antiseptic and a fresh dressing straight away.
Never peel off the roof completely, it’s doing important work while the new skin underneath forms.
Step 3. Dress and protect the area
Once the blister is clean, and drained if needed, apply a thin layer of antiseptic ointment before covering it. This keeps the wound moist enough to heal without drying out and cracking, which is the fastest way to reopen a healing blister. A good blister dressing does two jobs at once: it protects the raw skin and stops further friction from making things worse.
Choosing the right dressing
Hydrocolloid dressings, sold as blister plasters at most pharmacies, are the gold standard for foot blisters. They cushion the area, absorb fluid, and stay put through a full day of walking or running. If you don’t have one on hand, a standard adhesive bandage over a layer of gauze works as a stopgap, though it won’t cushion as well or last as long.
A hydrocolloid dressing cushions and protects a blister far better than a basic bandage.
Padding and reducing pressure
Beyond the dressing itself, take the pressure off the spot entirely where you can. Options include:
- Donut-shaped foam padding around the blister rather than directly over it
- Moleskin cut to size on shoe hot spots
- Different socks or shoes for a day or two if the usual pair caused the rub
- Taping the area with sports tape for extra hold during activity
Change the dressing daily, or sooner if it gets wet or dirty, and check underneath each time for signs the wound isn’t settling down as expected.
Step 4. Care for the blister as it heals and prevent new ones
Most foot blisters settle down within three to seven days if you keep them clean, dry, and protected. Watch for the fluid reducing, the skin underneath toughening up, and the redness fading, these are all signs the area is healing as expected. Once the roof lifts naturally or the new skin underneath looks solid, trim away the loose dead skin with clean scissors rather than tearing it off.
Signs of proper healing
Keep checking the dressing daily for warmth, swelling, or fluid that’s turned cloudy or smelly, since these point to infection rather than normal healing. A blister that isn’t improving after a week, or one that keeps refilling despite good blister care, needs a podiatrist’s opinion rather than another round of home treatment.
A blister healing well gets smaller and less painful every day, not worse.
Preventing the next blister
Prevention matters as much as treatment, especially if you’re prone to hot spots on runs or long walks. Practical blister prevention habits include:
- Breaking in new shoes gradually before long wear
- Wearing moisture-wicking socks instead of cotton
- Applying anti-chafe balm or tape on known friction points before activity
- Checking sock and shoe fit properly, including width and length
- Drying feet thoroughly, including between toes, before dressing
Small changes like these stop the same spot from blistering again next week.
Looking after your feet going forward
Most foot blisters are a simple fix: clean them, protect them, and give your skin time to do its job. The steps in this guide cover the vast majority of cases you’ll deal with after a long run, a new pair of shoes, or an unexpectedly big day on your feet. Consistent aftercare matters more than any single product, so stick with clean dressings and reduced friction until the skin has properly toughened up.
Repeated blistering in the same spot, though, usually points to something mechanical rather than bad luck, a shoe that doesn’t fit, an odd gait, or pressure sitting where it shouldn’t. If that sounds familiar, it’s worth getting your feet properly assessed rather than patching the same spot every few weeks. Recurring blisters often respond well to a proper biomechanical review, and our podiatrists can check your gait, footwear, and pressure points to sort out the cause for good. Book an appointment online and get ahead of the next blister before it starts.