

Whether you’re recovering from plantar fasciitis, rebuilding ankle stability after a sprain, or simply trying to keep your feet strong, resistance bands for foot exercises are one of the most effective and accessible tools available. They’re cheap, portable, and when used correctly, they can target the small stabilising muscles in your feet and ankles that other exercises often miss.
The catch? Poor technique or choosing the wrong band can slow your progress, or worse, aggravate the problem you’re trying to fix. At ModPod Podiatry, our podiatrists regularly prescribe resistance band exercises as part of rehabilitation and strengthening programmes across our Sydney clinics. We see first-hand what works, what doesn’t, and where patients commonly go wrong with home-based foot strengthening.
This guide walks you through how to use resistance bands safely for foot and ankle exercises, which bands suit different needs, and the specific movements our team recommends. You’ll get clear instructions you can follow at home, along with the clinical reasoning behind each exercise, so you know exactly why you’re doing it.
What you need before you start
Before you pick up a band and start pulling, taking five minutes to prepare properly will make every session more effective and reduce your risk of injury. This applies whether you’re using resistance bands for foot exercises for the first time or returning after a break. Getting the basics right from the start means you build strength consistently rather than dealing with setbacks from poor setup.
The equipment you’ll need
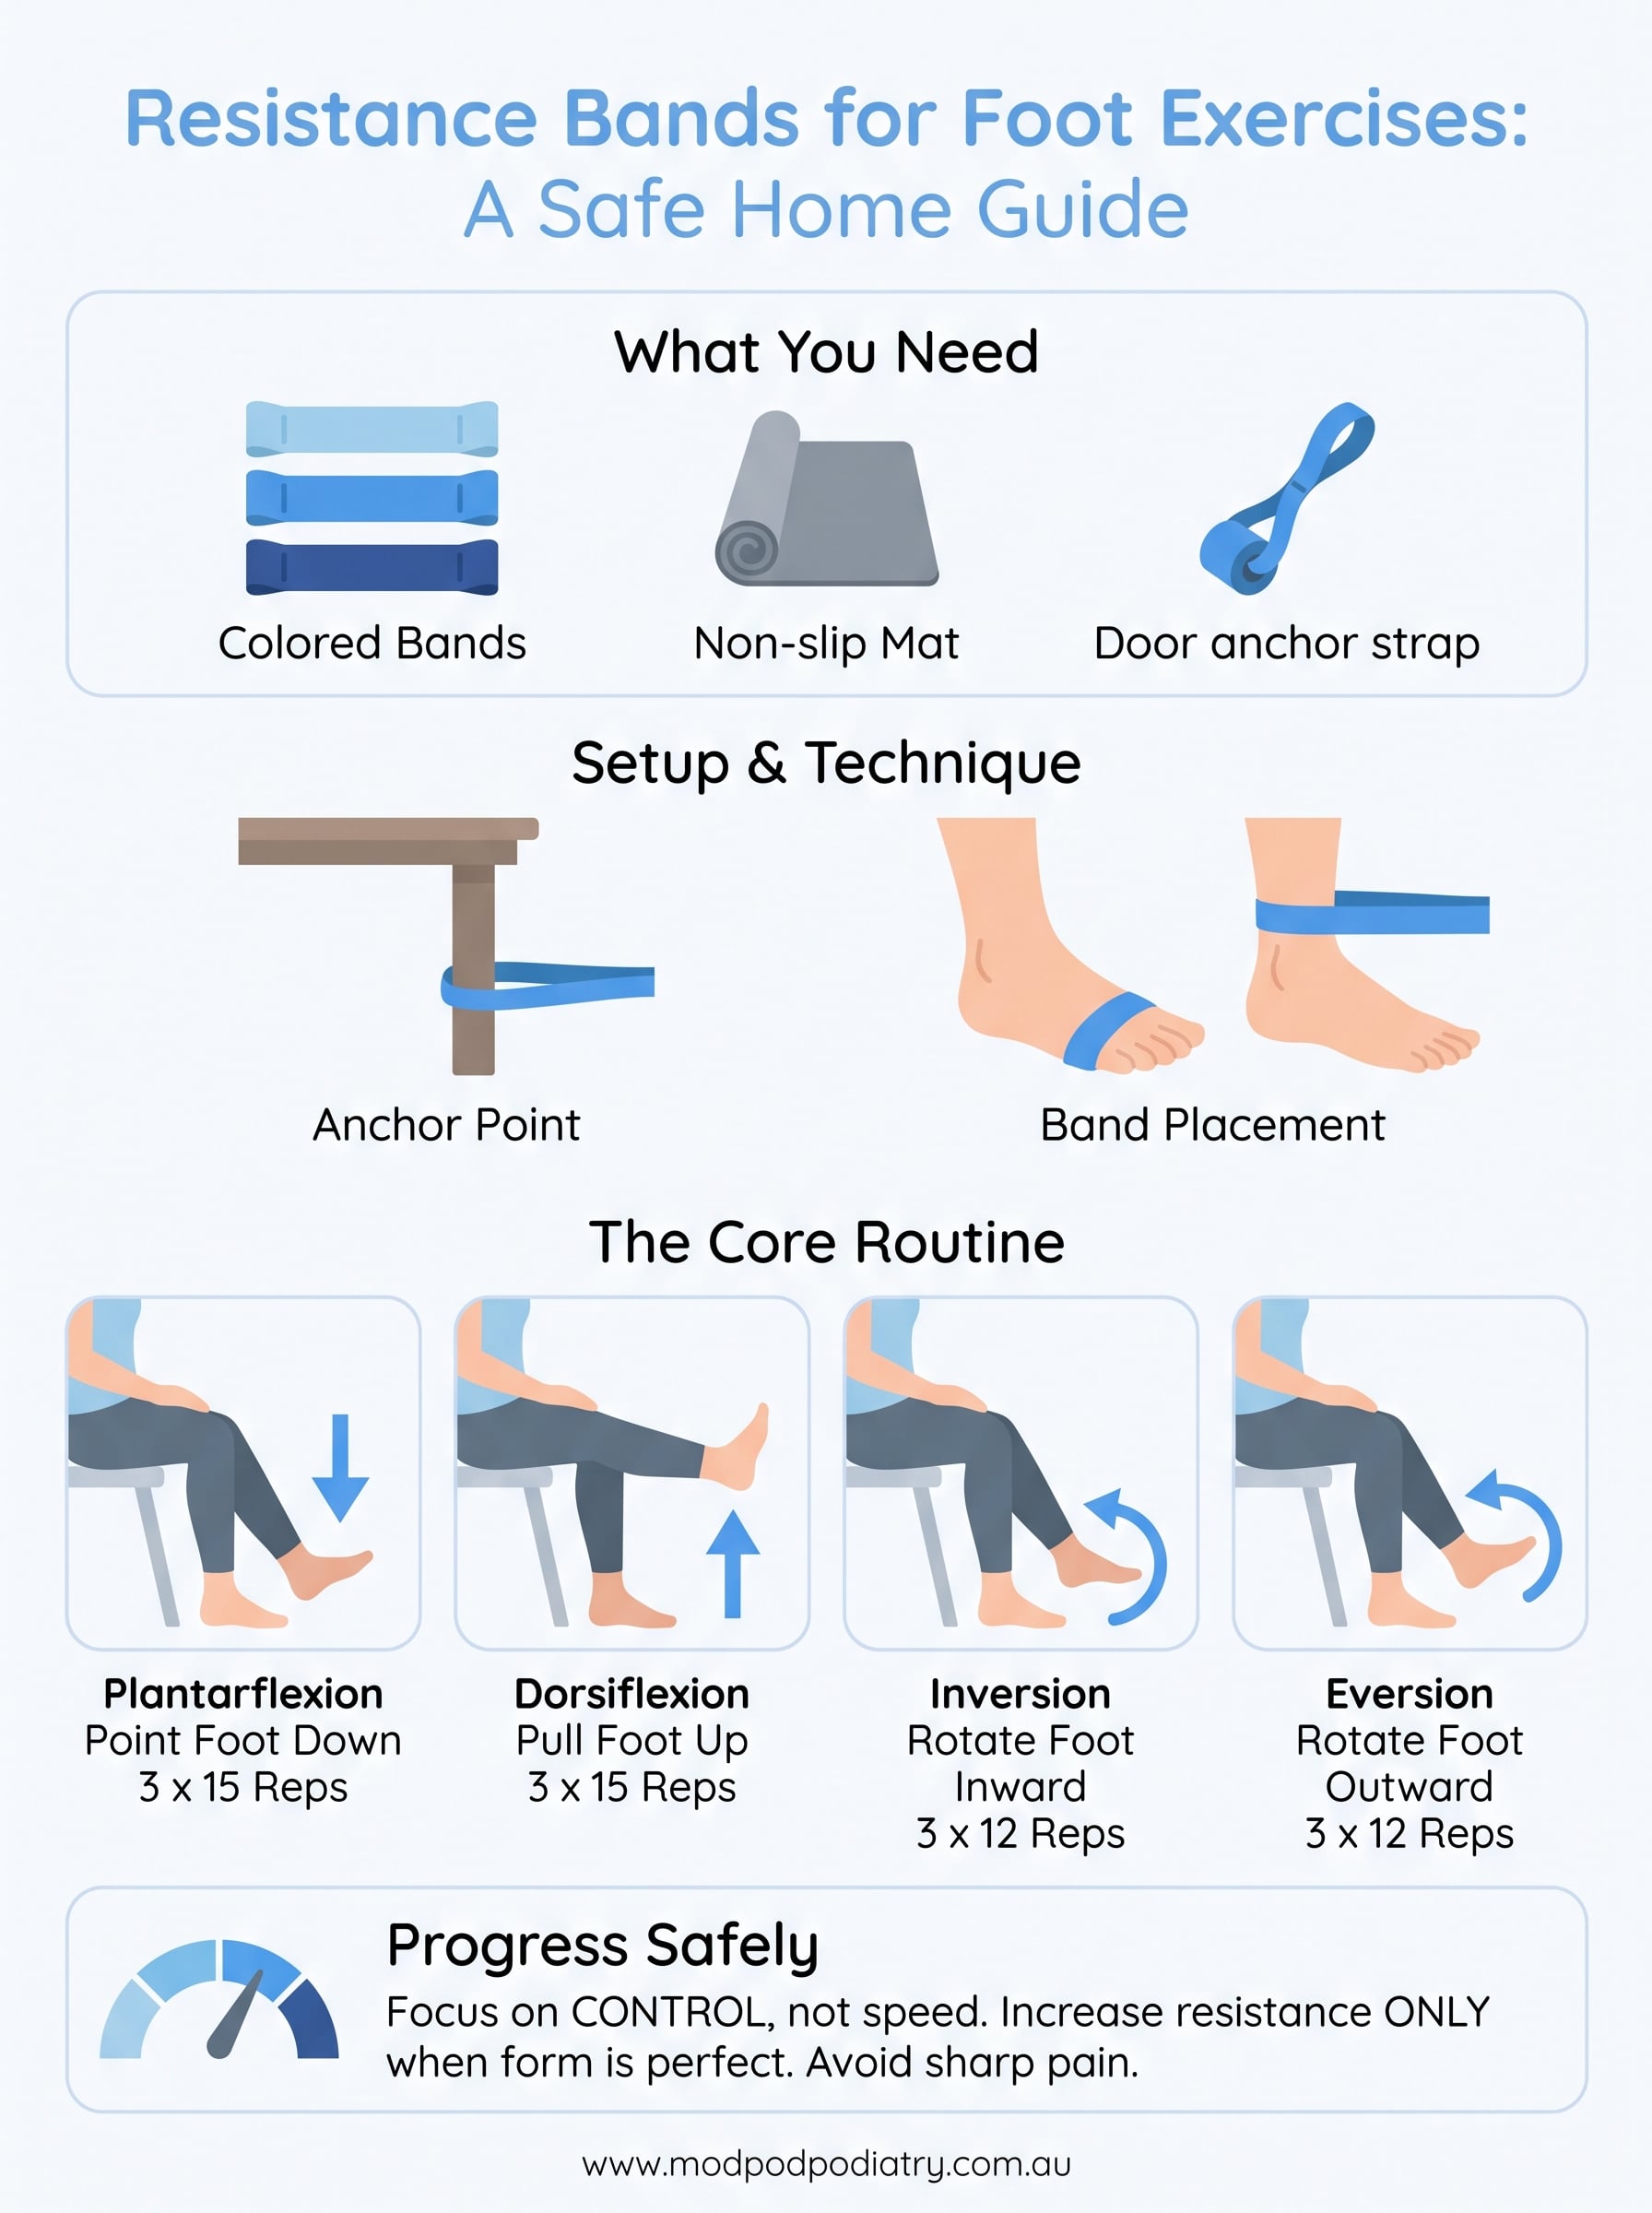
You don’t need a fully stocked gym, but having the right items on hand makes a real difference to how well each exercise works. At minimum, you need a set of resistance bands in at least two resistance levels (light and medium), a flat non-slip surface to sit or lie on, and enough space to extend your leg fully. A firm yoga mat works well for both grip and cushioning.
Here’s a quick checklist of what to gather before your first session:
- Two to three resistance bands at different resistance levels (light, medium, heavy)
- A non-slip mat or firm surface to sit on
- A sturdy anchor point for banded pulls (a table leg or door anchor works)
- Bare feet or thin socks so you can feel the movement and monitor your foot position
- A phone camera if you want to check your form from the side
Having the correct resistance level ready before you start prevents you from loading too heavily too soon, which is one of the most common reasons people aggravate foot and ankle injuries during home rehab.
Assessing your current condition
Before you add any resistance through your foot or ankle, take a moment to check where you’re starting from physically. If you have an active injury, recent surgery, or sharp pain with any movement, resistance band training is not your starting point. See a podiatrist first to get a clear diagnosis and a structured plan before loading the area.
For most people without acute injury, a simple self-check takes under two minutes. Stand on one leg and hold for 20 to 30 seconds without holding on. If you can’t balance, feel significant ankle wobbling, or notice clear weakness on one side compared to the other, start with the lightest band available and focus entirely on control rather than load. If standing on one leg produces pain, book an assessment before continuing.
Setting up your space
Your environment affects your technique more than most people expect. An unstable or slippery surface forces the wrong muscles to compensate, which undermines the whole purpose of the exercise. Sit on a firm chair with your feet flat on the floor, or use the edge of a bed if the height suits you.
Check that your knee sits at roughly 90 degrees when you’re in the seated starting position, as this keeps your ankle in the correct working range and prevents compensation patterns from travelling into your knee or hip. Before you begin the exercises themselves, spend two minutes rotating your ankles slowly in both directions and gently pointing and flexing your foot. Warming up the ankle joint increases blood flow to the surrounding tendons and prepares the small intrinsic muscles of the foot for the work ahead.
Step 1. Choose the right band for your feet
The band you choose directly affects how well each exercise works and whether you progress safely. Using a band that is too heavy too early places excessive load on tendons and ligaments before they have built enough strength to handle it. Most people starting resistance bands for foot exercises should begin with a light band and only move up once they can complete the full set of movements without losing control of their form.
Understanding resistance levels
Resistance bands come in a range of levels, typically colour-coded by manufacturer. While colour codes vary between brands, the general resistance categories remain consistent. Light bands suit beginners and anyone returning from injury. Medium bands work well once you can control all movements cleanly without compensation. Heavy bands are for advanced users who already have a solid base of ankle and foot strength.
| Level | Who it suits | Typical use |
|---|---|---|
| Light | Beginners, post-injury rehab | Controlled range of motion work |
| Medium | Intermediate users, general strengthening | Full resistance routine |
| Heavy | Advanced, strong base established | Single-leg and loaded progressions |
Start one level lighter than you think you need. It is far easier to add resistance progressively than to recover from a flare-up caused by loading too soon.
Band types that work best for foot exercises
Two main types of band suit foot and ankle work: flat loop bands (sometimes called mini bands) and tube bands with handles. Flat loop bands are the better choice for most foot exercises because they wrap easily around the forefoot or ankle and stay in place without slipping. Tube bands are useful for seated dorsiflexion and plantarflexion pulls where you need a longer length to hold each end.
Fabric loop bands offer more grip against bare skin compared to latex, which makes them a practical choice if the band tends to roll or slide during ankle circles or foot eversion work. Whichever type you use, inspect the band before each session for cracks or thin spots that could cause it to snap mid-exercise.
Step 2. Anchor and position the band correctly
How you anchor and position your band matters as much as which band you choose. An unstable anchor point shifts your focus from working the target muscles to compensating for a band that keeps slipping or moving. Getting this setup right takes less than a minute but has a direct impact on how effectively you work through your resistance bands for foot exercises routine.
Anchoring the band to a fixed point
For exercises that involve pulling the foot toward you or resisting outward movement, you need the band secured to something that will not move under load. A heavy table leg, the base of a sofa, or a purpose-built door anchor are all reliable options. Test the anchor before loading it by giving the band a firm tug with your hands. If it shifts at all, find a sturdier point.
Never anchor the band around a door handle or lightweight furniture leg. If it gives way mid-movement, you lose control of the foot suddenly, which can strain the very tendons you are trying to strengthen.
Here are the most reliable anchor setups for home use:
- Table or bench leg at floor level: loop the band around and pull the knot tight before use
- Door anchor strap threaded at the base of the door: provides a stable low anchor for seated pulls
- Your own foot holding one end flat on the floor: works well for plantarflexion exercises where you provide manual resistance
Positioning the band on your foot
Where the band sits on your foot changes which muscles work hardest. For dorsiflexion and plantarflexion exercises, loop the band around the ball of your foot, just behind your toes. This gives the band the longest lever to work against and engages the calf and anterior tibialis fully. For inversion and eversion work, move the band to just above the ankle joint so it pulls the foot sideways against resistance without rolling onto the joint itself.
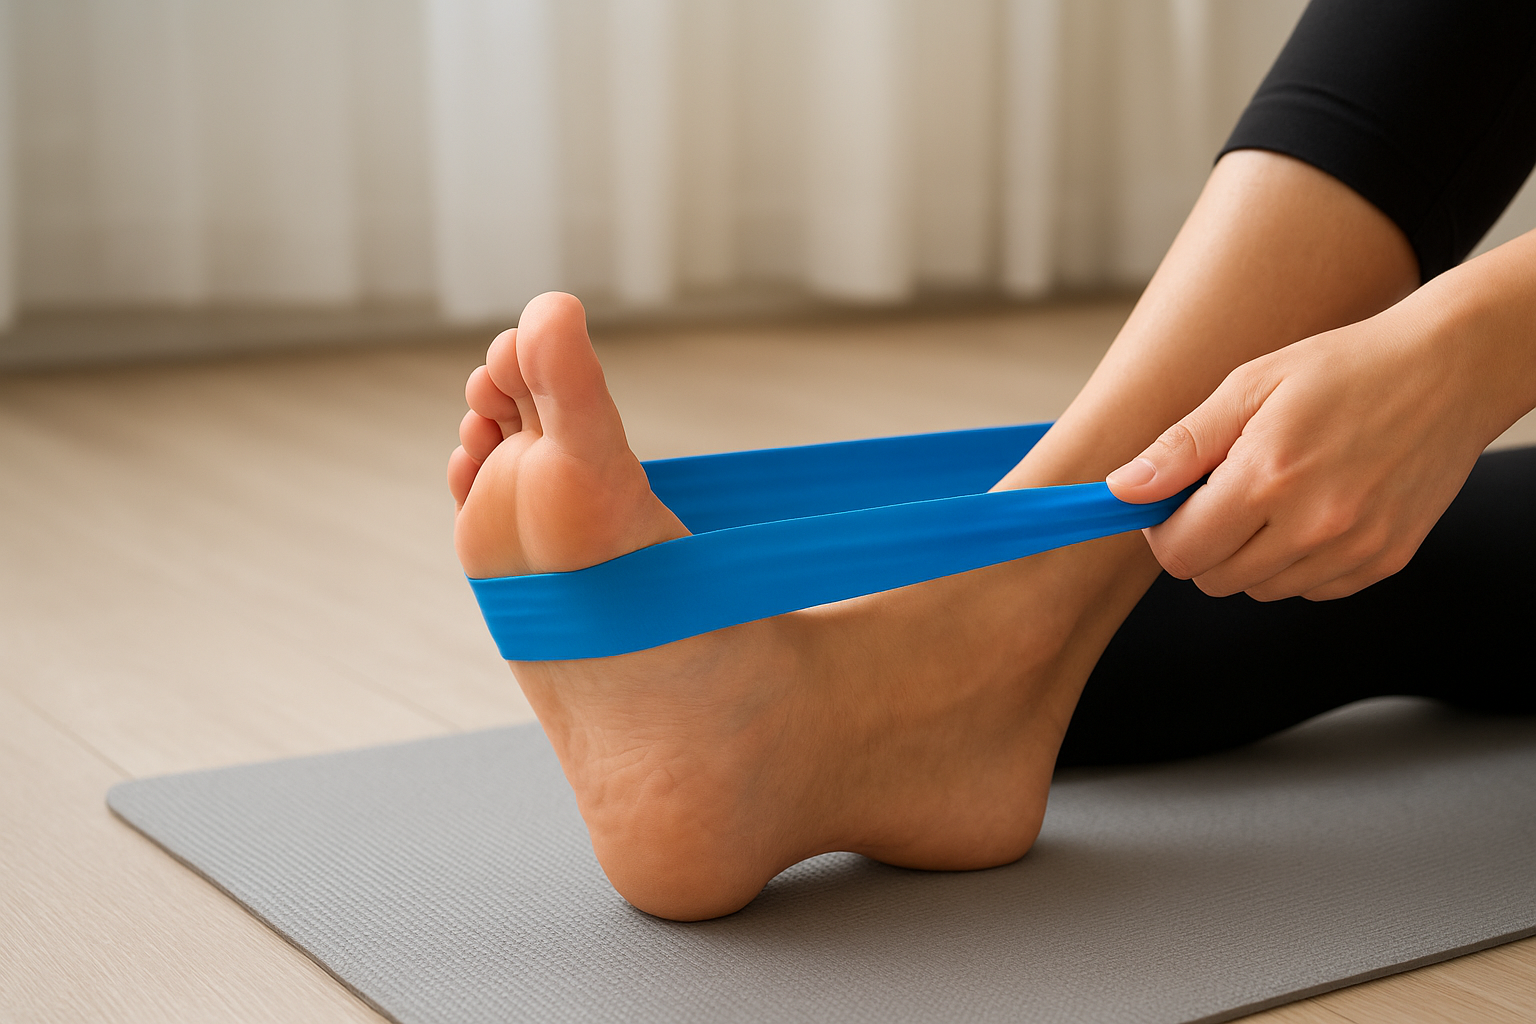
Keep the band flat against your foot rather than twisted. A twisted band concentrates pressure at one point and reduces the consistency of resistance throughout the movement.
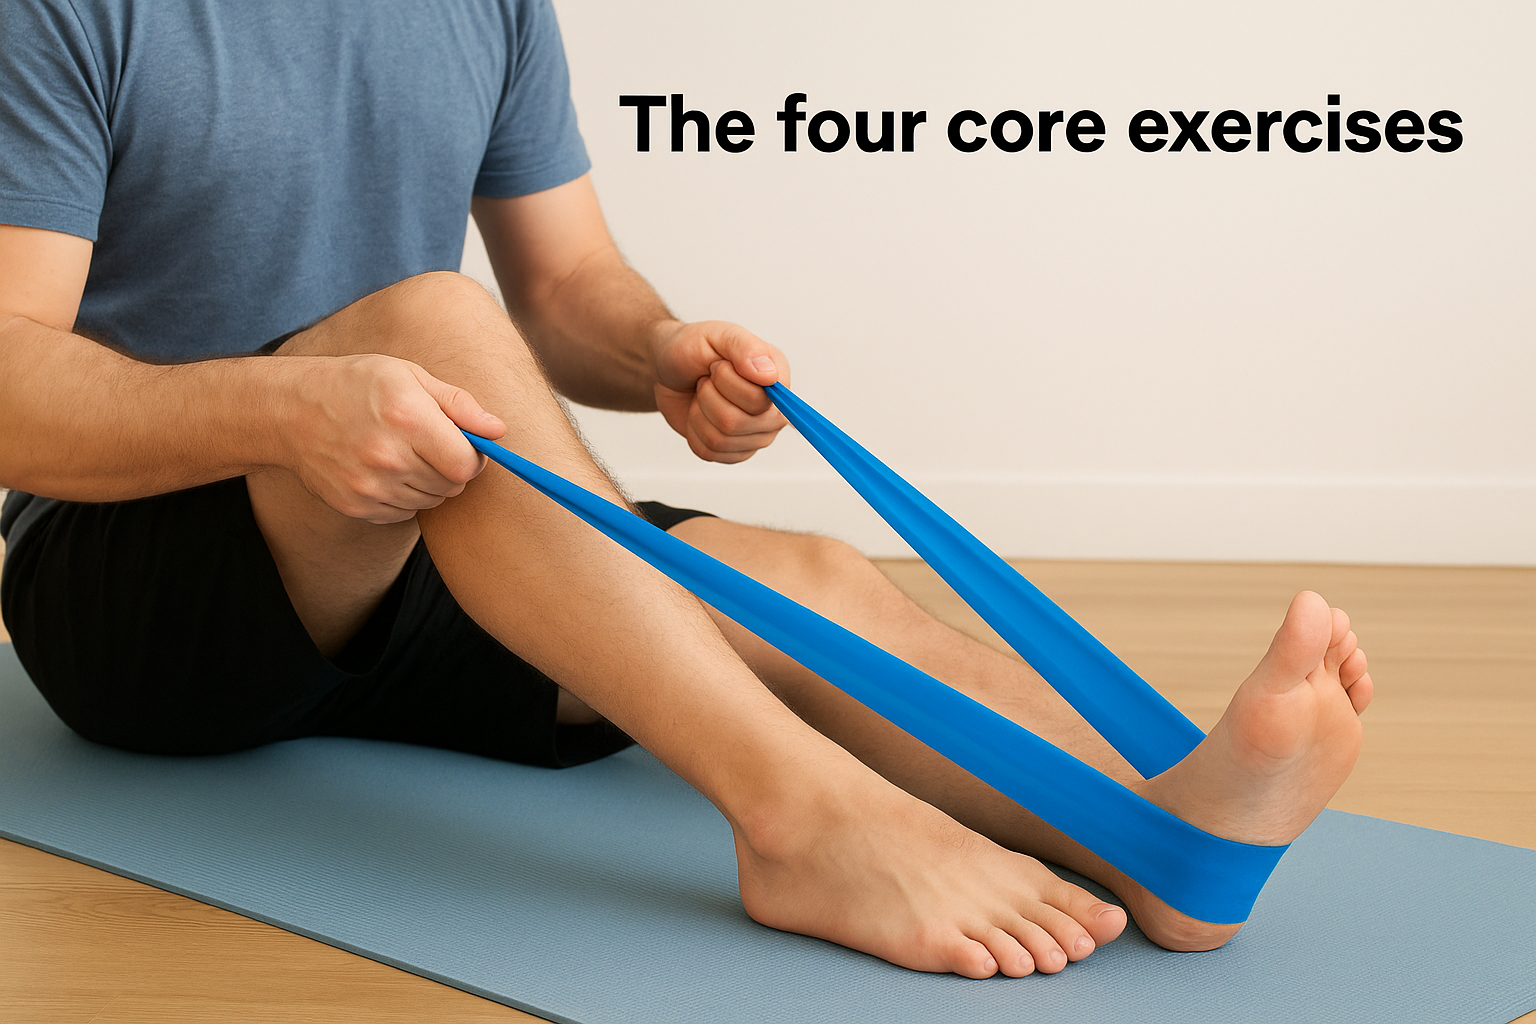
Step 3. Do a complete foot and ankle routine
With your band anchored and positioned correctly, you can move through a structured sequence of movements that targets every key direction of foot and ankle motion. A complete routine covers four movement planes: plantarflexion (pointing the foot down), dorsiflexion (pulling the foot up), inversion (rolling inward), and eversion (rolling outward). Working all four planes in a single session builds balanced strength around the ankle joint and reduces your risk of compensation patterns developing over time.
The four core exercises
Each of the four exercises below forms the backbone of most resistance bands for foot exercises routines. Perform them in the order listed to move progressively from larger muscle groups to smaller stabilising muscles.
| Exercise | Starting position | Movement | Sets x Reps |
|---|---|---|---|
| Plantarflexion | Seated, band looped around ball of foot, held at both ends | Point foot away against resistance | 3 x 15 |
| Dorsiflexion | Seated, band anchored low in front of foot | Pull foot up toward shin against resistance | 3 x 15 |
| Inversion | Seated, band anchored to outside of foot | Rotate foot inward against resistance | 3 x 12 |
| Eversion | Seated, band anchored to inside of foot | Rotate foot outward against resistance | 3 x 12 |
Take two seconds to return the foot to the starting position on every repetition. Controlled lowering builds as much strength as the working phase.
How to structure your session
Run through all four exercises on one foot before switching sides. Keeping your focus on a single ankle at a time makes it far easier to notice differences in control or strength between your left and right foot. Rest for 30 to 45 seconds between sets to allow the small muscles to recover without losing the training effect.
Complete the full sequence two to three times per week with at least one rest day in between. Each session takes roughly 15 to 20 minutes, making it straightforward to fit around your daily schedule without major disruption.
Step 4. Progress safely and avoid common mistakes
Knowing when to add load and when to hold back is the part of resistance bands for foot exercises most people get wrong. The general rule is simple: only move to a heavier band or more repetitions when you can complete your current sets with full control and no compensation. Compensation means your knee drifts inward, your hip shifts, or your toes grip the floor during the movement. If any of those happen, you are not ready to progress yet.
Progress is measured by control, not by how much resistance you can pull against. Rushing load progression is the single most common reason foot and ankle rehab stalls.
When and how to increase resistance
Your body sends clear signals when it is ready for more challenge. If the last two or three repetitions of a set feel genuinely easy and your form stays consistent throughout, that is the right time to step up. Increase either the resistance level or the repetition count, but not both at the same time. A reliable progression template looks like this:
- Week 1 to 2: Light band, 3 x 12 reps, focus entirely on control
- Week 3 to 4: Light band, 3 x 15 reps once form is solid
- Week 5 onwards: Move to medium band, drop back to 3 x 12 reps and rebuild
Common mistakes to avoid
Even with the right band and a clear routine, small technique errors compound quickly over multiple sessions. The mistakes below are the ones our podiatrists see most often in patients who have been doing home rehab independently.
- Moving too fast through the return phase: Snapping the foot back loses the eccentric strength benefit
- Skipping eversion and inversion exercises: Most people only train plantarflexion and dorsiflexion, which leaves the lateral ankle undertrained
- Continuing through sharp pain: Muscle fatigue is expected; sharp or pinching pain during any movement is a stop signal, not something to push through
- Using the same band for months: If nothing feels challenging, you have stopped making progress
A simple plan you can stick with
Resistance bands for foot exercises work best when you treat them as a consistent habit rather than a one-off fix. Two to three sessions per week is all it takes to build meaningful strength in your feet and ankles over time. Start light, focus on control, and add resistance only when your form holds up completely through every repetition.
If you keep hitting the same pain points despite following this routine, that is a signal your feet need a closer look. Underlying biomechanical issues such as flat arches, poor foot alignment, or tendon damage will not resolve through exercise alone. A podiatrist can identify exactly what is driving the problem and give you a structured treatment plan that addresses the root cause rather than just managing symptoms.
Book an appointment at ModPod Podiatry to get a thorough assessment and a targeted exercise programme designed specifically for your feet.