

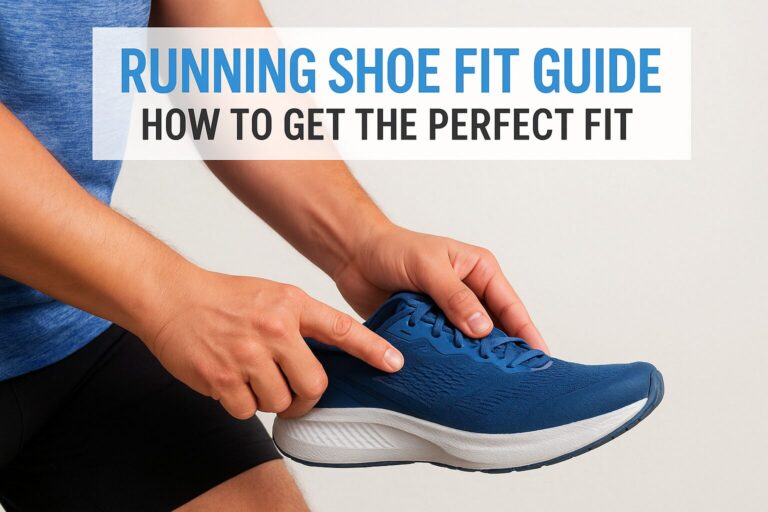
Buying running shoes by looks or brand loyalty is how most foot problems start. If you’ve ever finished a run with black toenails, numb toes, or a heel that slipped with every stride, your shoes probably never fitted properly in the first place. This running shoe fit guide exists because getting sizing right matters more than any cushioning technology or price tag.
A proper fit comes down to a few measurable checks: roughly a thumb’s width of space at the toe box, a heel that stays locked in without lifting, and a midfoot that feels snug but not compressed. We’ll walk through exactly how to check each of these at home, plus how foot shape, arch type, and even the time of day you shop can throw off your usual size.
At ModPod Podiatry, we see the downstream effects of poor-fitting shoes daily, from plantar fasciitis to stress fractures in Sydney runners. This guide gives you the practical steps to sort fit issues yourself, and tells you when it’s worth booking a gait analysis with one of our podiatrists instead.
Why proper running shoe fit matters
Getting the running shoe fit wrong doesn’t just mean a mildly uncomfortable run. It’s the leading cause of overuse injuries we treat at ModPod Podiatry, from blistered heels to shin splints that sideline runners for weeks. Shoes that are too tight compress the toes and restrict natural foot splay, while shoes that are too loose let the foot slide, forcing tendons and ligaments to work overtime just to keep you stable.
A shoe that fits well disappears on your foot; one that doesn’t will make itself known within a kilometre.
Common injuries from poor-fitting shoes
Over two decades of clinical practice across our Sydney clinics, we’ve seen the same fit-related problems show up again and again. Most are entirely preventable with the right sizing checks before you buy.
- Black or bruised toenails from a toe box that’s too short or narrow
- Blisters and hot spots caused by excess heel movement
- Plantar fasciitis aggravated by inadequate arch support or width
- Metatarsalgia from shoes that compress the forefoot
- Stress fractures linked to poor shock absorption and incorrect sizing
Fit affects performance, not just comfort
Beyond injury prevention, a precise shoe fit genuinely changes how you run. When your foot sits securely in the shoe, your body doesn’t waste energy stabilising against slippage or compensating for pressure points, so your stride becomes more efficient. Runners often assume a faster shoe or thicker cushioning will improve their times, but if the fit is off, none of that technology does its job properly. Fixing fit first, before chasing features, is the single biggest change most runners can make to how their feet feel after a session.
Step 1. Measure your feet properly
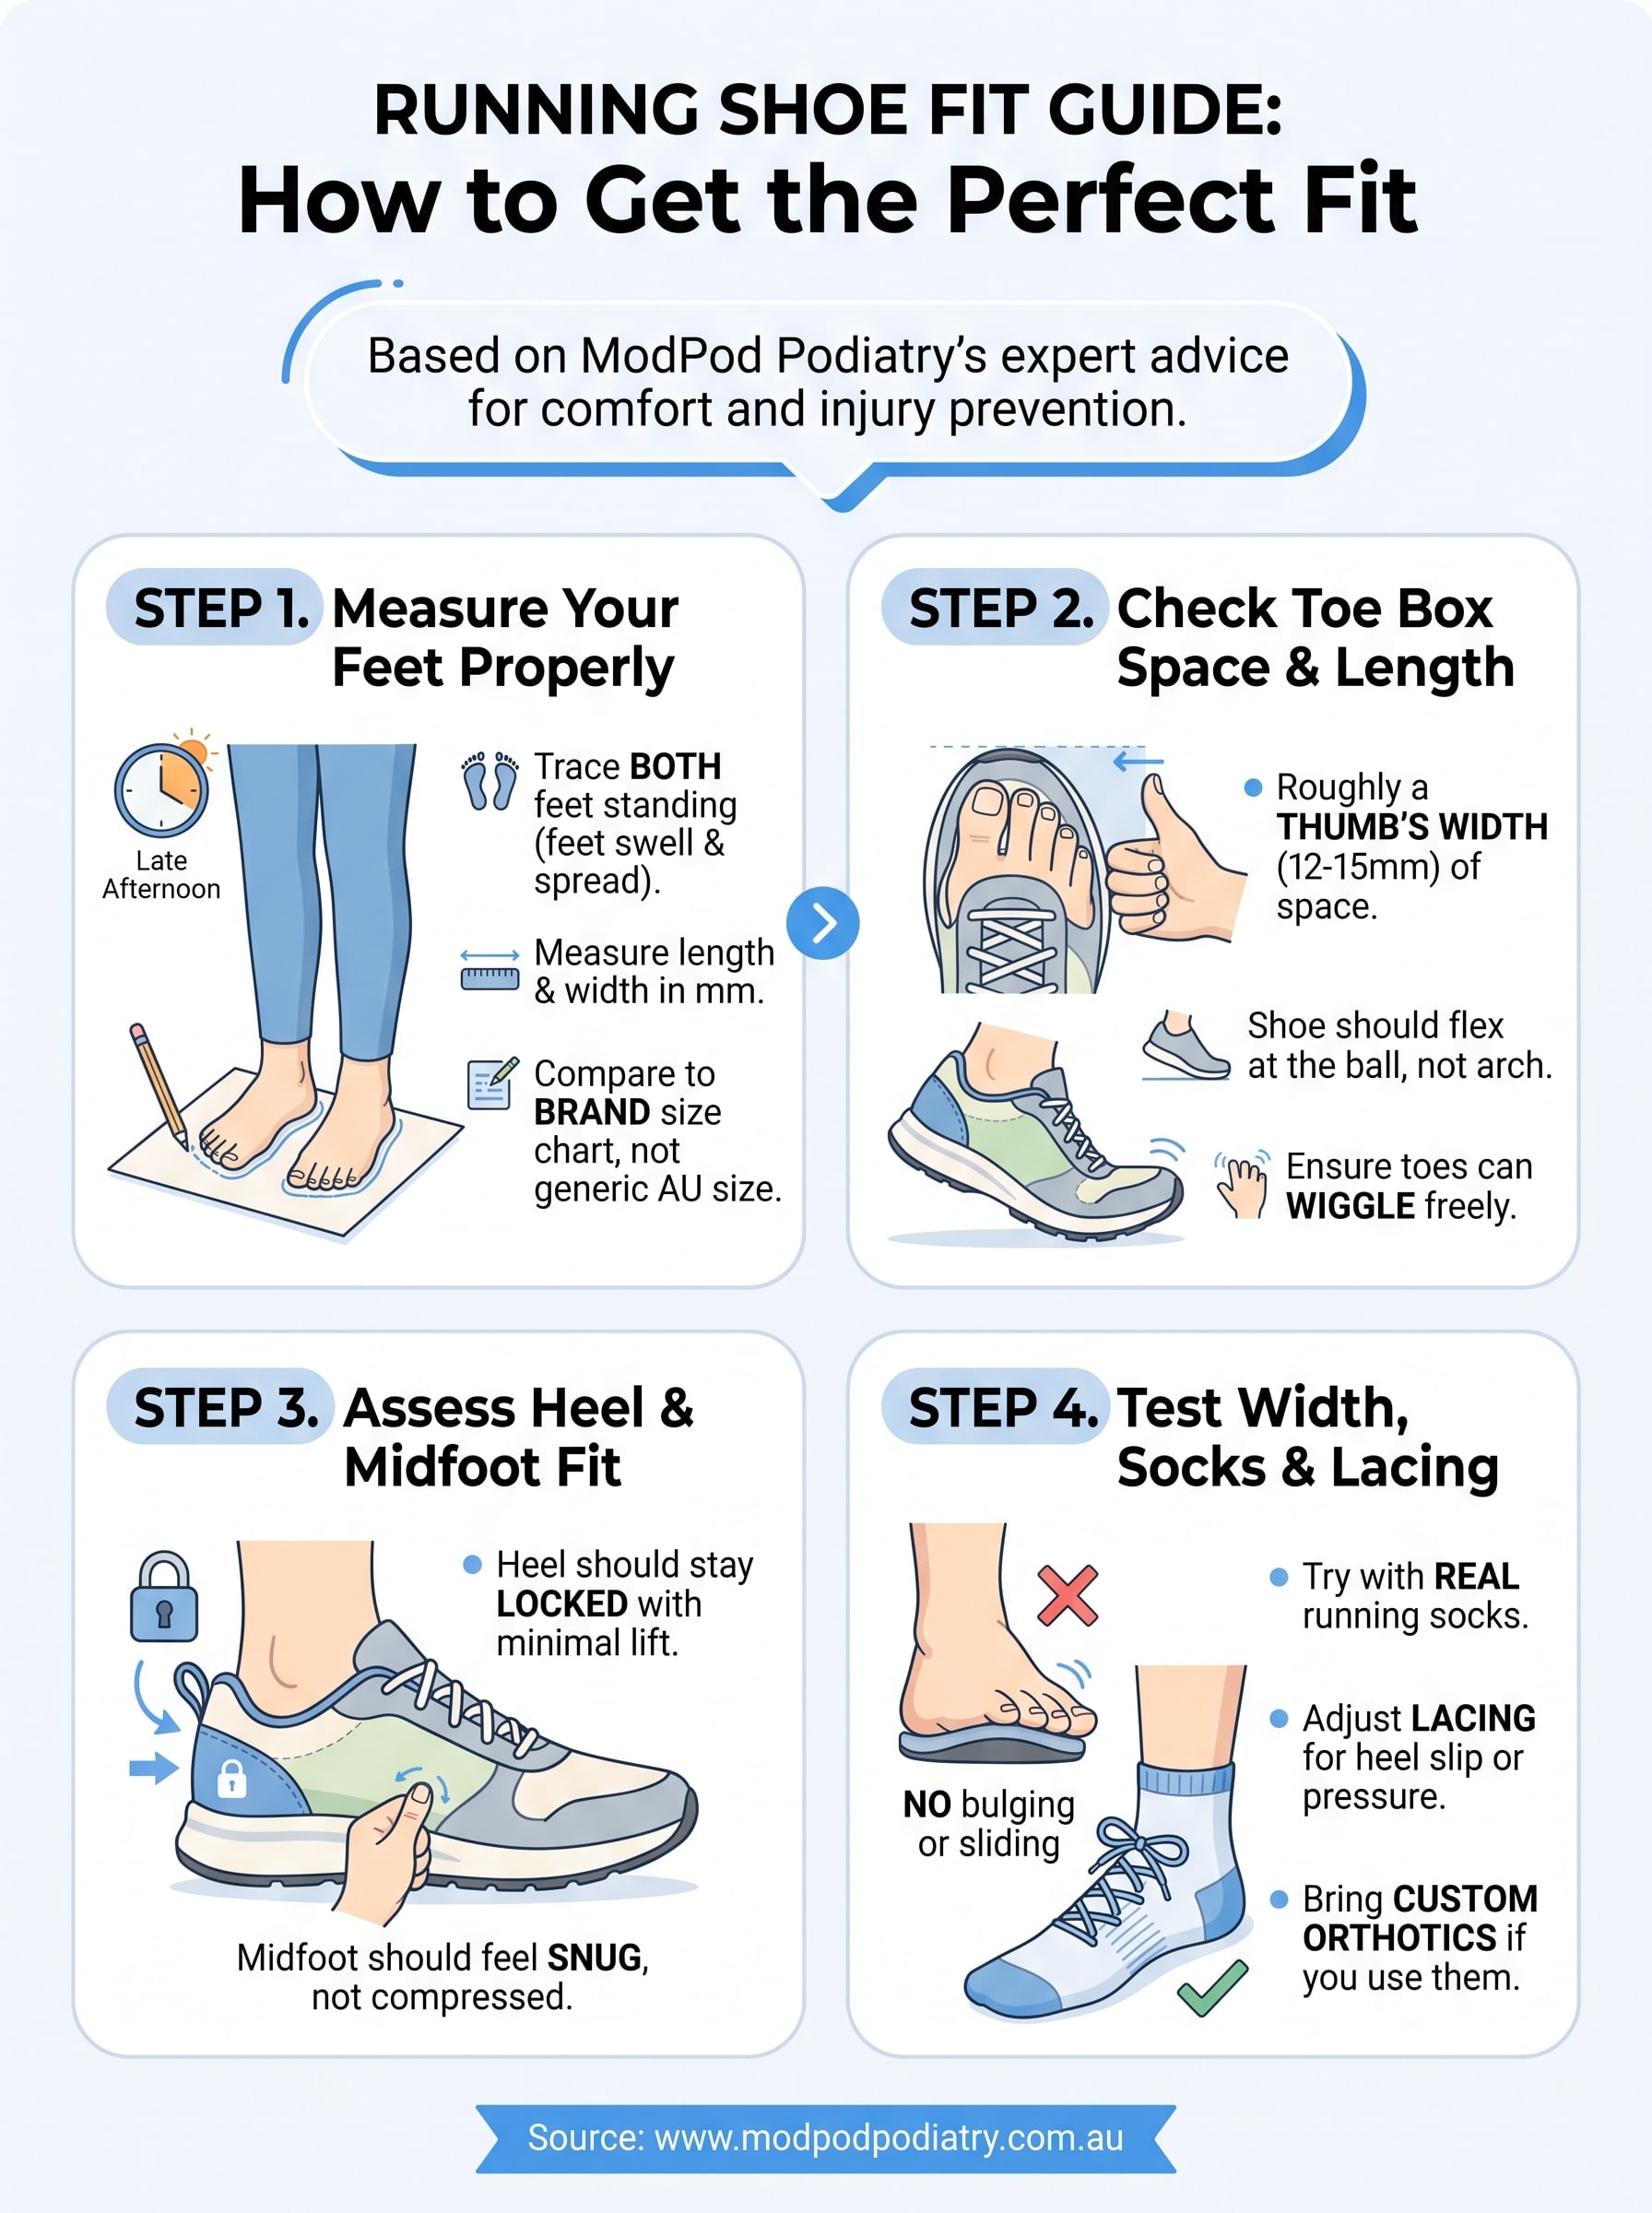
Feet change size throughout adulthood, and most people are wearing the wrong size without realising it. Before you even try shoes on, get an accurate foot measurement using the brannock method or a simple ruler-and-paper trace, ideally in the late afternoon when feet have naturally swelled from a day of standing and walking.
Measure both feet, every time, because your left and right foot are rarely identical.
How to measure at home
Stand on a piece of paper, trace around each foot with a pen held vertically, then measure the longest point from heel to toe and the widest point across the ball of the foot. Do this standing, not sitting, since your arch flattens and foot spreads under weight.
- Trace both feet separately, late in the day
- Measure length and width in millimetres
- Compare against the brand’s specific size chart, not a generic AU size
- Round up if you’re between sizes
Why sizing varies between brands
A size 9 in one running shoe brand can measure 8mm shorter than a size 9 in another. Always check the brand’s sizing chart rather than relying on your usual number.
Step 2. Check toe box space and length
Once you’ve got your measurements, the next check happens with the shoe actually on your foot. Stand up and push your longest toe forward until it touches the front of the shoe, then check the gap behind your heel. You’re after roughly a thumb’s width of space, about 12-15mm, between your longest toe and the end of the toe box. Too tight and you’ll bruise toenails on longer runs; too loose and your foot slides forward on every downhill stride, causing blisters and instability.
If you can’t wiggle your toes freely inside the shoe, it’s the wrong size, no matter how good it looks.
Quick toe box test
- Stand, don’t sit, since feet lengthen and spread under load
- Push toes forward, then slide a finger behind your heel
- Check the shoe flexes at the ball of the foot, not the arch
- Wiggle your toes; they shouldn’t touch the sides or top
Watch for shape, not just length
Toe box shape matters as much as length. Narrow, pointed toe boxes squeeze the forefoot even when length is correct, particularly for runners with wider feet or bunions. If your toes feel cramped sideways despite adequate length, try a different shoe last shape rather than sizing up further.
Step 3. Assess heel and midfoot fit
With toe box sorted, move to the back of the shoe. Lace up fully, then walk a few steps and pay attention to your heel. A well-fitted heel stays locked against the shoe’s heel counter with minimal lift, no more than a few millimetres of movement as you push off. Excessive heel slip rubs skin raw within a couple of kilometres and signals the shoe is too big, too narrow through the heel, or simply the wrong shape for your foot.
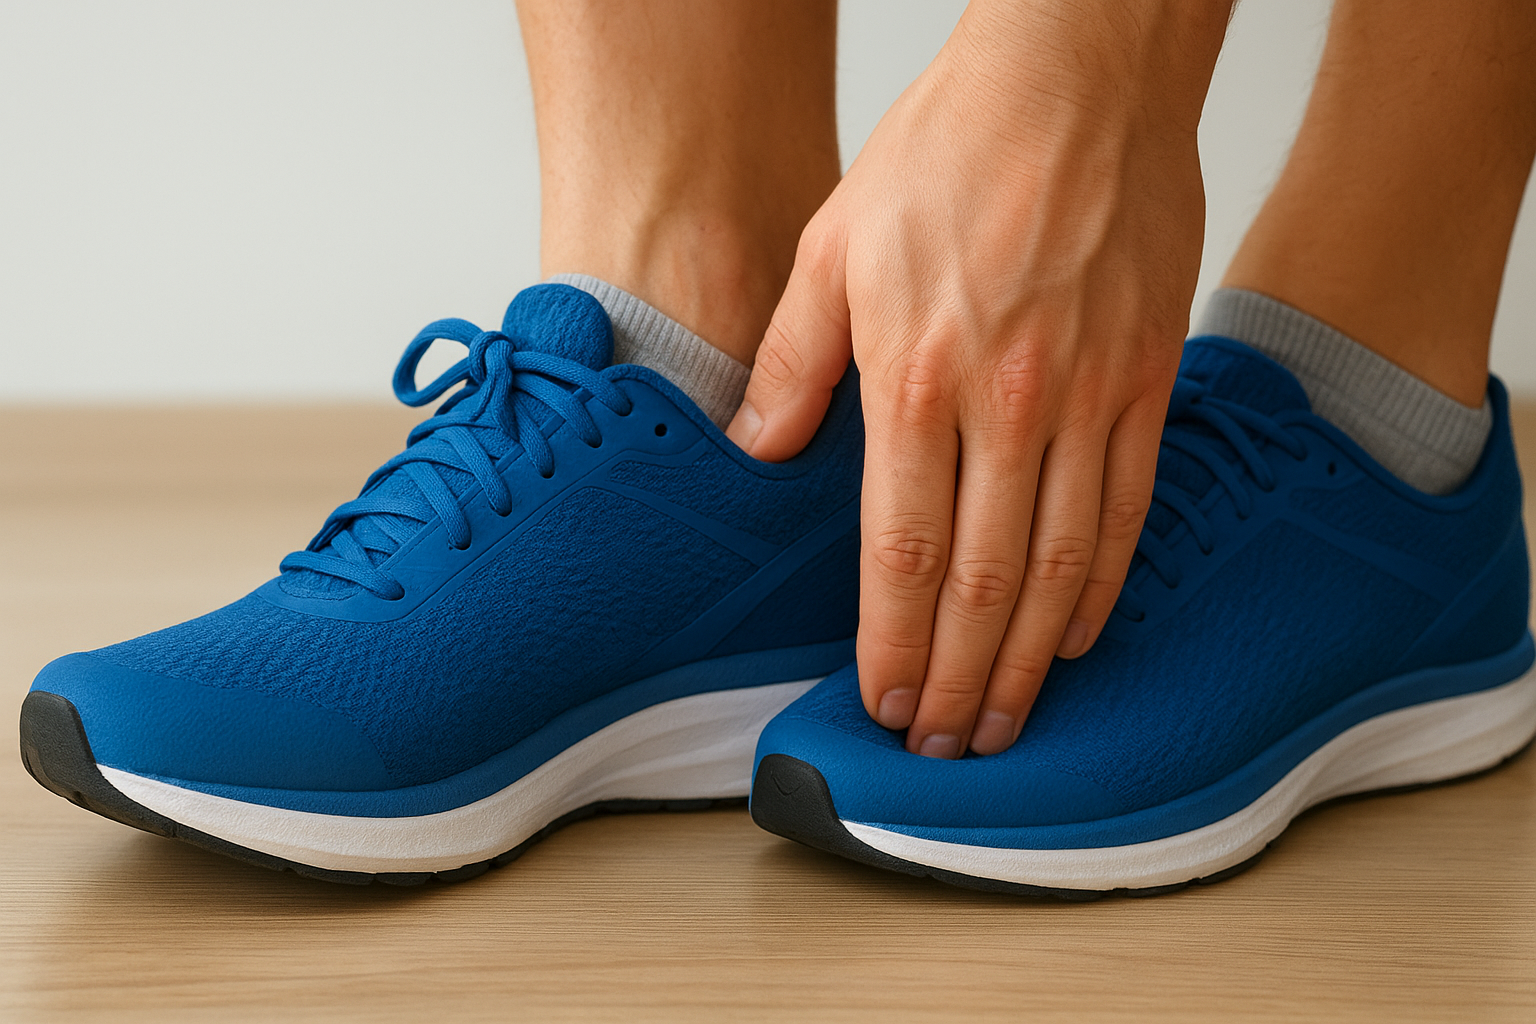
Heel slip you notice while walking becomes a blister you notice halfway through a run.
Testing heel lock
Run through this quick sequence in-store or at home:
- Lace the shoe fully, including the top eyelet
- Walk, then jog a few steps on the spot
- Watch for visible heel lift as your foot leaves the ground
- Check for pressure points around the Achilles
Midfoot snugness
The midfoot, over the top of your foot near the laces, should feel secure without pinching. If you can pinch a fold of loose material there, tighten the laces before assuming the shoe’s too big. A snug midfoot fit stops your foot sliding forward into the toe box, which is often the real cause of heel slip further back.
Step 4. Test width, socks and lacing
Width gets overlooked far more than length, yet it’s often the real culprit behind numb toes and pinched forefeet. Your foot shouldn’t bulge over the sole (a sign the shoe’s too narrow) and shouldn’t slide sideways inside the upper (a sign it’s too wide). Try shoes on with the actual running socks you’ll wear, since a thick cushioned sock changes fit noticeably compared to the thin sock you might’ve worn shopping.
Test shoes with your real running socks and real lacing pattern, not whatever’s convenient in the shop.
Lacing techniques worth trying
Standard lacing doesn’t suit every foot shape. If you’re dealing with heel slip, a narrow midfoot, or pressure on the top of your foot, adjust before assuming the shoe itself is wrong:
- Runner’s loop (lace lock) for heel slip, using the extra eyelet near the top
- Skip-lace technique over a high instep or bony midfoot
- Wider spacing through the forefoot for extra width
Bring both socks and insoles
If you use custom orthotics or plan to, bring them along when trying shoes, since they change internal volume and can affect which size fits best.
Getting professional help with your fit
Self-checks solve most fit problems, but not all of them. If you’ve worked through every step here and still get blisters, black toenails, or heel slip, something more specific is going on, whether that’s a biomechanical issue, an unusual foot shape, or a shoe that simply doesn’t suit how you run. That’s when a proper gait analysis earns its keep.
Our podiatrists across Sydney use pressure plate analysis and 3D scanning to see exactly what your feet do under load, something no amount of home testing can replicate. We’ll check your running shoe fit against your actual gait, not just a checklist, and recommend custom orthotics if your feet need more support than off-the-shelf shoes provide.
Don’t keep guessing with sore feet. Book an appointment online and get a fit assessment that’s built around your feet, not a size chart.

