

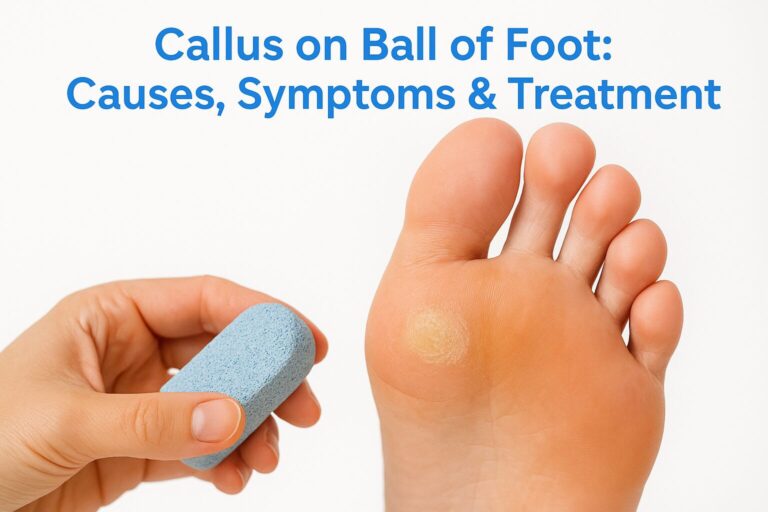
That thick, hard patch under the front of your foot didn’t appear overnight, and it won’t disappear on its own either. If you’ve noticed a callus on ball of foot areas that burns when you walk barefoot or feels like you’re stepping on a stone, you’re dealing with one of the most common complaints we see across our Sydney clinics.
A callus like this forms because of repeated pressure and friction on one spot, usually caused by abnormal foot mechanics, worn-out footwear, or changes in the fat pad that normally cushions your metatarsal heads. It’s your skin’s way of protecting itself, but left untreated, it can crack, get painful, or mask a deeper structural issue such as a prominent metatarsal head or hammertoe.
In this guide, we’ll walk you through exactly why these calluses develop, the symptoms that separate a simple thickening from something needing attention, and the treatment options our podiatrists actually use, from padding and offloading to custom orthotics and, in some cases, minor procedures to fix the underlying cause for good.
Why calluses form on the ball of your foot
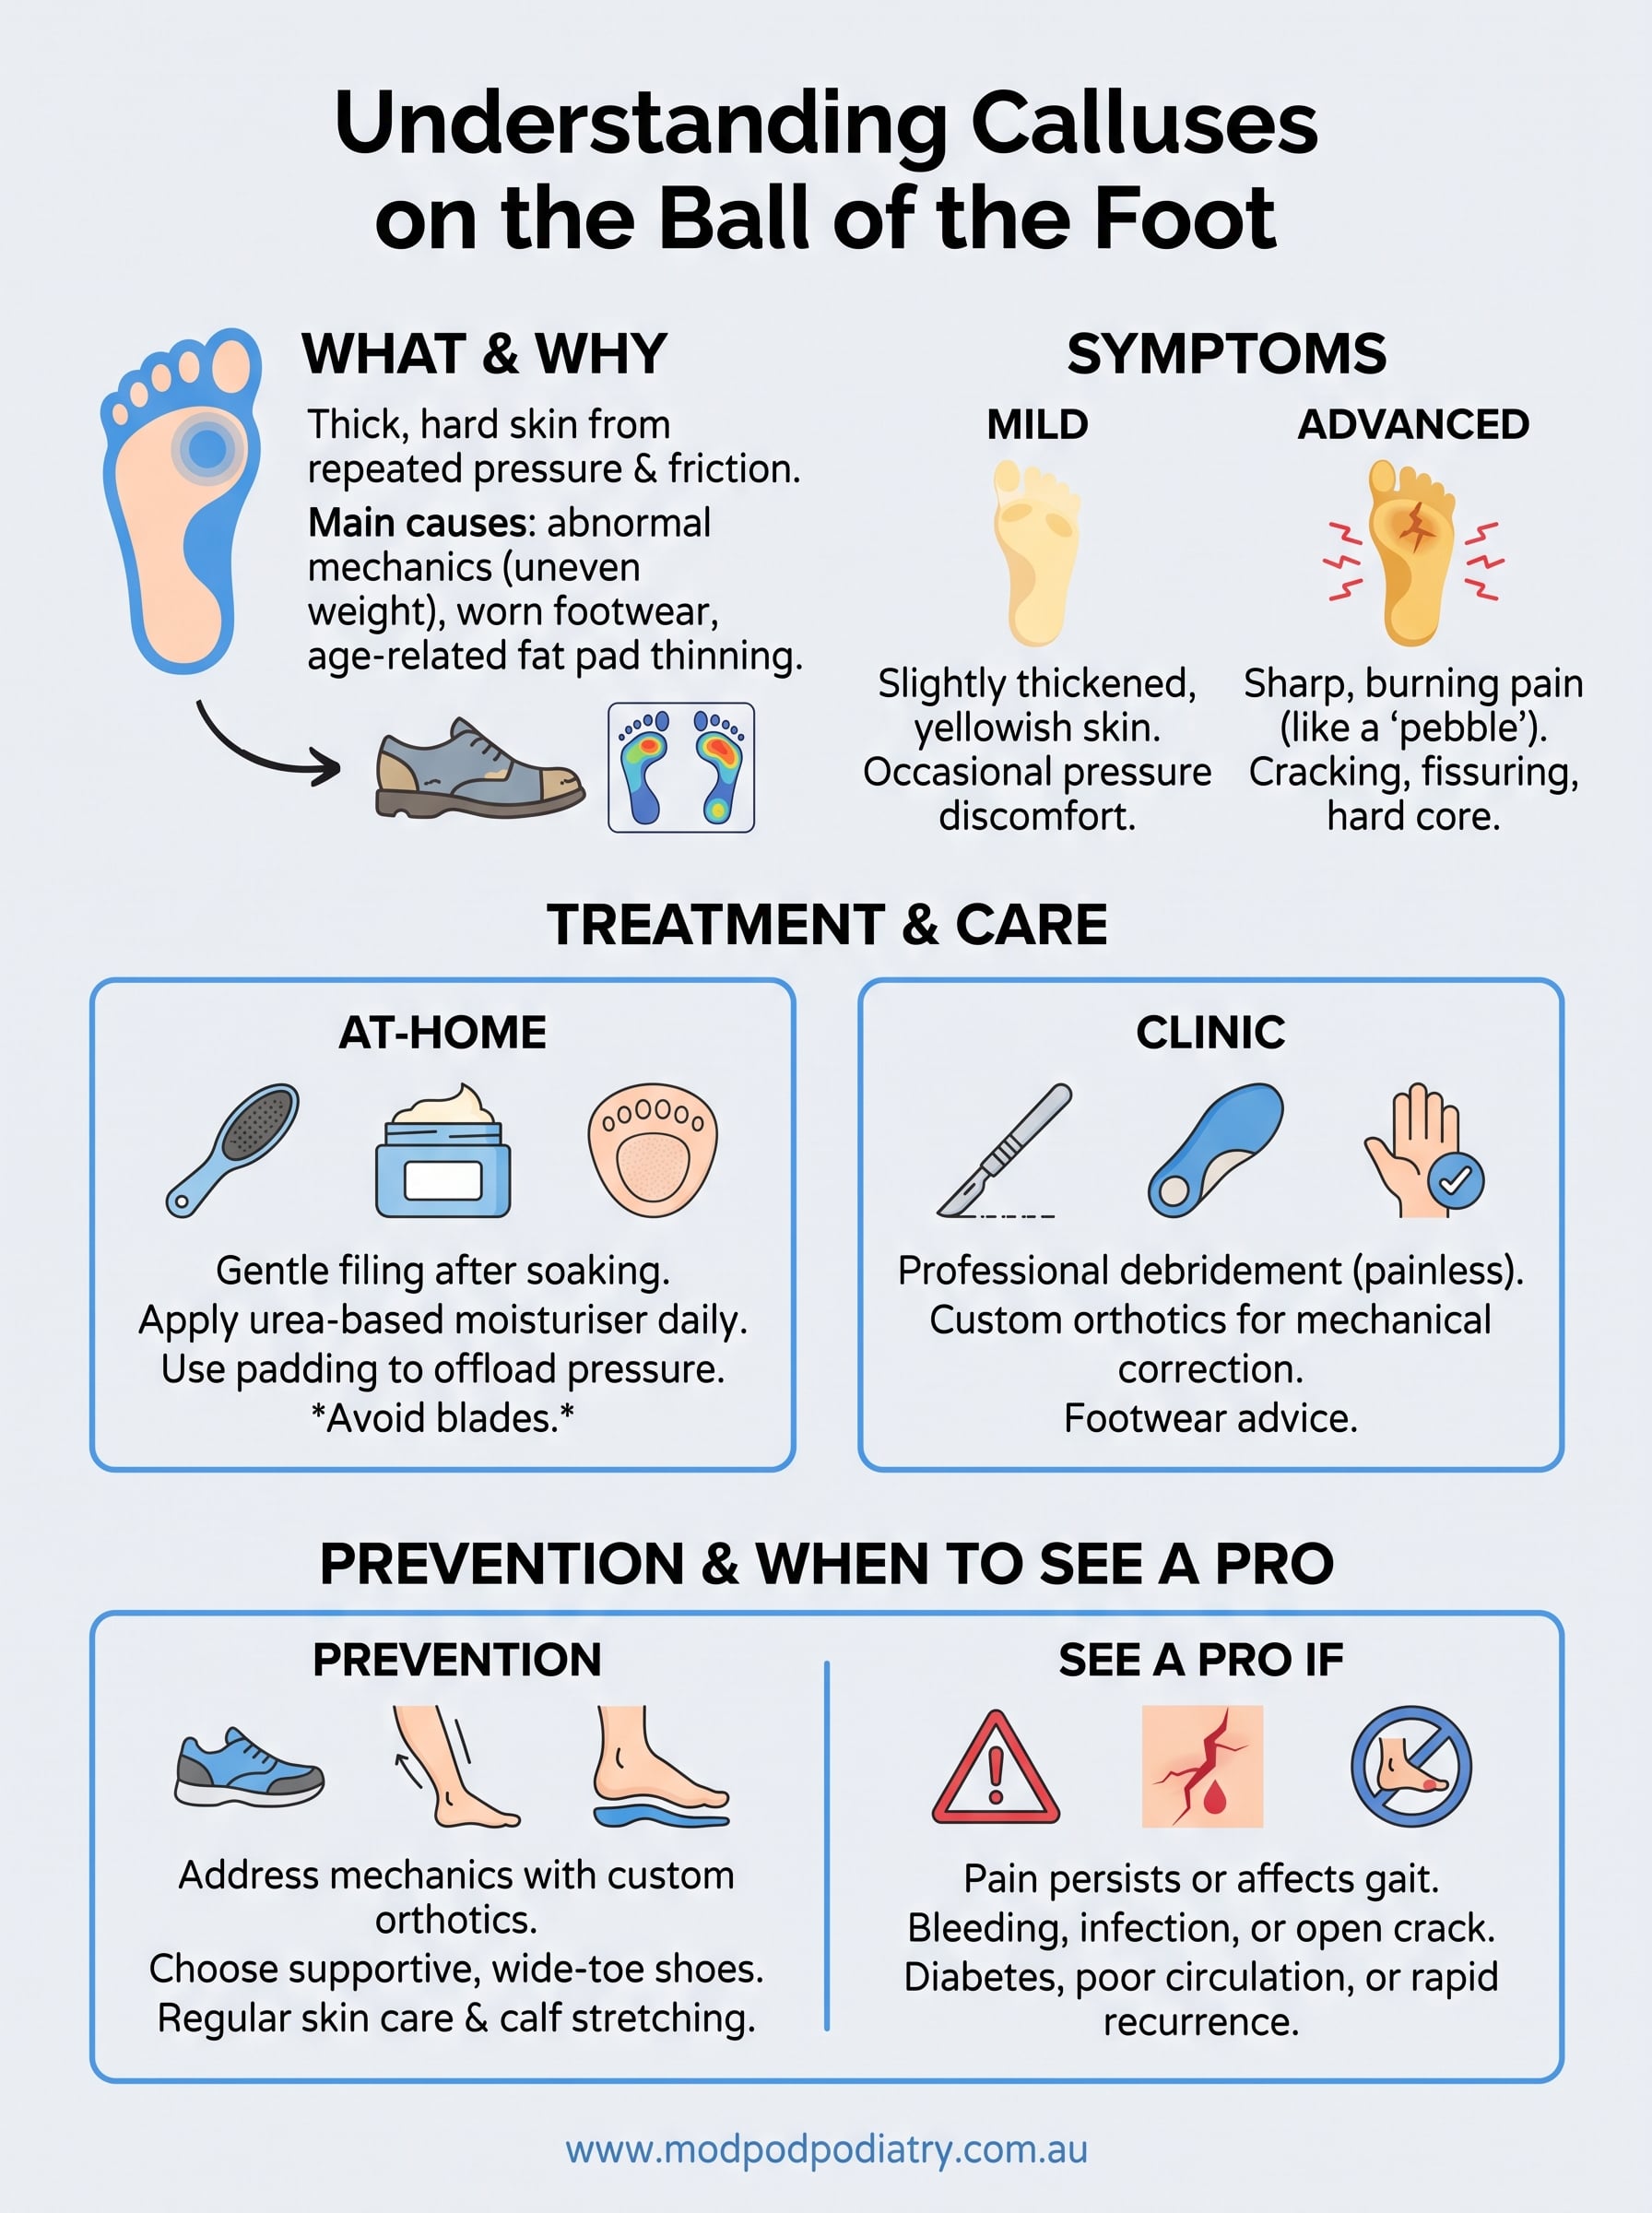
A callus on the ball of your foot develops because your skin is doing exactly what it’s designed to do: protecting itself against repeated stress. Every time you take a step, your bodyweight shifts forward onto the metatarsal heads, the bony bumps just behind your toes. If one or two of these spots carry more load than they should, your skin thickens there as a defence mechanism. It’s a normal response gone slightly overboard, and it rarely happens without an underlying reason.
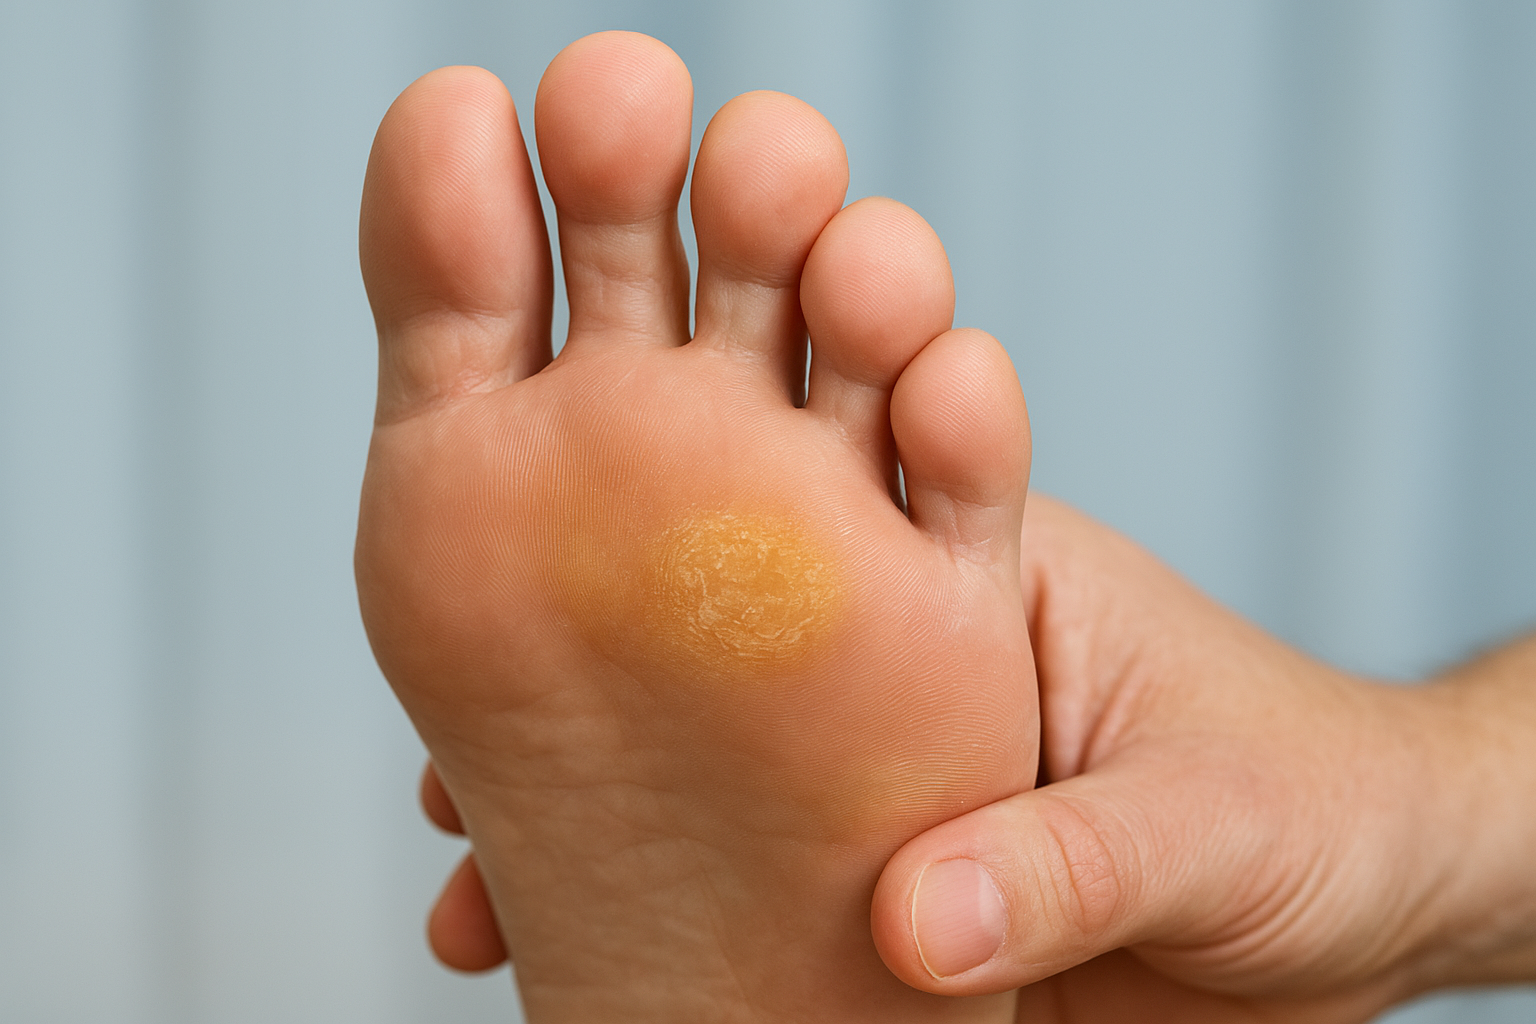
Uneven weight distribution across the forefoot
Usually, the real culprit is abnormal foot mechanics rather than bad luck. When your foot doesn’t distribute pressure evenly across all five metatarsal heads, one or two end up doing more work than the others. This might come from a high arch that tips weight forward, a flat foot that rolls inward, or a leg length difference you’ve never had checked. Over months and years, that extra pressure on the same patch of skin causes it to build up layer after layer.
A callus on the ball of your foot is almost always a symptom of uneven pressure, not just tough skin.
Structural changes in the foot
Certain foot shapes and deformities make forefoot calluses far more likely, and we see the same patterns repeatedly in clinic. Common structural contributors include:
- A prominent metatarsal head that sits lower than its neighbours
- Hammertoes or claw toes, which push the metatarsal heads downward
- Bunions, which shift weight onto the second and third toes
- Previous fractures or surgery that changed how your foot loads
- Tight calf muscles, which increase pressure through the forefoot when walking
Any one of these can concentrate force onto a small area of skin, and that’s exactly where thickened tissue tends to build.
Footwear and daily habits
Footwear plays a bigger role than most people expect. Shoes with rigid soles, high heels, or worn-out cushioning transfer more shock straight into the ball of your foot with every stride. Standing for long shifts, walking long distances on hard surfaces, or running in shoes past their use-by date all add to the friction that triggers callus formation.
| Contributing factor | How it increases pressure |
|---|---|
| High heels | Tips bodyweight forward onto forefoot |
| Worn-out shoes | Loses cushioning under metatarsal heads |
| Thin-soled sandals | Reduces shock absorption on hard ground |
| Long periods standing | Sustains constant load on one area |
Age-related fat pad thinning
Finally, age changes the picture too. The natural fat pad cushioning your metatarsal heads gradually thins as you get older, particularly from your 50s onward. With less natural padding between bone and skin, the same everyday walking generates far more friction than it used to, which is why calluses often appear or worsen later in life even without any change in footwear or activity.
Common symptoms of a callus on the ball of your foot
Most people notice a callus long before it becomes painful. The skin under the ball of your foot feels thicker than the surrounding area, often with a yellowish or waxy tinge, and it tends to sit directly beneath one or two metatarsal heads rather than spreading evenly across your forefoot. Run your finger over it and you’ll usually feel a well-defined raised patch rather than a gradual thickening.
Pain patterns to watch for
The type of pain often tells you how advanced the callus is. Early on, you might only feel it when walking barefoot on hard floors or standing for long stretches. As the tissue builds up, that dull pressure can turn into a sharp, burning sensation, frequently described as feeling like there’s a pebble in your shoe even when there isn’t one. Some patients also notice the pain intensifies during the push-off phase of walking, right when weight rolls through the forefoot.
If it feels like you’re walking on a stone that isn’t there, that’s a classic callus symptom, not something to ignore.
Physical signs beyond the thickened skin
Beyond the callus itself, keep an eye out for these related signs, since they often point to how serious the problem’s becoming:
- A hard central core, which can indicate the callus is developing into a corn
- Cracking or fissuring at the edges, especially in dry weather
- Redness or warmth around the callus, suggesting irritation or early infection
- A darkened or discoloured centre, sometimes mistaken for a wart or blood blister
- Visible thickening on only one foot, hinting at an asymmetrical mechanical issue
Comparing mild and advanced calluses
Severity varies a lot between patients, and recognising where yours sits helps you decide how urgently to act.
| Feature | Mild callus | Advanced callus |
|---|---|---|
| Skin texture | Slightly thickened, smooth | Hard, layered, waxy |
| Pain level | Occasional pressure discomfort | Sharp, burning, constant |
| Skin integrity | Intact | Cracked or fissured |
| Colour | Pale yellow | Yellow with dark core |
If your symptoms match the advanced column, it’s worth booking an assessment rather than waiting for it to settle on its own.
How to treat a callus on the ball of your foot
Once you’ve confirmed it’s a straightforward callus rather than something more serious, treatment usually starts at home before moving on to clinical care. The goal is always the same: reduce pressure on the affected spot and manage the built-up skin safely, without cutting away more than you should.
At-home care that actually helps
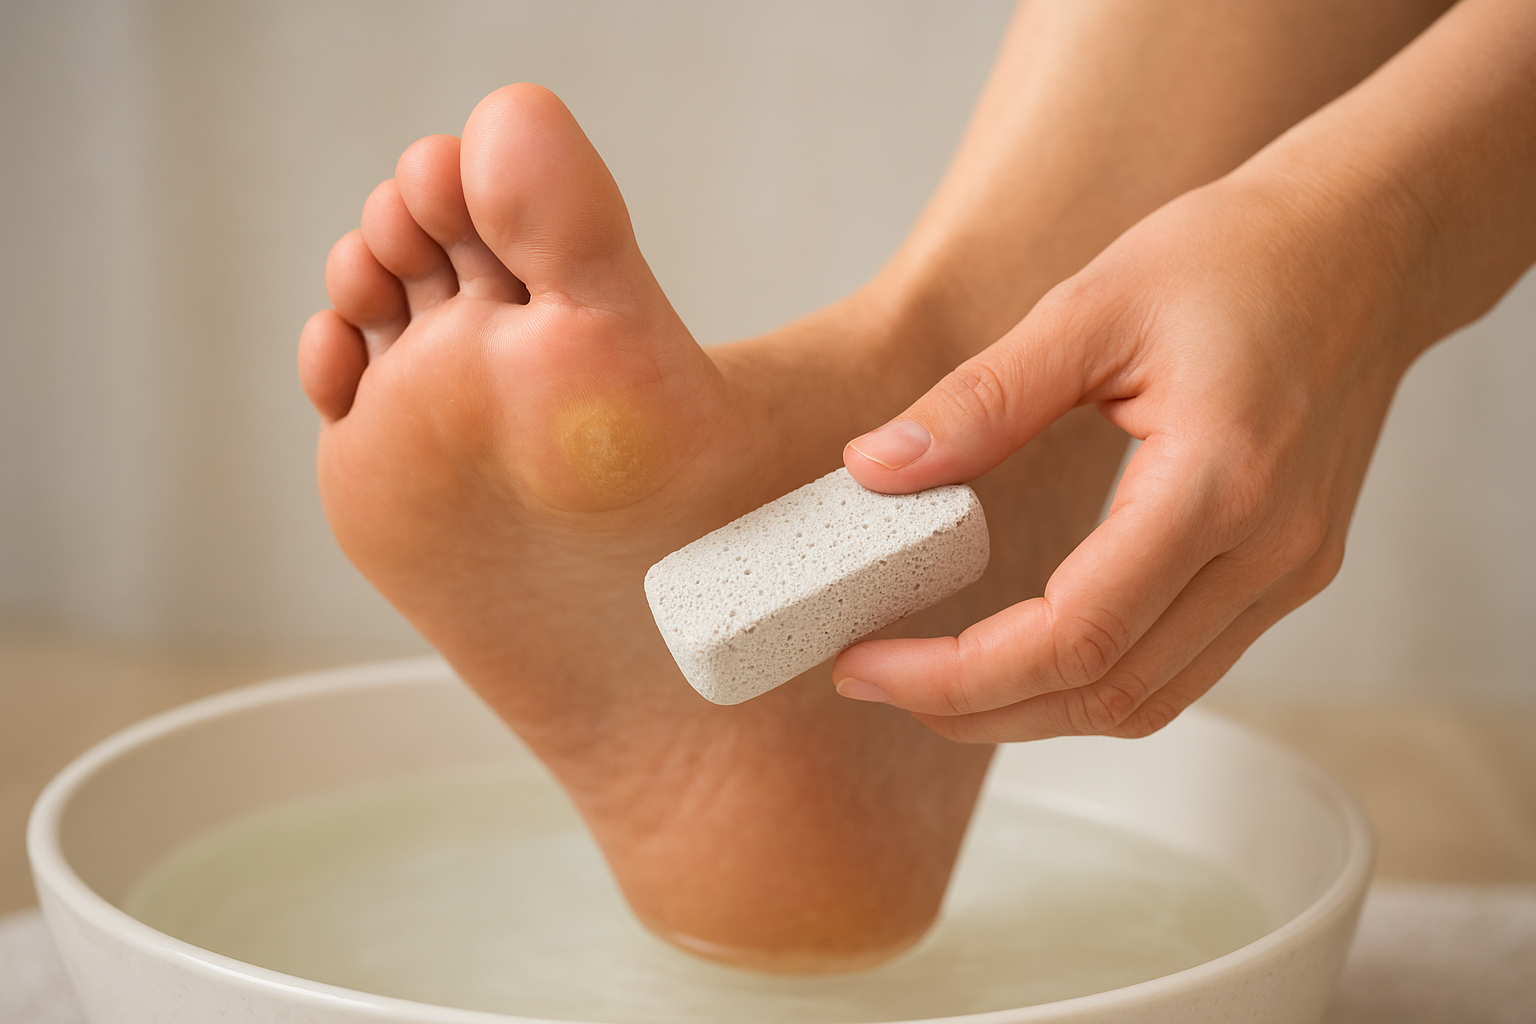
Start simple. Soak your foot in warm water for ten minutes to soften the thickened skin, then use a pumice stone or foot file in gentle, sideways strokes to smooth it down. Follow with a urea-based moisturiser applied daily, since urea breaks down hardened skin cells far more effectively than standard body lotion. Avoid razor blades or scissors entirely; we see infected wounds every month from patients who tried to cut a callus themselves.
Never use a blade on a callus at home, a podiatrist’s tools are sterile and precise for a reason.
Padding and offloading
Redistributing pressure away from the callus matters just as much as removing the thickened skin. Silicone or felt metatarsal pads placed just behind the ball of your foot, rather than directly under it, shift load away from the sore spot and give the skin a chance to settle. Some patients find relief with:
- Over-the-counter metatarsal pads
- Gel forefoot cushions inside everyday shoes
- Toe separators if a bunion or hammertoe is contributing
- Switching to shoes with a wider, more cushioned toe box
What we do in clinic
When home care isn’t cutting it, we use a scalpel to debride the thickened skin painlessly, since there are no nerve endings in dead tissue. This gives immediate relief and lets us properly assess what’s underneath, whether that’s a prominent metatarsal head or a developing corn. From there, we often prescribe custom orthotics built from 3D scans and pressure plate data, which correct the uneven loading causing the callus in the first place rather than just treating the symptom. For deeper structural problems, we sometimes recommend footwear modifications or, in select cases, minor surgical correction.
When to see a podiatrist about your callus
Self-care fixes plenty of mild calluses, but some situations call for a proper assessment rather than another week of pumice stones. If you’ve been managing a callus on ball of foot areas for months without improvement, or if the pain is changing how you walk, that’s your cue to book in rather than push through it.
Warning signs that need professional care
Certain symptoms point to something beyond simple thickened skin, and ignoring them tends to make the underlying problem worse. Get it checked if you notice:
- Bleeding, oozing, or an open crack in the callus
- A hard central core that’s grown despite regular filing
- Pain that’s now affecting your gait or making you favour one foot
- Swelling, warmth, or redness spreading beyond the callus itself
- No improvement after two to three weeks of consistent home care
Persistent pain despite home treatment usually means the mechanical cause hasn’t been addressed, not that you’re doing something wrong.
Diabetics and other at-risk groups
Anyone with diabetes, poor circulation, or reduced sensation in their feet should skip the DIY approach altogether. A callus that seems harmless can hide skin breakdown underneath, and reduced feeling means you might not notice a wound forming until it’s infected. We routinely see patients with diabetic neuropathy who had no idea a callus had progressed to an ulcer, simply because they couldn’t feel it happening.
Older patients and anyone on blood thinners fall into a similar category, since minor skin damage can bleed more or heal slower than expected. If any of this applies to you, a podiatrist should manage the debridement rather than a bathroom pumice stone.
Finally, don’t wait if the same callus keeps returning within weeks of treatment. Recurrence that quickly almost always signals an unaddressed structural issue, like a prominent metatarsal head or tight calf muscles, and that’s exactly the sort of thing a biomechanical assessment picks up.
How to stop calluses coming back
Treating a callus without fixing why it formed just buys you a few pain-free weeks. Once the thickened skin is removed, whatever caused the excess pressure in the first place is still there, so the same patch usually starts building up again within a month or two. Preventing recurrence means addressing the mechanics, not just the skin.
Fix the mechanical cause first
Custom orthotics remain the single most effective long-term fix we prescribe, because they redistribute load away from the overworked metatarsal head rather than masking the problem. Built from 3D foot scans and pressure plate data, a well-made orthotic corrects the exact pressure pattern causing your callus, whether that’s a high arch, a dropped metatarsal, or a leg length difference.
Fixing the underlying mechanics is the only way to stop a callus returning for good.
Footwear habits that reduce recurrence
Your shoe choices matter every single day, not just when your feet hurt. Small, consistent changes make a real difference over months:
- Choose shoes with a wide, cushioned toe box and shock-absorbing soles
- Replace runners every 500 to 800 kilometres, since cushioning breaks down long before the upper wears out
- Skip high heels and thin-soled flats for daily wear where possible
- Use gel forefoot cushions if you’re on your feet all day for work
Ongoing skin care routine
Regular maintenance stops thickened skin building up again between clinic visits. Filing your feet with a pumice stone once or twice a week, alongside daily use of a urea-based cream, keeps the skin supple and less prone to rapid re-thickening. Stretching your calf muscles most nights also helps if tightness is contributing to forefoot pressure, since it reduces the load transferred through the ball of your foot with every step you take.
A final word on foot calluses
A callus on ball of foot areas is your skin’s honest response to uneven pressure, not a random skin problem. Filing it down at home might ease the discomfort for a while, but unless you fix what’s causing that pressure, the thickened skin keeps coming back, patch after patch, month after month. Getting the mechanics right, whether that means better footwear, targeted padding, or custom orthotics built from your own foot scan, is what actually breaks the cycle for good.
Genuinely, if you’ve been dealing with the same sore spot for weeks, it’s worth having a podiatrist take a proper look rather than guessing at home. Our team across Sydney sees this exact issue daily, and sorting out the underlying cause usually takes less time than you’d expect. Book an appointment at one of our clinics and book online to get it assessed properly.

