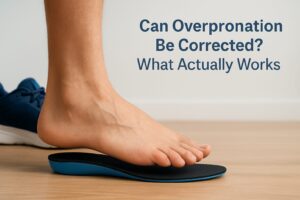
If your feet roll inward when you walk or run, you’re not alone, and you’re not stuck with it. Overpronation exercises can strengthen the muscles that support your arches, improve alignment through your ankles and knees, and reduce the strain that leads to pain further up the chain.
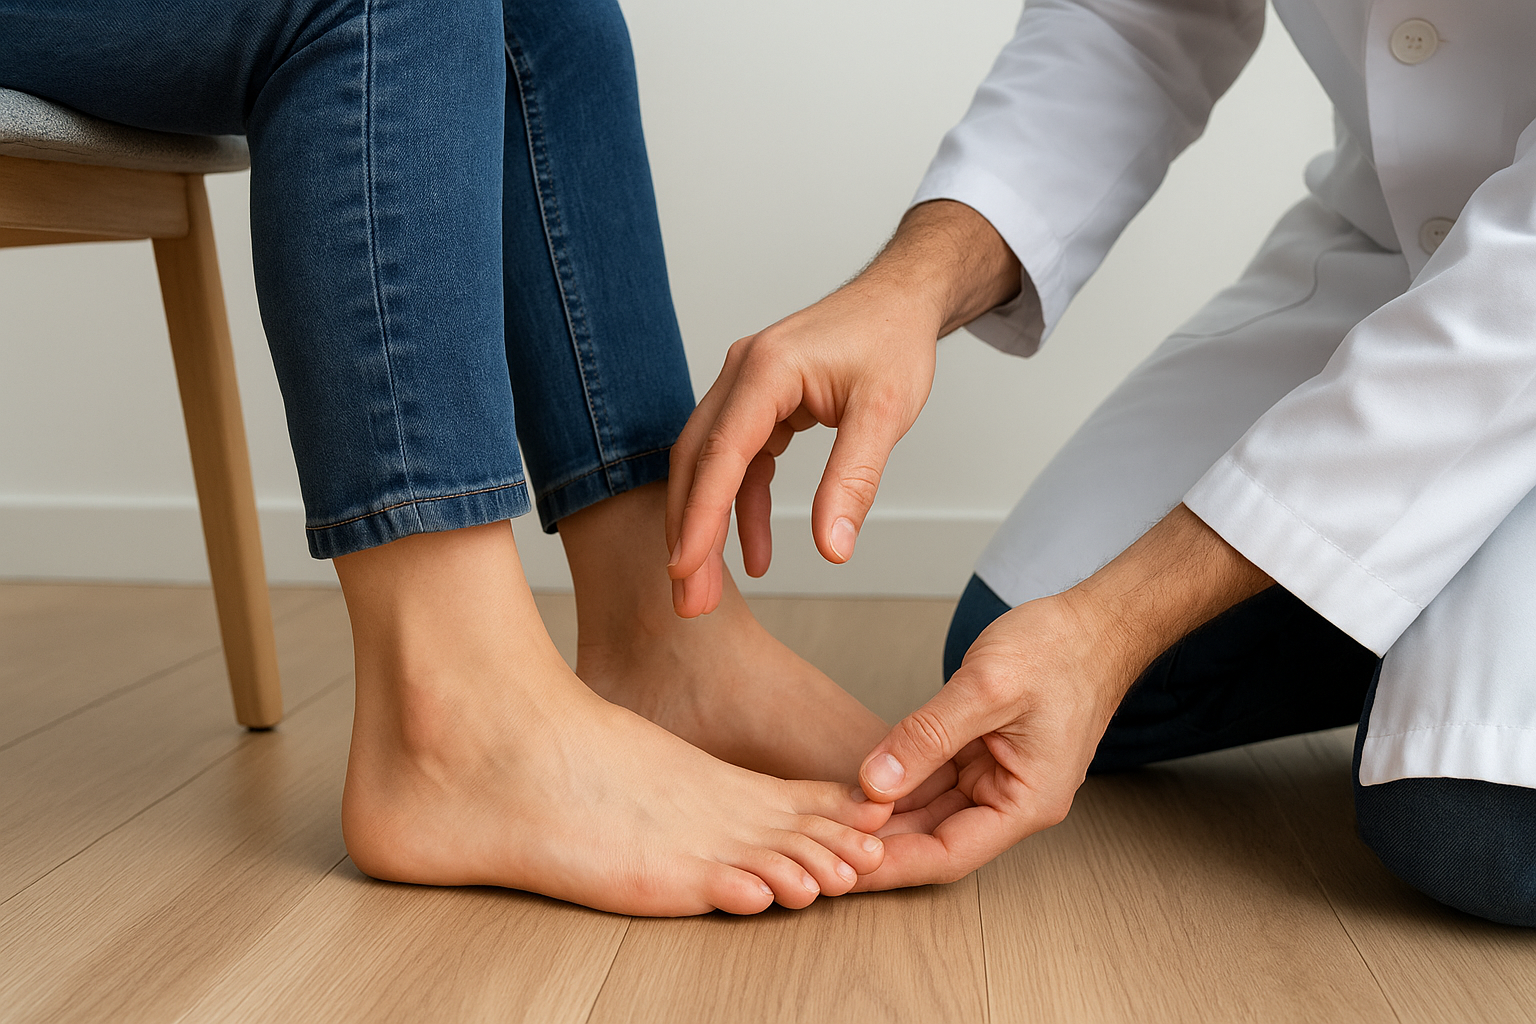
Overpronation isn’t a diagnosis you just have to live with. The right targeted exercises, done consistently, can make a genuine difference to how your feet function under load. That said, exercise works best when it’s paired with a clear understanding of what’s actually happening in your feet, which is where professional biomechanical assessment comes in.
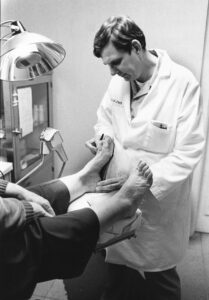
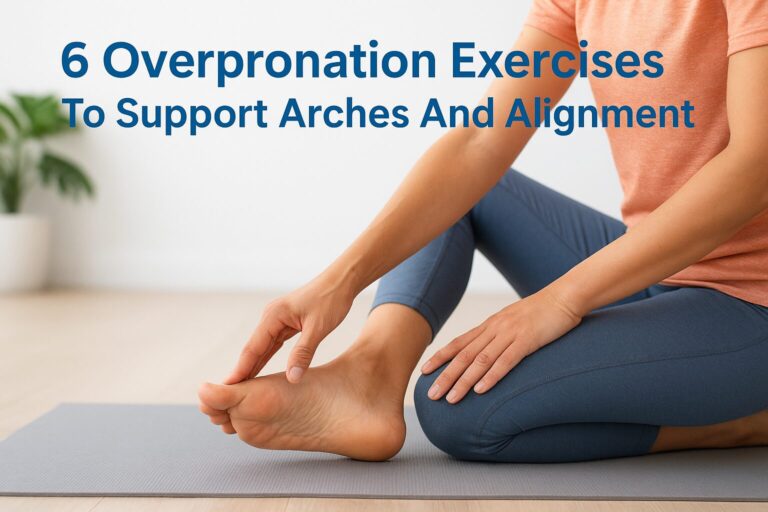
At ModPod Podiatry, our podiatrists regularly prescribe strengthening and mobility exercises as part of broader treatment plans for patients dealing with overpronation across our Sydney clinics. Below, we’ve put together six practical exercises you can start working on at home to build arch support and improve your foot alignment.
1. Short foot arch lift with podiatry feedback
The short foot exercise is one of the most well-researched tools for building arch strength. It targets the intrinsic foot muscles, the small muscles that sit inside the foot and actively support the medial arch. Most people with overpronation have underactive intrinsic muscles, which makes this a logical first step in any overpronation exercise programme.
Why it helps overpronation
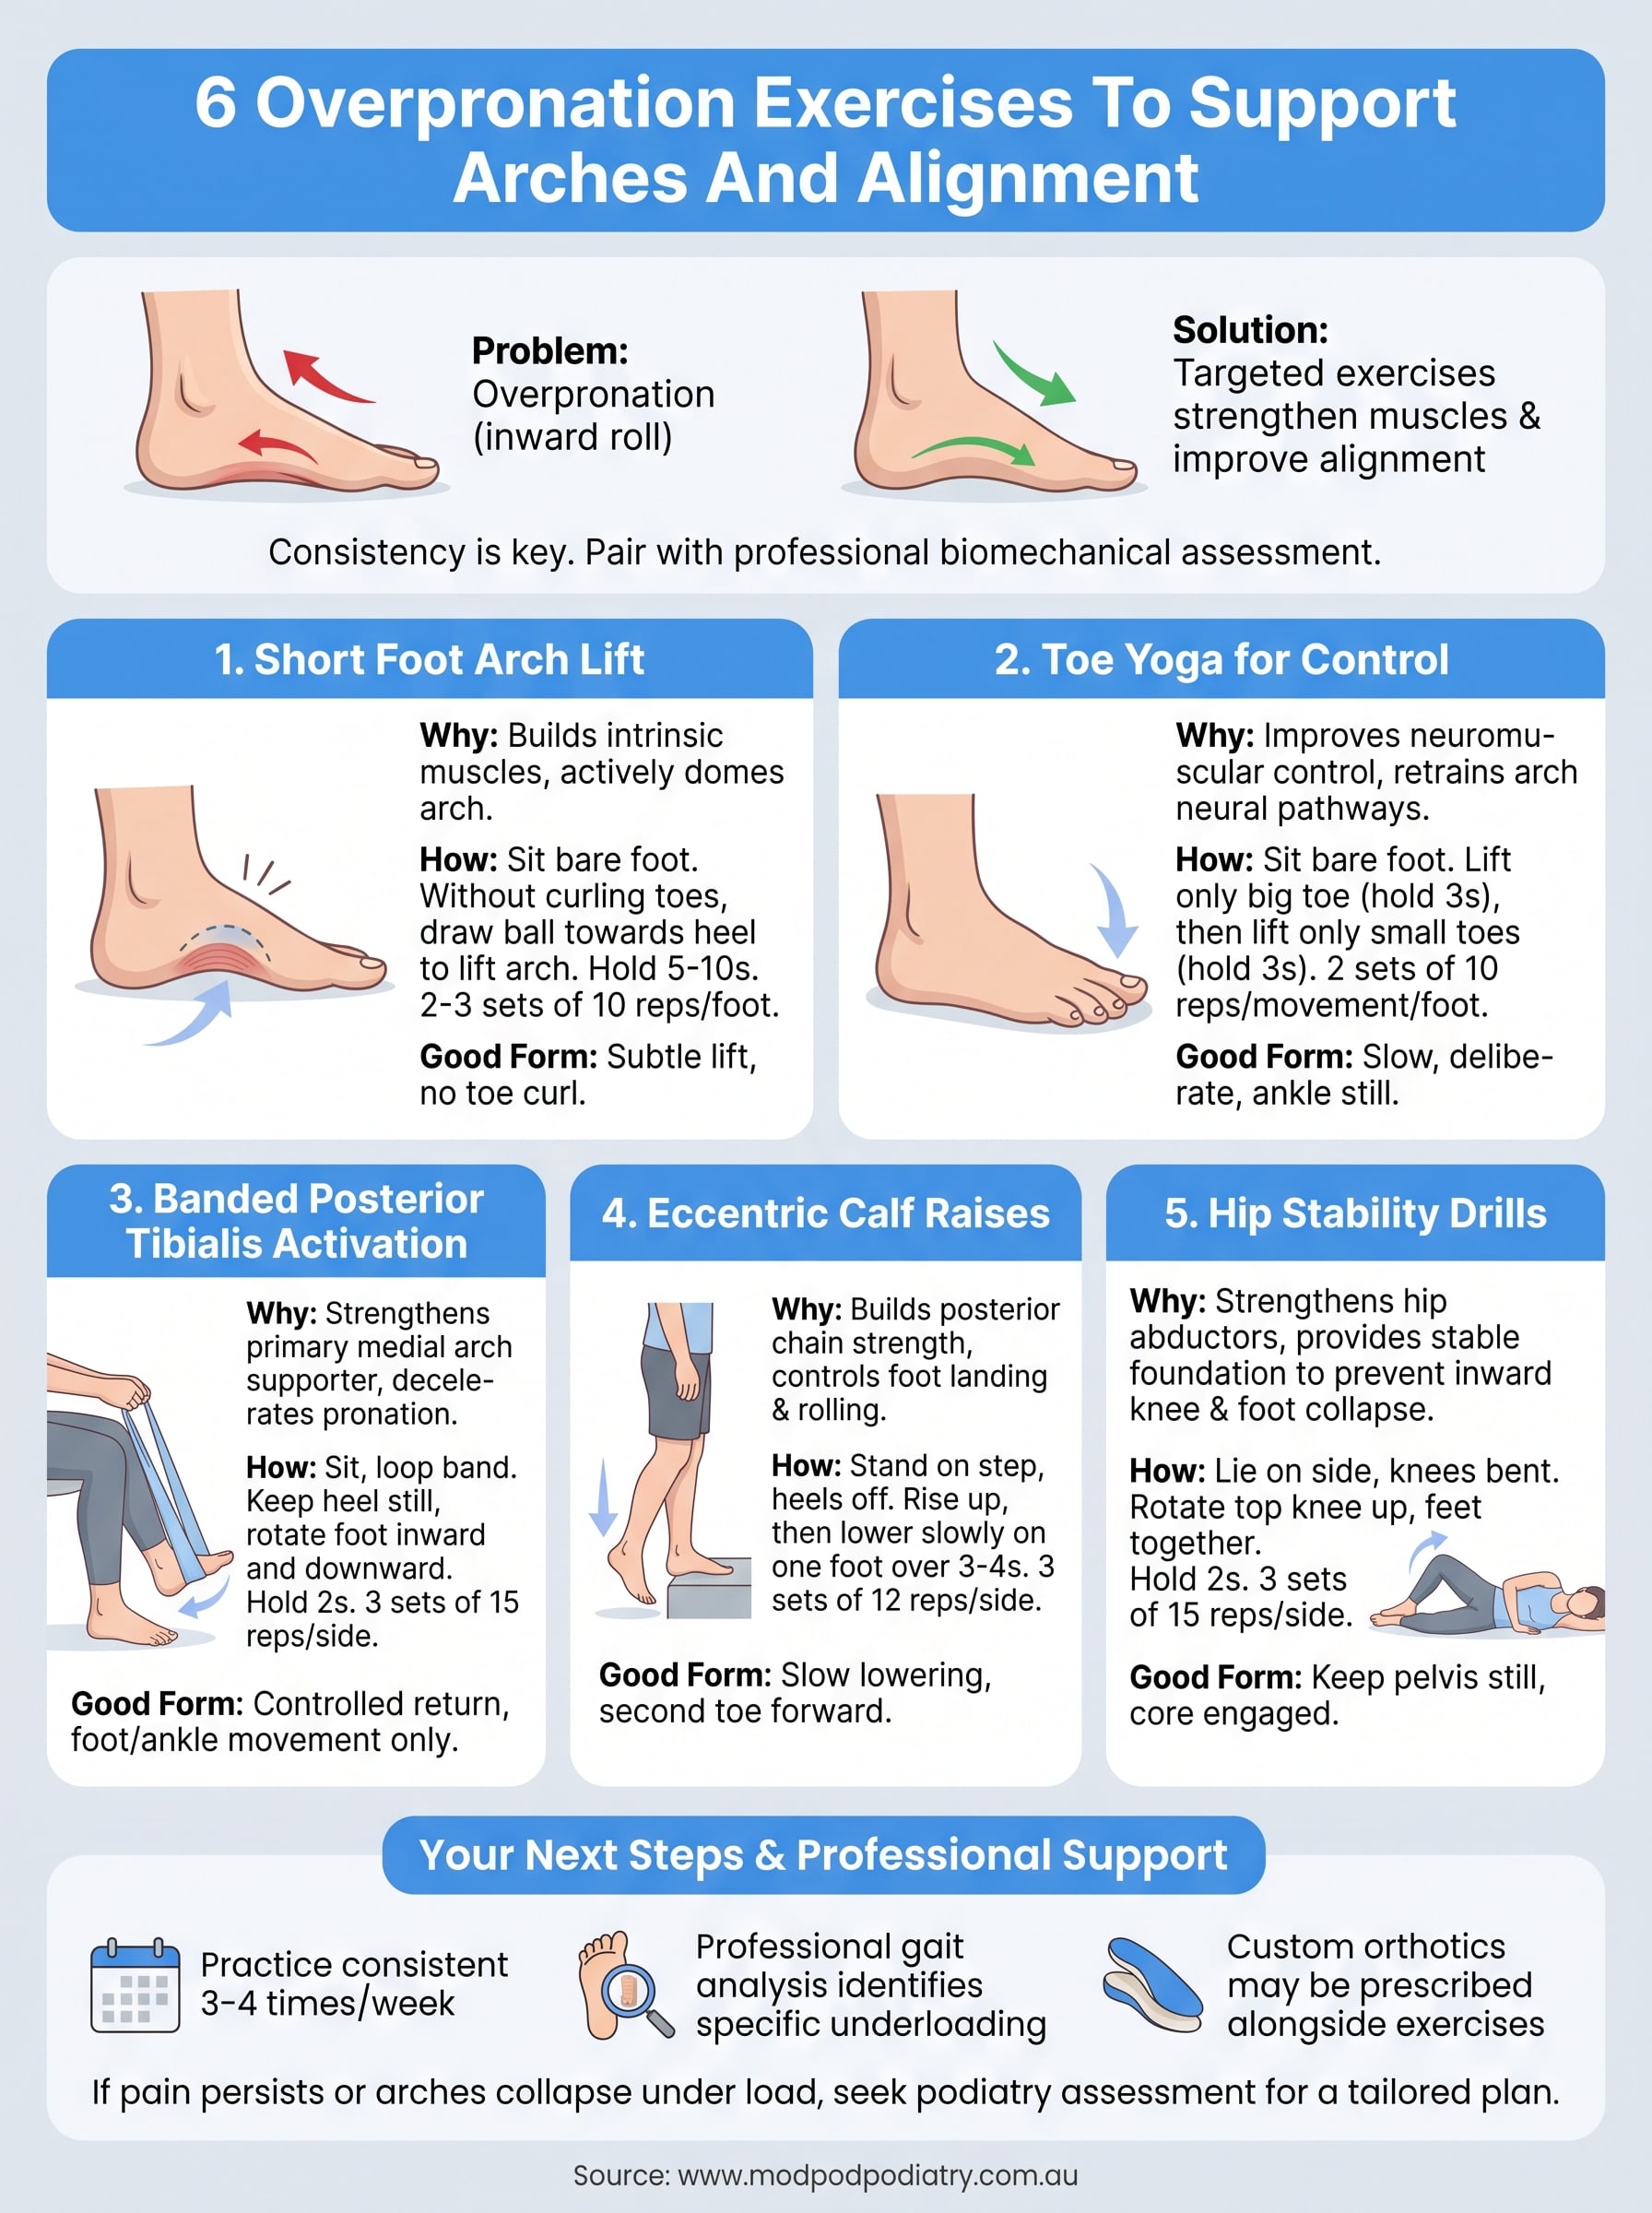
Overpronation often involves a collapsed medial arch that drops inward under load. The short foot exercise teaches your foot to actively dome the arch without curling the toes, which directly engages the muscles responsible for holding that arch position. Over time, consistent practice builds the kind of foot control that reduces the inward roll during walking and running.
Your intrinsic foot muscles are also responsible for stabilising each toe at push-off, so strengthening them has carry-on benefits for gait efficiency beyond the arch itself.
How to do it with good form
Sit in a chair with your bare foot flat on the floor. Without curling your toes, draw the ball of your foot toward your heel to shorten the foot’s length. You should feel the arch lift slightly. Hold for 5 to 10 seconds, then relax. Aim for 2 to 3 sets of 10 repetitions per foot.
The goal isn’t dramatic movement. A subtle arch lift with no toe curl means you’re recruiting the right muscles.
Progressions and regressions
Once you can complete the seated version comfortably, progress to standing on one leg to add load. A useful regression for beginners is to lightly assist the arch lift with your fingers until your foot learns the movement. You can also introduce a mildly unstable surface, like a folded towel, once you’re confident with the basic form.
Common mistakes to avoid
The most common error is curling the toes downward instead of lifting the arch, which shifts the work to the long toe flexors rather than the intrinsic muscles. Another frequent mistake is gripping through the whole leg, which masks whether the foot muscles are actually doing anything.
When to see a podiatrist
If you struggle to isolate the arch lift after a week of daily practice, a podiatrist can help. Pressure plate gait analysis can show exactly which muscles are underloading, and a tailored exercise plan will be far more effective than guessing at the cause.
2. Toe yoga for foot control
Toe yoga builds the neuromuscular control your foot needs to keep the arch active during movement. Most people find that their toes have very little independent motor control, which reflects just how underused their foot muscles are day-to-day.
Why it helps overpronation
When you overpronate, your foot struggles to stay stable during the loading phase of your gait. The muscles that lift your big toe also support the medial arch, so training toe independence directly improves arch engagement. Adding toe yoga to your overpronation exercises routine retrains the neural pathways that help your arch hold position under load.
How to do it with good form
Sit with your bare foot flat on the floor. Lift only your big toe while keeping the other four toes pressed down. Hold for 3 seconds, then lower it. Next, press your big toe down while lifting the four smaller toes. Aim for 2 sets of 10 repetitions per movement, per foot.
Slow, deliberate repetitions are what make this effective. Rushing through the movement removes the neuromuscular challenge entirely.
Progressions and regressions
Once you can isolate each movement cleanly, progress to standing on one leg while performing the exercise. If you struggle initially, use your fingers to guide each toe into position until your foot learns the pattern.
Common mistakes to avoid
Rotating your whole ankle to fake the movement is the most common error. Keep your ankle still and focus on moving only the toes.
When to see a podiatrist
If toe control remains poor after two weeks of daily practice, your podiatrist can assess whether structural issues or nerve sensitivity are limiting your progress.
3. Banded posterior tibialis activation
The posterior tibialis is the primary dynamic supporter of your medial arch. When this muscle is weak or inhibited, your arch has very little active resistance against the inward collapse that defines overpronation. Adding banded posterior tibialis activation to your overpronation exercises routine directly targets this gap.
Why it helps overpronation
Your posterior tibialis runs along the inside of your lower leg and attaches under the arch. It decelerates pronation during the loading phase of each step. Without enough strength here, your arch drops repeatedly under bodyweight, which stresses the plantar fascia, ankle, and knee over time.
How to do it with good form
Sit in a chair and loop a light resistance band around the ball of your foot. Anchor the band to a fixed point to your outside. Keeping your heel still, rotate your foot inward and downward against the band’s resistance. Hold for 2 seconds at peak contraction, then return slowly. Aim for 3 sets of 15 repetitions per side.
Slow, controlled returns are as important as the concentric phase. Rushing the eccentric portion removes much of the strengthening benefit.
Progressions and regressions
Progress to performing the movement in a standing single-leg position once the seated version feels easy. Regress by using a lighter band or shorter range of motion if you feel cramping in the arch.
Common mistakes to avoid
Avoid letting your whole lower leg rotate to compensate. The movement should come from the foot and ankle only, not the hip or knee.
When to see a podiatrist
If you feel sharp pain on the inner ankle during this exercise, stop and book an assessment. That pain pattern may indicate a posterior tibialis tendon issue that needs clinical evaluation before you continue loading it.
4. Eccentric calf raises on a step
The eccentric calf raise builds strength through the gastrocnemius and soleus while also loading the posterior chain of the lower leg, which plays a direct role in controlling how your foot lands and rolls under bodyweight.
Why it helps overpronation
Your calf complex works alongside the posterior tibialis to decelerate pronation during the loading phase of each step. When your calf is weak or fatigues quickly, the arch absorbs more impact than it can manage, which drives the inward collapse you’re trying to correct. Including eccentric calf raises in your overpronation exercises routine builds the kind of resilient strength that holds your foot in better alignment over longer periods on your feet.
How to do it with good form
Stand on a step with your heels hanging off the edge and your weight on the balls of your feet. Rise up on both feet, then shift your weight to one foot and lower your heel slowly below the step over 3 to 4 seconds. Aim for 3 sets of 12 repetitions per side.
The slow lowering phase is where most of the benefit happens, so resist the urge to drop quickly.
Progressions and regressions
Progress by adding load with a light backpack or a dumbbell held in one hand. Regress by completing the lowering phase on both feet if single-leg control is insufficient to start.
Common mistakes to avoid
Avoid letting your foot splay outward at the bottom of the movement. Your second toe should track forward throughout.
When to see a podiatrist
Stop and seek assessment if you feel sharp Achilles tendon pain at any point during this exercise.
5. Hip stability drills for better knee and foot alignment
Your hips sit at the top of the kinetic chain, and weak hip abductors and external rotators allow your femur to rotate inward, which pushes your knee inward and drives your foot into pronation. Targeting hip stability is one of the most overlooked overpronation exercises strategies, yet it addresses a root cause rather than just the symptom at the foot.
Why it helps overpronation
Hip abductor weakness is consistently linked to excessive knee valgus, the inward knee collapse that loads your arch on every single step. Strengthening your glute medius and hip external rotators gives your leg a stable foundation, so your foot doesn’t have to compensate with extra inward rotation during the loading phase.
How to do it with good form
Lie on your side with your hips stacked and knees bent to 45 degrees. Keeping your feet together, rotate your top knee upward like a clamshell opening, hold for 2 seconds, then lower with control. Aim for 3 sets of 15 repetitions per side.
Keep your pelvis completely still throughout. If your hips rock back to create the movement, you’re using momentum rather than your glute medius.
Progressions and regressions
Add a light resistance band just above your knees to increase the challenge once the bodyweight version feels easy. Regress by reducing your range of motion if you feel your pelvis tilting to compensate.
Common mistakes to avoid
Avoid rotating your whole torso to get extra range. The movement should come from your hip only, with your core staying engaged throughout.
When to see a podiatrist
If hip or knee pain appears during these drills, stop and book an assessment. A podiatrist can identify whether a structural alignment issue needs addressing before you continue loading the hip chain.
Your next steps
These five overpronation exercises give you a practical starting point for building arch strength and improving alignment from the ground up. Consistency matters more than intensity here. Work through them three to four times per week, give each movement your full attention, and you’ll start noticing the difference in how your feet feel during everyday activity.
That said, exercises alone won’t resolve every case of overpronation. If your arches continue to collapse under load, you experience pain that doesn’t settle between sessions, or you’re not sure which exercises are most relevant to your specific pattern, a professional assessment will give you much clearer answers. Our podiatrists use pressure plate gait analysis and biomechanical assessment to identify exactly what’s driving your overpronation and build a plan around it, which may include a custom orthotics prescription alongside your exercise programme. Book an appointment online at any of our Sydney clinics.